Car Accessories Knitting Patterns
Zen Simplicity Car Seat Cover Free Pattern
Anonymous
•
July 06, 2026
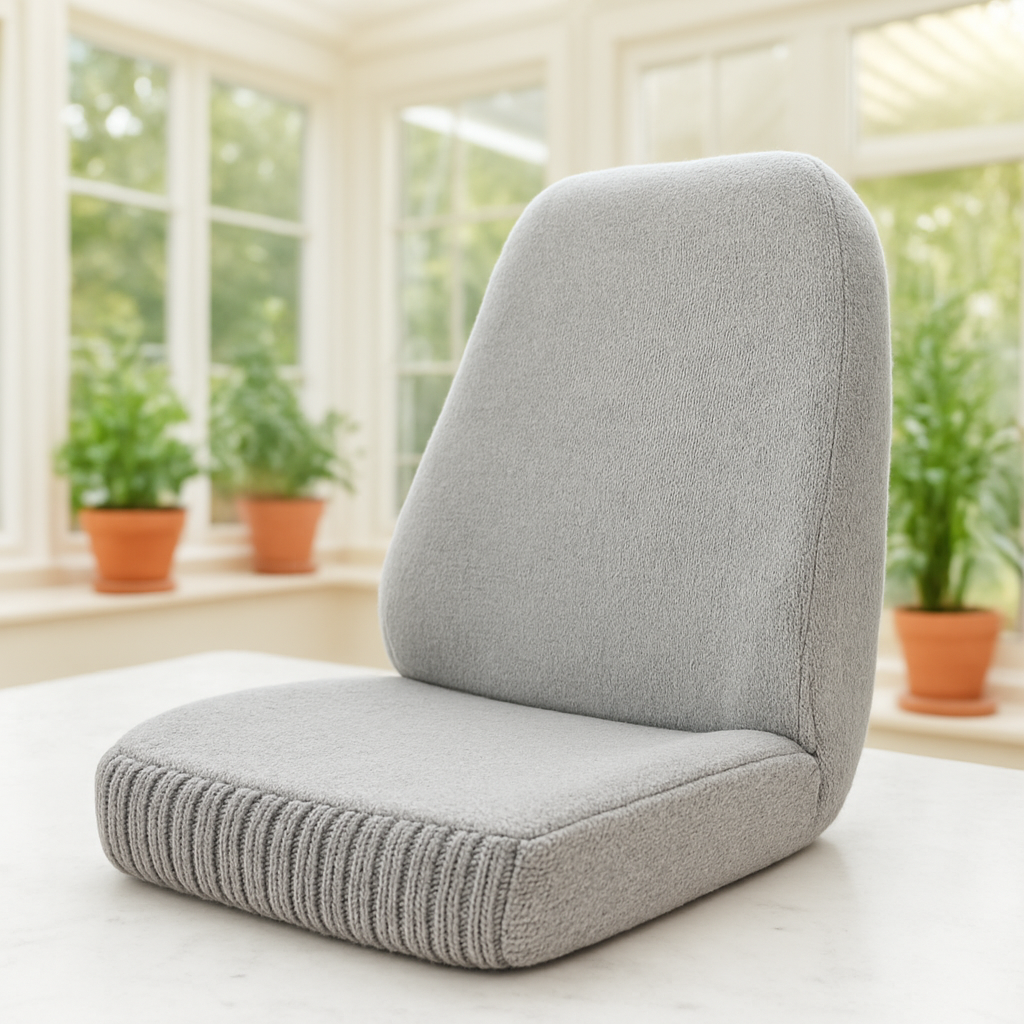
Zen Simplicity Car Seat Cover Free Pattern
Introduction
Embrace the art of minimalism with this Zen Simplicity Car Seat Cover pattern. Designed to bring a touch of tranquility and elegance to your vehicle, this pattern is perfect for those who appreciate clean lines and subtle textures. Whether you're looking to refresh your car's interior or create a thoughtful gift for a loved one, this car seat cover is a delightful project that combines functionality with style.
Materials Needed
- Yarn: Medium weight cotton yarn, 100% cotton
- Needles: US 8 (5.0 mm) knitting needles
- Gauge: 18 stitches and 24 rows = 4 inches in stockinette stitch
- Tapestry needle: For weaving in ends and sewing sides together
- Scissors: For cutting yarn
- Measuring tape: To ensure proper sizing
Step-by-Step Instructions
- Cast On: Begin by casting on 90 stitches using your US 8 (5.0 mm) knitting needles. Ensure your stitches are not too tight, as this will affect the overall fit of the cover.
- Work in Stockinette Stitch:
- For the next 10 inches, work in stockinette stitch. This means you will knit one row and then purl the next row. Repeat this process until you reach a length of 10 inches.
- Switch to 2x2 Rib Pattern:
- After completing the stockinette section, switch to a 2x2 rib pattern. This means you will knit 2 stitches, then purl 2 stitches across the row.
- Continue this ribbing for 5 inches. This will create a snug fit around the seat.
- Return to Stockinette Stitch:
- After the ribbing, switch back to stockinette stitch for an additional 15 inches. Remember to knit one row and purl the next.
- Bind Off: Once you have completed the final 15 inches, bind off all stitches. To bind off, knit the first two stitches, then use the left needle to lift the first stitch over the second and off the needle. Continue this process until all stitches are bound off.
- Weave in Ends: Use a tapestry needle to weave in all loose ends. This will give your project a clean finish.
- Sew the Sides Together: Fold the finished piece in half lengthwise. Use the tapestry needle to sew the sides together, leaving openings for the headrest and seatbelt. Make sure to secure the stitches well for durability.
- Attach Ties: Finally, attach ties to the bottom corners of the cover. This will help secure the cover under the seat, ensuring it stays in place while you drive.
Congratulations! You have successfully created your own Zen Simplicity Car Seat Cover. Enjoy the elegance and comfort it brings to your vehicle!
Also Check Out: We think you'd love this beautiful pattern on our sister site: Farmhouse Rustic Baby Blanket with Lace Edges - Free Pattern


