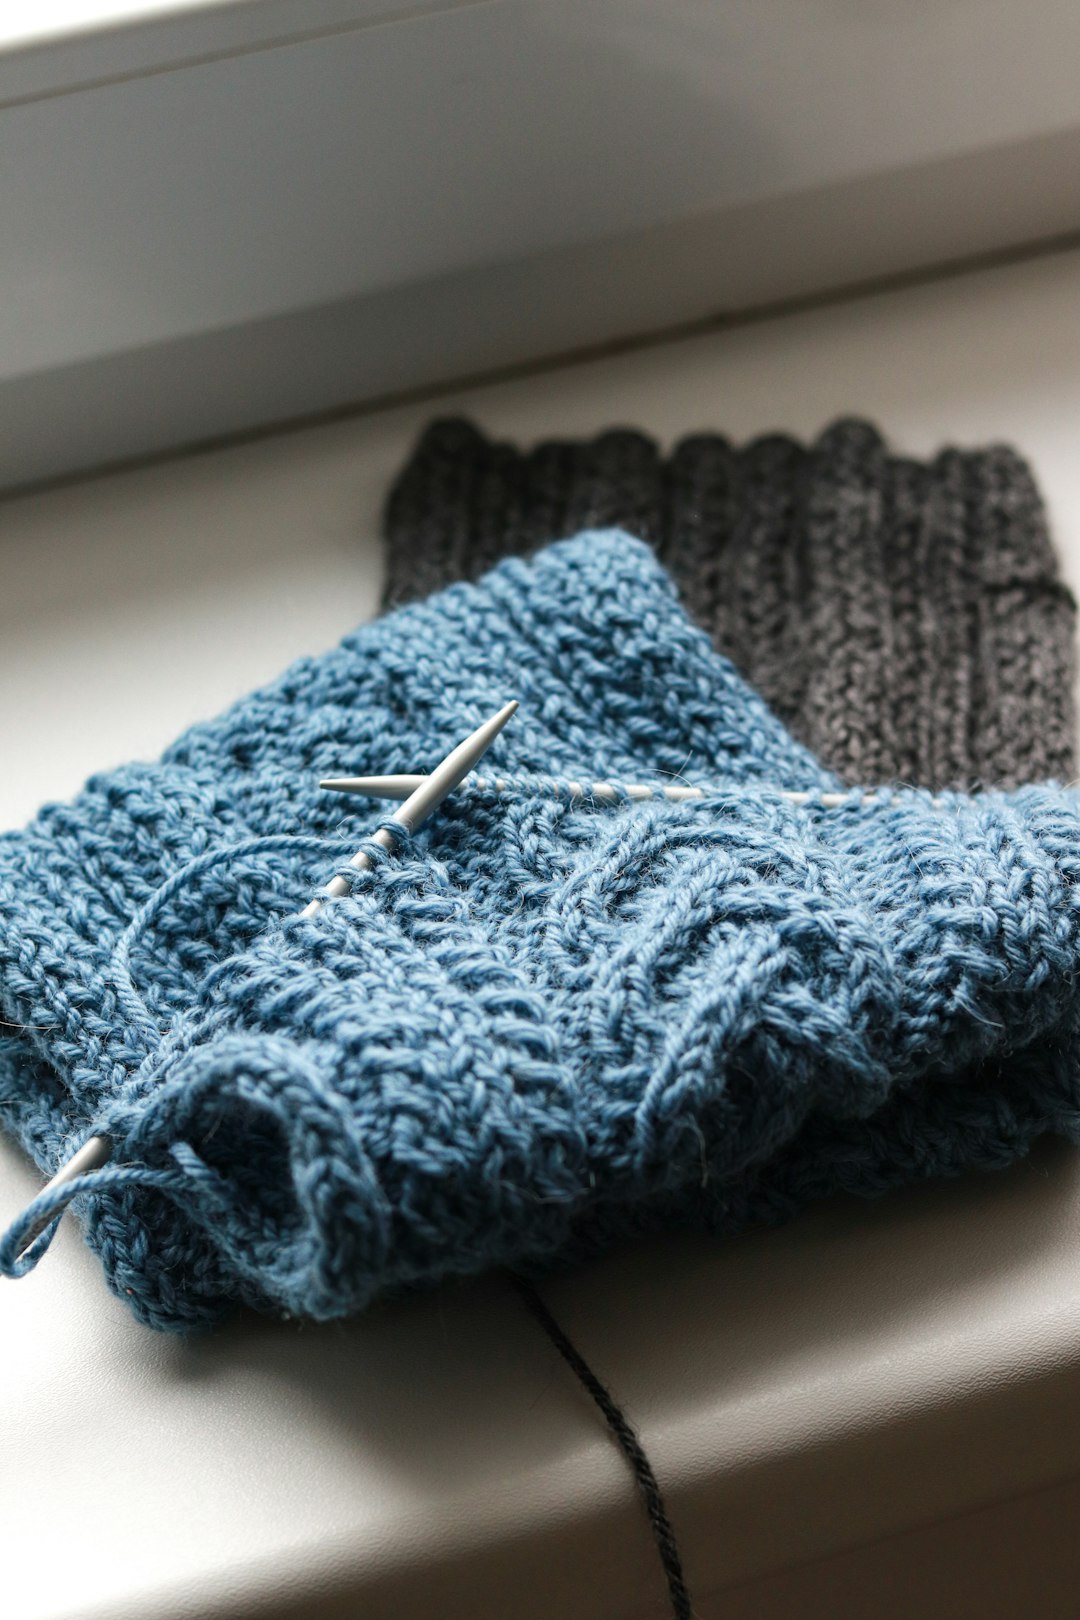
Lantern By The Sea Knit Mitts Free Pattern: Honeycomb Eyelet Fingerless Gloves

Lantern By The Sea Knit Mitts: A Warm Welcome
These fingerless mitts are the perfect first "real" project for anyone who has just learned to knit and purl. You will work them flat on straight needles (no knitting in the round required!), then seam one simple edge to turn a rectangle into a cozy tube. The magic happens down the back of the hand, where a column of cream honeycomb eyelets glows against a denim blue background, like little lanterns lighting the shoreline at dusk. The finished mitts feel soft and matte, thanks to worsted weight cotton, and they hug your hands at about 7.5 inches around and 7 inches long. If you can knit, purl, and make a yarn over, you can absolutely make these.
Materials Needed
- Yarn: Worsted weight cotton yarn (approx. 100–110 yd / 92–100 m per 50 g skein). Main color (MC): denim blue, approx. 90–110 yd / 82–100 m. Contrast color (CC): cream, approx. 25–35 yd / 23–32 m. The sample uses 2 skeins MC and 1 skein CC for a pair.
- Needles: US 7 (4.5 mm) straight or circular needles, or whatever size gets you the gauge below. One extra needle is optional for a three-needle bind-off.
- Stitch markers: 2 per mitt (to mark the edges of the cream panel).
- Tapestry needle: a blunt, large-eye needle for seaming and weaving in ends.
- Scissors for cutting yarn.
- Finished size: Adult unisex, one size. Fits a hand circumference of 7–8.5 in / 18–21.5 cm. Finished mitt circumference is approx. 7.5 in / 19 cm and length is approx. 7 in / 18 cm from wrist to knuckles.
Abbreviations and Beginner Glossary
- k – knit: insert the right needle into the front of the stitch, wrap yarn around, and pull a loop through.
- p – purl: insert the right needle into the front of the stitch from right to left, wrap yarn, and pull a loop through the back.
- yo – yarn over: wrap the yarn once over the right needle to create an extra loop. This makes the little hole (eyelet).
- k2tog – knit 2 stitches together: insert your needle through two stitches at once and knit them as one. This leans the stitch to the right.
- ssk – slip, slip, knit: slip one stitch knitwise (as if to knit) to the right needle, slip a second stitch the same way, then knit both together through their back loops. This leans the stitch to the left.
- sl1 – slip 1 stitch purlwise with yarn in front: move one stitch from the left needle to the right without knitting it, keeping the yarn toward you. This makes a tidy edge.
- RS – right side: the front, public face of your work.
- WS – wrong side: the back face of your work.
- st(s) – stitch(es).
- rep – repeat: do the instruction again.
- MC – main color (denim blue).
- CC – contrast color (cream).
- bind off – the way to finish stitches so they don't unravel (knit two, then lift the first loop over the second and off the needle; repeat).
- cast on – the way to put your first stitches onto the needle.
- garter stitch – knitting every row, which makes a bumpy, flat, non-curling fabric.
Gauge
18 sts and 26 rows = 4 in / 10 cm in garter stitch, blocked.
18 sts and 24 rows = 4 in / 10 cm in the honeycomb eyelet pattern, blocked.
Gauge is critical for fit. Gauge simply means how many stitches and rows fit into a square of fabric. If your stitches are bigger than mine, the mitts will be too loose; if smaller, too tight. To check, cast on about 24 stitches and knit in garter stitch for about 4 inches, then lay it flat and count how many stitches fit across 4 inches. If you have more than 18, go up a needle size; if fewer, go down. Always measure after gently blocking (wetting and drying) your swatch, because cotton relaxes when washed.
Beginner Tips Before You Start
- Use stitch markers. Place one marker on each side of the 13 cream panel stitches. This tells you instantly where the pattern begins and ends, so you never lose your place.
- Don't pull the yarn tight. When you switch between blue and cream, keep the carried yarn relaxed. Tight floats make the mitt pucker and shrink.
- Slip the first stitch of every row. Slipping the first stitch (sl1) with the yarn in front creates a neat, smooth edge that is easy to seam later.
- Count your stitches after every pattern row. The yarn overs and decreases should always balance out, so you should always have 34 stitches. If you don't, you've dropped or added one.
- Read the whole row before you knit it. The honeycomb panel alternates two slightly different right-side rows. Knowing which one is coming keeps you calm.
- Try the mitt on as you go. Once you've seamed the first one, slip it on to check the thumb opening sits comfortably before you make the second.
Step-by-Step Instructions
Construction Notes
Each mitt is worked flat in rows from wrist to knuckles, then seamed along the side edge to form a tube. A thumb opening is created by binding off a small section of stitches on one row and casting them back on the next row. The honeycomb eyelet panel is centered on the back of the hand; the palm side is plain garter stitch. All wrong-side rows are knit (garter stitch) unless otherwise stated. Slip the first stitch of every row purlwise with yarn in front for a neat edge.
Honeycomb Eyelet Panel (worked over 13 stitches)
Row 1 (RS): k1, *yo, ssk, k1, k2tog, yo, k1; rep from * to end.
Row 2 (WS): knit all stitches.
Row 3 (RS): k1, *k1, yo, ssk, k1, k2tog, yo; rep from * to end.
Row 4 (WS): knit all stitches.
Row 5 (RS): k1, *yo, ssk, k1, k2tog, yo, k1; rep from * to end.
Row 6 (WS): knit all stitches.
Row 7 (RS): k1, *k1, yo, ssk, k1, k2tog, yo; rep from * to end.
Row 8 (WS): knit all stitches.
Repeat Rows 1–8 for the pattern. The eyelets stack into vertical honeycomb columns.
Color Sequence
Work the background in MC (denim blue). Work the 13-stitch honeycomb eyelet panel in CC (cream). Carry CC loosely across the wrong side when not in use, or use separate small balls for each color section to avoid long floats. Do not twist yarns tightly; keep floats relaxed.
Left Mitt
With MC, cast on 34 sts using the long-tail method.
Set-up Row (WS): knit all sts. (34 sts)
Row 1 (RS): sl1, k9 (MC), place marker, work Row 1 of Honeycomb Eyelet Panel over next 13 sts in CC, place marker, k10 (MC), k1 edge st. (34 sts)
Row 2 (WS): sl1, k10 (MC), knit 13 panel sts in CC, k9 (MC), k1 edge st. (34 sts)
Continue in the established pattern: 10 sts MC garter at each side, 13-st panel in CC following the Honeycomb Eyelet Panel rows, 1 edge st each side. Work even until the piece measures 3 in / 7.5 cm from the cast-on edge, ending with a WS row.
Thumb Opening
Next Row (RS): sl1, k9 MC, bind off 5 sts for the thumb opening, work 13 panel sts in CC as established, k10 MC, k1 edge st. (29 sts on needle)
Next Row (WS): sl1, k10 MC, knit 13 panel sts CC, k9 MC, cast on 5 sts using the backward loop method, k1 edge st. (34 sts)
Continue working even in the established pattern until the piece measures 7 in / 18 cm from the cast-on edge, ending with a WS row.
Right Mitt
Work as for the Left Mitt, but reverse the placement of the thumb opening: work 10 sts MC, 13 panel sts CC, then bind off 5 sts for the thumb opening, k9 MC, k1 edge st. Continue as established.
Thumb Edging (Optional)
With RS facing and MC, pick up and knit 14 sts evenly around the thumb opening. Knit 2 rows. Bind off loosely. Seam the 1-in gap at the base of the thumb.
Assembly and Finishing
Bind off: Bind off all stitches loosely in pattern. A tight bind-off will make the wrist edge dig in, so keep it relaxed.
Block: Soak the pieces in cool water for 10 minutes, gently squeeze out excess water (do not wring), and lay flat to dry, shaping to measurements. This evens out the stitches and opens the eyelets.
Seam: Fold the mitt in half with right sides together, aligning the cast-on and bound-off edges. Thread your tapestry needle with MC and seam the side edge from wrist to knuckles using mattress stitch: bring the needle under the horizontal bar between the first two stitches on one edge, then under the matching bar on the other edge, and pull gently. This creates an invisible seam. Leave the 5-stitch thumb opening unseamed.
Weave in ends: Thread each yarn tail onto the tapestry needle and weave it back and forth through the wrong side of the fabric for about an inch, then trim. Weave cream tails into cream areas and blue tails into blue areas so they don't show.
Pro Tips and Variations
- Change the colors: Swap the denim and cream for any two colors you love. A mustard panel on charcoal, or a blush panel on oatmeal, gives a completely different mood while keeping the same lantern effect.
- Adjust the size: To make the mitts wider, add stitches in multiples of 2 to the plain garter sections on each side (keeping the 13-stitch panel unchanged). To make them longer, simply work more even rows before the thumb opening and before the bind-off.
- Substitute yarn: Any worsted weight yarn works, but cotton gives the crisp, matte look shown. A wool blend will be warmer and slightly stretchier, so check your gauge again before starting.
- Skip the thumb edging: If you want an even quicker finish, leave the thumb opening plain. It will still look tidy because the bound-off and cast-on edges create a clean little hole.