Coral Snowflake Filet Crochet Pouch Free Pattern

Coral Snowflake Filet Crochet Pouch – A Free Beginner-Friendly Pattern
Introduction
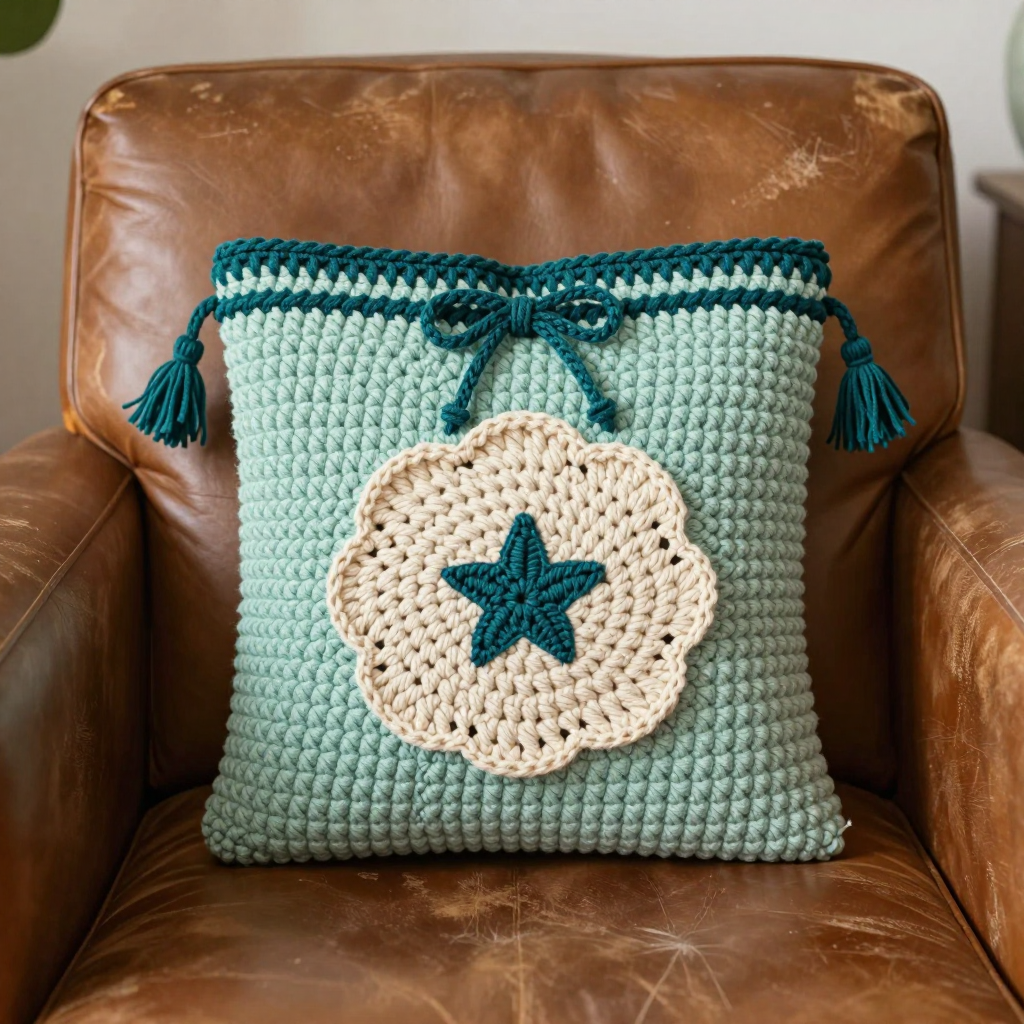
This little coral pouch is the perfect first project for anyone who has just picked up a crochet hook and wants to make something they will actually use every single day. It is a simple straight-sided tube, closed at the bottom, with a calm Scandinavian snowflake band in teal near the top and a drawstring cord to keep your phone or small tablet safe. The finished pouch measures about 14 cm (5.5 in) wide and 19 cm (7.5 in) tall, and the linen-blend yarn gives it a soft, matte, natural look with a gentle halo. Because it is worked almost entirely in single crochet rounds, you only need to master one basic stitch to finish it. By the end you will have a tidy, textured sleeve that feels sturdy in the hand and looks far more complicated than it really is.
Materials Needed
- Yarn (Main Color – MC, coral): Linen-blend DK weight (approx. 50% linen, 50% cotton; 125 m / 137 yd per 50 g skein). You need approx. 70 g / 175 m.
- Yarn (Contrast Color – CC, teal): Same yarn type. You need approx. 15 g / 38 m.
- Crochet hook: 3.5 mm (US E/4), or whatever size gives you the correct gauge.
- Stitch markers: At least 4 (to mark the first stitch of each round and the start of the snowflake band).
- Tapestry needle: A blunt-tipped needle with a large eye for weaving in ends.
- Scissors: Sharp small scissors for trimming yarn.
- Measuring tape (for checking gauge and finished size).
- Finished size: Width 14 cm / 5.5 in flat (circumference approx. 28 cm / 11 in); height 19 cm / 7.5 in from base to top edge. Fits a phone up to 13 cm wide and 17.5 cm tall, or a small tablet.
Abbreviations and Beginner Glossary
- ch – chain. Make a loop of yarn on the hook, wrap yarn over the hook, and pull it through the loop. That is one chain.
- sl st – slip stitch. Insert the hook into the stitch, wrap yarn over, and pull it through both the stitch and the loop on your hook at the same time. It makes a nearly invisible join.
- sc – single crochet. Insert hook into stitch, wrap yarn over, pull up a loop (2 loops on hook), wrap yarn over again, pull through both loops. One loop remains.
- dc – double crochet. Wrap yarn over hook, insert hook into stitch, wrap yarn over, pull up a loop (3 loops on hook), wrap yarn over, pull through 2 loops, wrap yarn over, pull through last 2 loops.
- ch-1 sp – chain-1 space. The small gap made by a single chain in the previous round; you work your next stitch into that gap.
- ch-2 sp – chain-2 space. The larger gap made by two chains; used for the eyelet holes.
- st(s) – stitch(es).
- MC – main color (coral).
- CC – contrast color (teal).
- beg – beginning.
- rep – repeat. Do the instruction again the stated number of times.
- RS – right side. The outside face of the pouch that everyone sees.
- fsc – foundation single crochet. A way to make the first row and its base chain at the same time: ch 2, insert hook in 2nd ch from hook, yarn over, pull up a loop (2 loops on hook), yarn over, pull through 1 loop (this makes a chain), yarn over, pull through both loops (this makes an sc). For each following fsc, insert the hook under the two loops of the chain at the base of the previous stitch and work as before.
- join – finish the round by working a sl st into the first stitch of that round.
Gauge
20 sc x 22 rounds = 10 x 10 cm / 4 x 4 in in single crochet worked in the round, after light blocking.
Why gauge matters: Gauge is how many stitches and rounds fit into a set measurement. If your stitches are bigger than the pattern expects, your pouch will be too wide and your phone may slide around; if they are smaller, the pouch may be too tight. Always make a swatch first.
How to make a gauge swatch: With your 3.5 mm (US E/4) hook and MC, work a flat swatch of about 25 single crochet stitches and 25 rows. Lay it flat, mist it lightly with water, and let it dry. Measure a 10 cm / 4 in square in the middle and count the stitches and rows. If you have more than 20 stitches, go up a hook size; if you have fewer, go down a hook size. Change hook, not yarn, to fix gauge.
Beginner Tips Before You Start
- Use a stitch marker in the first stitch of every round. Because you join each round with a slip stitch, it is very easy to lose track of where a round begins. Move the marker up as you go.
- Do not pull your yarn too tight. Tension should be comfortable. Tight stitches make the fabric stiff and make it hard to insert the hook into the next round.
- Count your stitches at the end of every round. The pattern tells you the count in parentheses, for example (64 sts). If the number is wrong, fix it before moving on.
- Keep the base flat. When you work the increasing rounds of the base, lay the circle on the table now and then. If it ruffles, your increases are too close together; if it cups upward, you have too few increases.
- Change color at the join. When you switch from coral to teal for the snowflake band, finish the last coral stitch, then pull the teal through to complete it. This hides the color change neatly.
- Work the filet band loosely. The chain-1 spaces need to stay open so the snowflake shows. If your chains are tight, the pattern will close up.
Step-by-Step Instructions
Base (worked in MC)
Round 1: Work 8 fsc, join with sl st to first fsc to form a ring. (8 sts)
Round 2: ch 1, 2 sc in each st around, join with sl st to first sc. (16 sts)
Round 3: ch 1, [2 sc in next st, sc in next st] 8 times, join. (24 sts)
Round 4: ch 1, [2 sc in next st, sc in next 2 sts] 8 times, join. (32 sts)
Round 5: ch 1, [2 sc in next st, sc in next 3 sts] 8 times, join. (40 sts)
Round 6: ch 1, [2 sc in next st, sc in next 4 sts] 8 times, join. (48 sts)
Round 7: ch 1, [2 sc in next st, sc in next 5 sts] 8 times, join. (56 sts)
Round 8: ch 1, [2 sc in next st, sc in next 6 sts] 8 times, join. (64 sts)
Round 9: ch 1, sc in each st around, join. (64 sts)
The base is now a flat circle approx. 14 cm / 5.5 in in diameter. Do not fasten off.
Body (worked in MC)
Rounds 10–30: ch 1, sc in each st around, join with sl st to first sc. (64 sts per round)
Work even until the tube measures approx. 13 cm / 5 in from the base, ending after Round 30. Do not fasten off.
Snowflake Band (worked in CC)
Change to CC. The band is 20 stitches wide and 9 rounds tall, and each round has 20 stitches total. A filled square is 1 dc; an open square is ch 1, skip 1 st, dc in next st. The snowflake is centered on the front of the pouch; the back of the band is worked in plain dc. Work the rounds below, joining each round with sl st to the first st.
Round 1: dc in every st around. (20 sts)
Round 2: dc 4, [ch 1, skip 1, dc 1] 6 times, dc 4. (20 sts: 8 dc + 6 ch-1 sps + 6 dc)
Round 3: dc 3, [ch 1, skip 1, dc 1] 7 times, dc 3. (20 sts)
Round 4: dc 2, [ch 1, skip 1, dc 1] 8 times, dc 2. (20 sts)
Round 5: dc 2, ch 1, skip 1, dc 1, ch 1, skip 1, dc 1, ch 1, skip 1, dc 1, ch 1, skip 1, dc 1, ch 1, skip 1, dc 1, ch 1, skip 1, dc 1, ch 1, skip 1, dc 1, ch 1, skip 1, dc 2. (20 sts)
Round 6: dc 2, [ch 1, skip 1, dc 1] 8 times, dc 2. (20 sts)
Round 7: dc 3, [ch 1, skip 1, dc 1] 7 times, dc 3. (20 sts)
Round 8: dc 4, [ch 1, skip 1, dc 1] 6 times, dc 4. (20 sts)
Round 9: dc in every st around, working 1 dc in each ch-1 sp and 1 dc in each dc. (20 sts)
Fasten off CC.
Eyelet Band (worked in MC)
Rejoin MC in any st of the last round.
Round 1: ch 1, sc in each st around, join. (64 sts)
Round 2 (eyelet round): ch 1, [sc in next 2 sts, ch 2, skip 2 sts] 16 times, join with sl st to first sc. (16 eyelet holes)
Round 3: ch 1, sc in each st and in each ch-2 sp around, join. (64 sts)
Round 4: ch 1, sc in each st around, join. (64 sts)
Fasten off MC and weave in ends.
Drawstring Cord (worked in CC)
Leave a 10 cm / 4 in tail. Ch 90, then work 1 sl st in each ch across. Fasten off, leaving a 10 cm / 4 in tail. Thread the cord through the eyelet round, beginning and ending at the center front, and tie the ends in a small overhand knot. Trim tails to 5 cm / 2 in.
Assembly and Finishing
Weaving in ends: Thread each loose tail onto the tapestry needle. Turn the pouch inside out and pass the needle through the back of several stitches, then back through a few more in the opposite direction to lock it. Trim the yarn close to the fabric. Do this for every tail, including the cord tails.
Seaming: There is no seaming in this pouch. The base is closed by the foundation ring and the body is worked in one continuous tube, so the only joining is the slip-stitch join at the end of each round.
Blocking: Lightly mist the finished pouch with water and pat it flat on a towel. Do not stretch the filet band, because the open spaces should stay crisp and even. Let it dry completely before threading the cord through the eyelets. This light blocking settles the linen-blend yarn and evens out the stitches.
Pro Tips and Variations
- Change the colors: Use a soft grey or oatmeal for MC and a deep berry for CC for a different Scandinavian feel. Keep the contrast strong so the snowflake reads clearly.
- Adjust the size: To make a wider pouch, add one more increase round to the base (for example, [2 sc in next st, sc in next 7 sts] 8 times = 72 sts) and work the body even on 72 sts. To make it taller, add extra plain sc rounds before the snowflake band.
- Substitute yarn: Any DK weight cotton or cotton-linen blend will work. Check your gauge again, because a different fiber may change the stitch size.
- Make the cord longer or shorter: Chain more for a shoulder strap, or fewer for a wrist loop. Keep the slip-stitch row so the cord stays firm and does not stretch.