Whimsical Woodland Gift Bag Free Pattern – Knit a Cozy Pinecone Pouch

Whimsical Woodland Gift Bag: A Cozy Pinecone Pouch to Knit
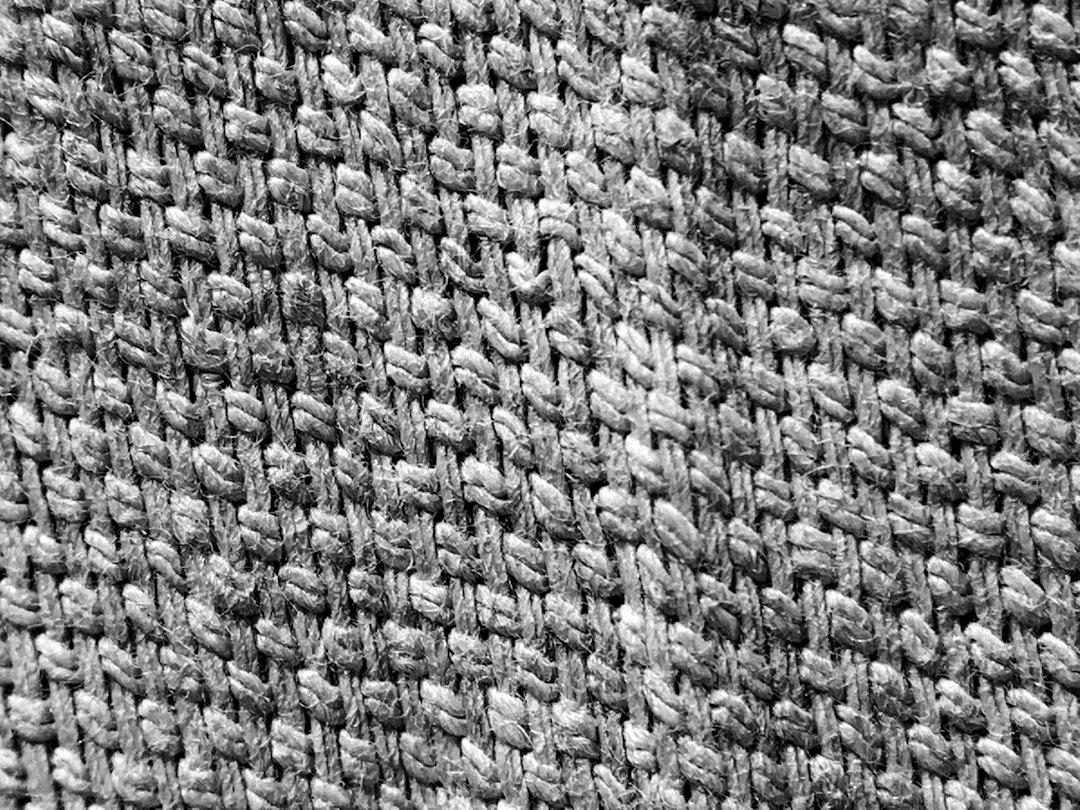
There is something truly magical about giving a gift wrapped in something handmade. The recipient isn't just receiving a present; they are receiving a piece of your time, your care, and your creativity. Today, I am thrilled to share a pattern that perfectly captures that spirit: the Whimsical Woodland Gift Bag. This charming knitted pouch mimics the texture of a pinecone with a delightful bobble stitch, making it the perfect vessel for small treasures, jewelry, or a handful of foraged goodies. With its earthy brown tones and rustic drawstring closure, this bag adds a handcrafted touch that elevates any gift-giving occasion. Let's dive into this cozy, woodland-inspired project!
Materials Needed
Before we begin our knitting adventure, let's gather our supplies. This project is wonderfully portable and requires minimal materials, making it a great weekend project.
- Yarn: Worsted weight yarn in two shades:
- Main Color (MC): Warm brown (approximately 100g) – this will form the pinecone body.
- Contrast Color (CC): Cream (approximately 50g) – this is for the drawstring and leaf detail.
- Needles: US 7 (4.5mm) knitting needles. You can use straight needles or circulars for flat knitting, whichever you prefer.
- Notions: A tapestry needle for seaming and weaving in ends, and stitch markers (optional, but helpful for keeping track of pattern repeats).
Gauge: 20 stitches and 26 rows = 4 inches in stockinette stitch. While gauge isn't critical for a bag, matching it will ensure your finished pouch is the intended size (about 5 inches wide and 6 inches tall).
Step-by-Step Instructions
This pattern is worked flat in rows and then seamed, which makes it incredibly approachable for beginners. The bobble stitch might look intimidating, but I promise it's easier than it looks! Let's break it down.
Understanding the Bobble Stitch
Before we start, let's demystify the bobble. In this pattern, a bobble is worked as follows: (k1, p1, k1, p1, k1) all into the same stitch. This gives you 5 stitches on your right needle where there was only 1. Then, you pass the 2nd, 3rd, 4th, and 5th stitches over the 1st stitch, leaving you with just one stitch again. This creates a lovely, raised "bump" that mimics a pinecone scale.
Bag Body (Worked Flat, Then Seamed)
Cast On: With your Main Color (MC) yarn, cast on 36 stitches.
Foundation Rows:
- Row 1 (Right Side): Knit all stitches.
- Row 2 (Wrong Side): Purl all stitches.
Bobble Pattern Setup:
- Row 3 (RS): Knit 3, *bobble (as described above), knit 4; repeat from * to the last 3 stitches, knit 3. (You will have 6 bobbles in this row).
- Row 4 (WS): Purl all stitches.
- Rows 5-6: Work in stockinette stitch (Knit on RS, Purl on WS).
- Row 7 (RS): Knit 1, *bobble, knit 4; repeat from * to the last 5 stitches, bobble, knit 4. (This offsets the bobbles for a staggered, organic pinecone look).
- Row 8 (WS): Purl all stitches.
- Rows 9-10: Work in stockinette stitch.
Repeat: Continue repeating Rows 3 through 10 until your piece measures approximately 6 inches from the cast-on edge, ending with a Wrong Side row. This will give you a beautiful, textured fabric full of bobbles.
Drawstring Casing
Now we will create the channel for our drawstring at the top of the bag.
- Next Row (RS): Knit 2, *yarn over (yo), knit 2 together (k2tog); repeat from * to the end of the row. (This creates the eyelets for the drawstring).
- Next Row (WS): Purl all stitches.
- Next 4 Rows: Work in stockinette stitch (Knit RS, Purl WS).
- Next Row (RS): Knit all stitches, then bind off loosely. (A loose bind-off is crucial so the casing can fold over easily).
Finishing and Assembly
This is where the bag comes together!
- Fold the Casing: Fold the top casing down at the eyelet row to the inside of the bag. The bound-off edge should be on the inside.
- Sew the Casing: Using your tapestry needle and MC yarn, carefully sew down the bound-off edge to the inside of the bag, creating a neat channel for the drawstring. Ensure you don't sew the eyelets shut.
- Seam the Side: Fold the bag in half with the Right Sides together. Sew the side seam from the bottom of the bag up to the casing. Important: Leave the casing area open so you can thread the drawstring through later.
- Weave in Ends: Turn the bag right side out. Weave in all loose yarn ends with your tapestry needle to give your bag a clean, professional finish.
Drawstring
Let's create the rustic drawstring that ties the whole look together.
- With your Contrast Color (CC) yarn, cast on 3 stitches.
- Work an I-cord for 18 inches. (To make an I-cord: Knit the 3 stitches, then slide them to the other end of your needle without turning the work. Pull the yarn tightly across the back and knit the 3 stitches again. Repeat until you reach the desired length).
- Bind off all stitches.
- Thread the I-cord through the casing you created, using a safety pin or tapestry needle to help guide it through the channel.
Pinecone Leaf (Optional)
This little leaf adds the perfect finishing touch to the woodland aesthetic.
- With your Contrast Color (CC) yarn, cast on 5 stitches.
- Work in stockinette stitch for 2 inches.
- Next Row (RS): Knit 2 together (k2tog) across the row. You will have 3 stitches left.
- Cut your yarn, leaving a long tail. Thread the tail through the remaining stitches on your needle and pull tight to gather.
- Sew the leaf securely to the top of the bag, near the drawstring opening.
And there you have it—a beautiful, whimsical woodland gift bag that is as delightful to make as it is to give. The textured bobble stitch is a joy to knit, and the result is a sturdy, cozy pouch that feels wonderfully rustic. Whether you fill it with a handmade soap, a piece of jewelry, or some sweet treats, this pinecone pouch is sure to be a cherished part of the gift itself. Happy knitting!