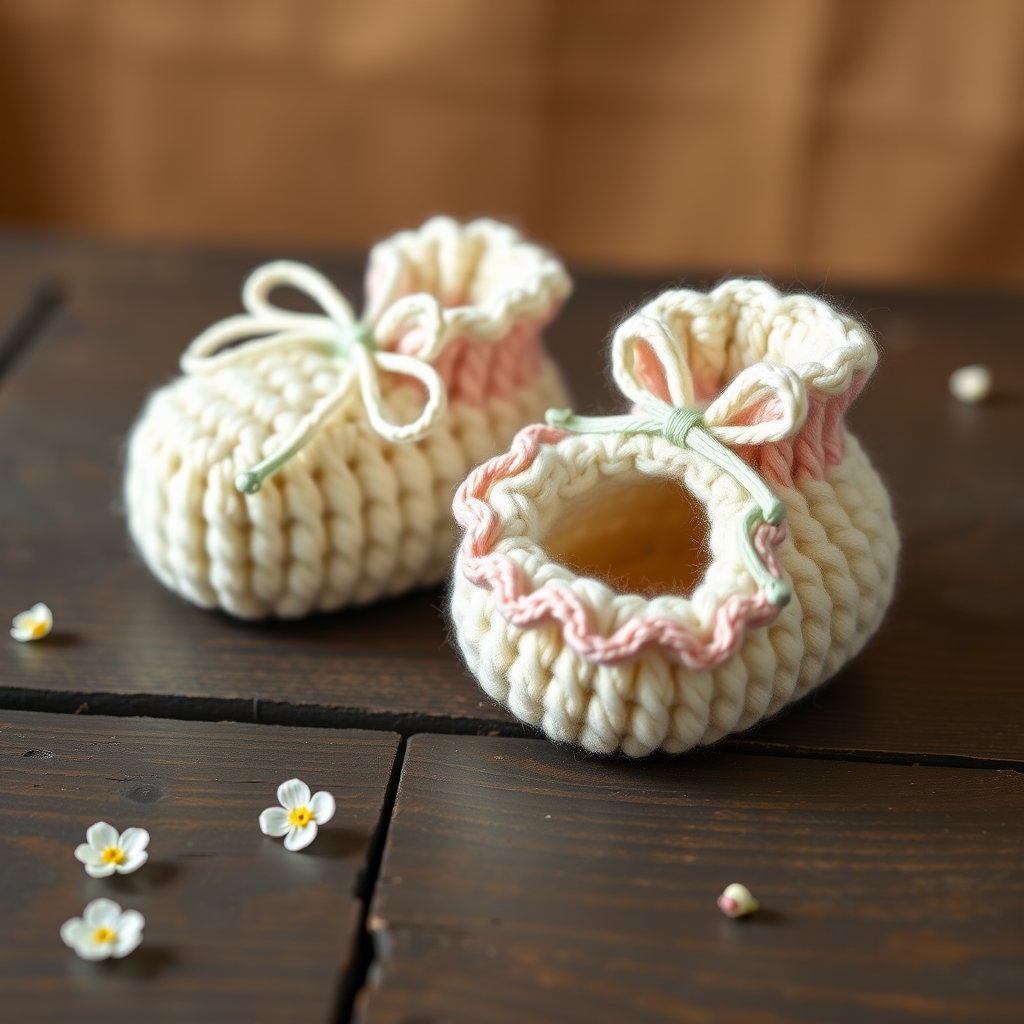
Whimsical Woodland Cuffed Baby Booties Free Pattern

Whimsical Woodland Cuffed Baby Booties Free Pattern
Introduction
Delight in the charm of the forest with these Whimsical Woodland Cuffed Baby Booties. Featuring intricate leaf motifs and a cozy cuff, these booties are perfect for keeping little toes warm and stylish. This pattern is designed for beginners, ensuring that you can create these adorable booties with ease and confidence.
Materials Needed
- Yarn: DK weight, 100% merino wool
- Needles: US 4 (3.5mm) knitting needles
- Gauge: 22 stitches and 30 rows = 4 inches in stockinette stitch
Step-by-Step Instructions
1. Casting On
Begin by casting on 40 stitches using the long-tail cast-on method. This method provides a stretchy edge that is perfect for the cuff of the booties.
2. Creating the Cuff
Work in 1x1 ribbing (knit 1, purl 1) for 10 rows. This will create a snug and cozy cuff that will keep the booties secure on your baby's feet.
3. Switching to Stockinette Stitch
After completing the cuff, switch to stockinette stitch. To do this, knit every row for the next 20 rows. This will form the main body of the booties.
4. Beginning the Leaf Motif
Now it's time to add the whimsical leaf motif. Follow these instructions:
- Row 1: Knit 2 (K2), *yarn over (yo), knit 2 together (k2tog), knit 3 (k3); repeat from * to the last 2 stitches, knit 2 (K2).
- Row 2: Purl all stitches.
Repeat Rows 1 and 2 for a total of 8 rows to create the leaf pattern.
5. Shaping the Toe
To shape the toe of the booties, you will need to decrease the stitches:
- Row 1: Knit 1 (K1), knit 2 together (k2tog), knit to the last 3 stitches, slip slip knit (ssk), knit 1 (K1).
- Row 2: Purl all stitches.
Continue repeating these two rows until you have 20 stitches remaining.
6. Grafting the Toe
Once you have 20 stitches left, it’s time to finish the toe using the Kitchener stitch. This technique creates a seamless finish. Follow these steps:
- Thread a tapestry needle with the working yarn.
- Insert the needle into the first stitch on the front needle and pull it through, then remove the stitch from the needle.
- Insert the needle into the next stitch on the front needle, pull it through, but do not remove it from the needle.
- Now, move to the back needle and repeat the process until all stitches are grafted together.
7. Finishing Touches
After the toe is grafted, seam the back of the bootie together. Make sure to weave in all ends securely to prevent any unraveling.
8. Repeat for the Second Bootie
Follow the same steps to create the second bootie, ensuring that both booties match perfectly.
Conclusion
Congratulations! You have successfully created a pair of Whimsical Woodland Cuffed Baby Booties. These cozy booties not only keep little toes warm but also add a touch of woodland charm to any outfit. Enjoy gifting or using them for your little one!