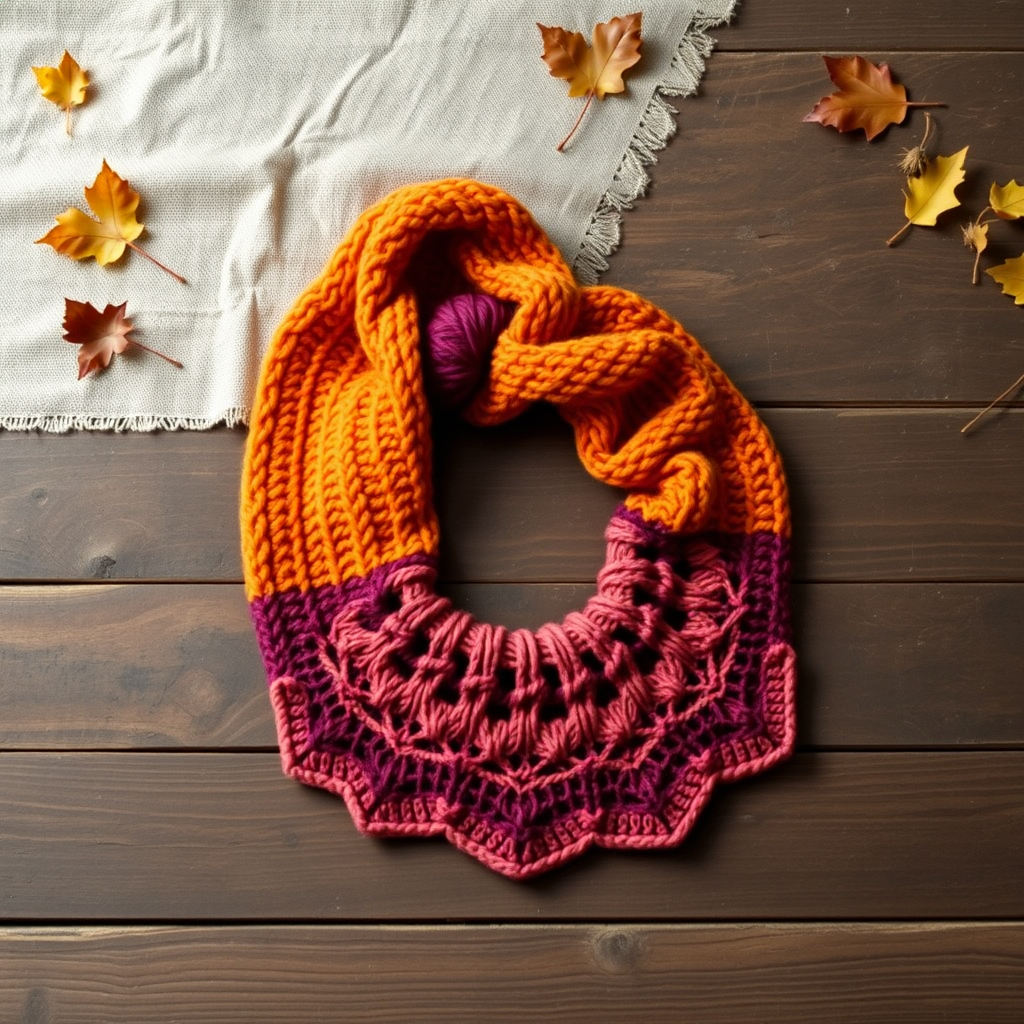
Verdant Rose Cascade Shawl Free Pattern – A Lush Knitted Garden Wrap

Verdant Rose Cascade Shawl Free Pattern – A Lush Knitted Garden Wrap
Wrap yourself in a cascading garden of textured leaves and delicate rose motifs with this exquisite knitted shawl. The deep jade and blush palette evokes a serene botanical escape, perfect for adding a touch of handcrafted elegance to any outfit. This free pattern is designed for knitters who have mastered the basics and are ready to explore beautiful stitch combinations. The result is a stunning, triangular wrap that drapes beautifully and showcases your skill.
Materials Needed
Before you begin, gather the following materials to ensure a smooth and enjoyable knitting experience. Having everything ready will help you maintain your flow and focus on the beautiful pattern.
- Yarn: Worsted weight yarn in two colors:
- Color A (Deep Jade Green): 600 yards
- Color B (Blush Pink): 300 yards
- Needle: US Size 8 (5.0 mm) circular knitting needle, 32-inch cable (or longer for larger projects).
- Notions: Stitch markers (at least 2), tapestry needle for weaving in ends, blocking pins and mats.
- Gauge: 18 stitches and 24 rows = 4 inches in stockinette stitch (blocked). Always check your gauge to ensure your shawl matches the intended dimensions.
Step-by-Step Instructions
This shawl is knitted from the top center down, with a simple garter stitch base and increasing leaf and rose motifs. The pattern uses basic knit, purl, yarn over, and decrease stitches. Follow the instructions carefully, and you'll be amazed at the intricate design you create.
Abbreviations
- K: knit
- P: purl
- YO: yarn over
- K2tog: knit two together (right-leaning decrease)
- SSK: slip, slip, knit (left-leaning decrease)
- PM: place marker
- SM: slip marker
- RS: right side
- WS: wrong side
Setup Section
We'll begin by creating the center point of your shawl. This section establishes the foundation and the initial increases that will shape your wrap.
- With Color A, cast on 3 stitches.
- Row 1 (RS): K1, YO, K1, YO, K1 (5 stitches)
- Row 2 (WS): K2, P1, K2
- Row 3 (RS): K2, YO, K1, YO, K2 (7 stitches)
- Row 4 (WS): K2, P3, K2
- Row 5 (RS): K2, YO, K3, YO, K2 (9 stitches)
- Row 6 (WS): K2, P5, K2
- Row 7 (RS): K2, YO, K5, YO, K2 (11 stitches)
- Row 8 (WS): K2, P7, K2
- Row 9 (RS): K2, YO, K7, YO, K2 (13 stitches)
- Row 10 (WS): K2, P9, K2
Main Body (Increase Section)
Now we'll continue the shaping of the shawl. This section creates the triangular form by increasing two stitches on every right-side row. The garter stitch edges will form a clean border.
- Continue in this pattern, increasing 2 stitches every RS row (YO after first 2 stitches and before last 2 stitches) until you have 101 stitches on the needle, ending with a WS row.
- Place a marker (PM) after the first 2 stitches and before the last 2 stitches to mark the increase points. These markers will guide you throughout the rest of the pattern.
Leaf Motif Section
This is where the magic begins! We'll introduce the textured leaf pattern in the center of the shawl while continuing the edge increases. The leaf motifs are created with a combination of yarn overs and decreases, forming elegant, elongated shapes.
Note: The center section refers to the stitches between your markers. The first and last 2 stitches are always worked in garter stitch (knit on both sides).
- Row 1 (RS): K2, YO, K to marker, YO, SM, K to last 2 stitches, YO, K2 (increase 2)
- Row 2 (WS): K2, P to last 2 stitches, K2
- Row 3 (RS): K2, YO, K to marker, YO, SM, K to last 2 stitches, YO, K2
- Row 4 (WS): K2, P to last 2 stitches, K2
- Row 5 (RS): K2, YO, K to marker, YO, SM, *K1, YO, K2tog, K1, YO, K2tog, K1* repeat from * to * until last 2 stitches, YO, K2
- Row 6 (WS): K2, P to last 2 stitches, K2
- Row 7 (RS): K2, YO, K to marker, YO, SM, *K2, YO, SSK, K1, YO, SSK, K2* repeat from * to * until last 2 stitches, YO, K2
- Row 8 (WS): K2, P to last 2 stitches, K2
- Row 9 (RS): K2, YO, K to marker, YO, SM, *K3, YO, K2tog, K1, YO, K2tog, K3* repeat from * to * until last 2 stitches, YO, K2
- Row 10 (WS): K2, P to last 2 stitches, K2
Repeat these 10 rows, increasing the number of repeats of the leaf pattern as the shawl grows. Continue until the shawl measures approximately 24 inches from the center cast-on edge, ending with a WS row.
Rose Motif Section
Now we introduce the stunning blush pink roses. This section adds a beautiful contrast and a romantic, dimensional quality to your shawl. The rose motifs are worked over 9 stitches and are placed in the center of each leaf section.
- Switch to Color B for the rose motifs. Work the same increase rows, but add a rose motif in the center of each leaf section every 8 rows.
Rose Motif (worked over 9 stitches):
- Row 1 (RS): K2, YO, K2tog, K1, YO, K2tog, K1, YO, K2tog, K2
- Row 2 (WS): P all stitches
- Row 3 (RS): K1, YO, K2tog, K1, YO, K2tog, K1, YO, K2tog, K1
- Row 4 (WS): P all stitches
- Row 5 (RS): K2, YO, K2tog, K1, YO, K2tog, K1, YO, K2tog, K2
- Row 6 (WS): P all stitches
- Row 7 (RS): K1, YO, K2tog, K1, YO, K2tog, K1, YO, K2tog, K1
- Row 8 (WS): P all stitches
Work these rose motifs in the center of each leaf repeat, spacing them evenly. Continue until the shawl measures approximately 30 inches from the center cast-on edge.
Edging
We're almost done! This beautiful scalloped edging in Color A will frame your shawl perfectly, adding a delicate, finished look.
- Switch back to Color A.
- Row 1 (RS): K2, YO, *K2tog, YO* repeat from * to * until last 2 stitches, YO, K2
- Row 2 (WS): K2, P to last 2 stitches, K2
- Row 3 (RS): K2, YO, *K1, YO, K2tog, YO* repeat from * to * until last 2 stitches, YO, K2
- Row 4 (WS): K2, P to last 2 stitches, K2
- Row 5 (RS): K2, YO, *K2tog, YO, K1, YO* repeat from * to * until last 2 stitches, YO, K2
- Row 6 (WS): K2, P to last 2 stitches, K2
- Row 7 (RS): K2, YO, *K1, YO, K2tog, YO, K1, YO* repeat from * to * until last 2 stitches, YO, K2
- Row 8 (WS): K2, P to last 2 stitches, K2
Bind off loosely in pattern. This loose bind-off is crucial to maintain the stretch and drape of the scalloped edge.
Finishing
The final steps are essential to showcase your beautiful work. Proper finishing will transform your knitting into a polished, professional-looking shawl.
- Weave in all ends using a tapestry needle. Be sure to weave them in securely on the wrong side of the work.
- Block the shawl gently to shape. Soak the shawl in lukewarm water with a gentle wool wash for about 20 minutes. Gently squeeze out excess water (do not wring).
- Lay the shawl on a blocking mat and pin out the points and scallops to their full dimensions. This will open up the lace patterns and define the shape.
- Allow to dry completely before unpinning. This may take 24-48 hours depending on your environment.
Congratulations! You've created a stunning Verdant Rose Cascade Shawl. This beautiful piece is perfect for cozy evenings, special occasions, or as a heartfelt handmade gift. The combination of the deep jade green and blush pink creates a timeless, botanical elegance that you'll cherish for years to come. Enjoy wearing your handcrafted garden wrap!