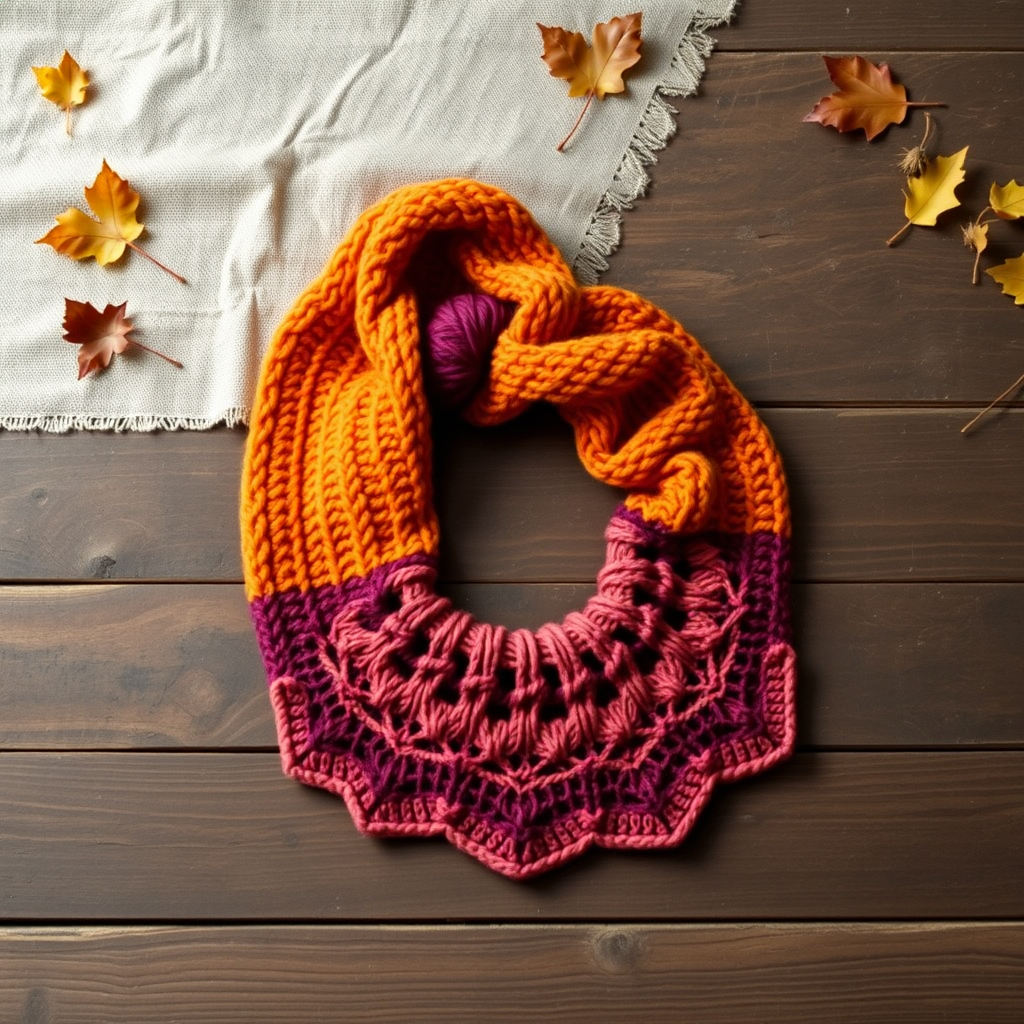
Aurora Mist Mosaic Shawl Free Pattern – Knit a Dreamy Gradient Wrap

Aurora Mist Mosaic Shawl Free Pattern – Knit a Dreamy Gradient Wrap
Wrap yourself in the ethereal beauty of a hand-knit mosaic shawl, where soft gradient yarns dance across a field of textured stitches. This pattern creates a lightweight yet cozy accessory that feels like a gentle cloud around your shoulders. The Aurora Mist Mosaic Shawl is a beginner-friendly project that introduces you to the magic of mosaic knitting—a technique that creates intricate-looking patterns using simple slipped stitches and two colors per row. The result is a stunning crescent-shaped wrap with geometric diamond and chevron motifs that appear to float across the fabric, evoking the soft hues of dawn.
Whether you're a seasoned knitter looking for a meditative project or a beginner ready to expand your skills, this shawl is the perfect choice. The gradient color transitions—from misty blues to soft lavenders to creamy whites—create a truly one-of-a-kind accessory that will become a staple in your wardrobe or a cherished handmade gift.
Materials Needed
Before you begin, gather the following materials to ensure a smooth and enjoyable knitting experience:
Yarn
- Color A (main): 400g of fingering weight yarn. Suggested: Malabrigo Sock or similar. Choose a soft, misty blue or creamy white for the base.
- Color B (contrast 1): 150g of fingering weight yarn. Suggested: A soft lavender or muted purple.
- Color C (contrast 2): 150g of fingering weight yarn. Suggested: A creamy white or pale pink.
Pro tip: For the best gradient effect, choose three colors that blend harmoniously. If you prefer a more dramatic look, opt for higher contrast between the main and contrast colors.
Needles
- US 6 (4.0 mm) circular knitting needle, 32 inches long, or size needed to obtain gauge. The circular needle is essential to accommodate the growing number of stitches as the shawl expands.
Gauge
- 20 stitches and 28 rows = 4 inches in stockinette stitch, blocked. Always knit a gauge swatch before starting to ensure your finished shawl matches the intended dimensions. If your gauge is off, adjust your needle size accordingly.
Additional Supplies
- Stitch markers (optional, but helpful for marking the center and edges)
- Lifeline thread or waste yarn (highly recommended for safety)
- Tapestry needle for weaving in ends
- Blocking mats and pins for finishing
Step-by-Step Instructions
This shawl is worked from the top down, increasing at the center and edges to create a gentle crescent shape. Mosaic knitting is worked with two colors per row, slipping stitches to create patterns. Follow these detailed instructions carefully, and you'll be amazed at the beautiful fabric you create.
Important Notes Before You Begin
- Lifeline: Use a lifeline every 20 rows for safety. Thread a piece of waste yarn through the stitches on your needle, so if you need to rip back, you can easily return to that point.
- Mosaic Technique: In mosaic knitting, you work with two colors per row. The color not in use is carried along the side of the work, and stitches are slipped to create the pattern. Always slip stitches purlwise unless otherwise instructed.
- Yarn Position: When slipping stitches, pay close attention to whether the yarn should be in front (wyif) or in back (wyib). This is crucial for the pattern to work correctly.
Abbreviations
- k = knit
- p = purl
- yo = yarn over
- k2tog = knit two together
- sl = slip stitch purlwise
- wyif = with yarn in front
- wyib = with yarn in back
- rep = repeat
- RS = right side
- WS = wrong side
Setup
Follow these steps to cast on and establish the foundation of your shawl:
- Cast on 3 stitches with Color A.
- Row 1 (RS): k1, yo, k1, yo, k1 (5 stitches). This row creates the initial increases that will form the top edge of the shawl.
- Row 2 (WS): k2, p1, k2. The knit stitches at the edges create a neat garter border.
- Row 3 (RS): k1, yo, k1, yo, k1, yo, k1, yo, k1 (9 stitches). You're now increasing at both edges and the center.
- Row 4 (WS): k2, p5, k2. Continue maintaining the garter edge.
Note: The increases at the beginning and end of RS rows (k1, yo, k1) will be maintained throughout the entire shawl. The center increase (yo) is worked on the setup rows only; after that, the mosaic pattern naturally creates the shaping.
Body – Mosaic Pattern
Now you'll begin the mosaic pattern. This is a 10-row repeat that you'll work until the shawl reaches the desired length. Pay close attention to the color changes and the slipped stitch patterns.
Row 1 (RS, Color A): k1, yo, k1, *sl1 wyib, k1* rep from * to * until last 2 stitches, k1, yo, k1.
Explanation: After the initial increase (k1, yo, k1), you'll alternate slipping one stitch with the yarn in back and knitting one stitch. This creates the first row of the mosaic pattern. End with k1, yo, k1 for the edge increase.
Row 2 (WS, Color A): k2, *sl1 wyif, p1* rep from * to * until last 2 stitches, k2.
Explanation: On the wrong side, you'll maintain the garter edge (k2 at each end). In the middle, slip the same stitches you slipped on Row 1, but this time with the yarn in front, and purl the knit stitches. This creates the textured mosaic effect.
Row 3 (RS, Color B): k1, yo, k1, *k1, sl1 wyib* rep from * to * until last 2 stitches, k1, yo, k1.
Explanation: Switch to Color B. Now you'll knit the stitches you previously slipped, and slip the stitches you previously knitted. This offset creates the mosaic pattern.
Row 4 (WS, Color B): k2, *p1, sl1 wyif* rep from * to * until last 2 stitches, k2.
Explanation: On the wrong side with Color B, purl the knit stitches and slip the slipped stitches with yarn in front.
Row 5 (RS, Color A): k1, yo, k1, *sl1 wyib, k1* rep from * to * until last 2 stitches, k1, yo, k1.
Explanation: Return to Color A and repeat the pattern from Row 1. This creates a vertical stripe of the same pattern.
Row 6 (WS, Color A): k2, *sl1 wyif, p1* rep from * to * until last 2 stitches, k2.
Explanation: Repeat Row 2 with Color A.
Row 7 (RS, Color C): k1, yo, k1, *k2, sl1 wyib* rep from * to * until last 2 stitches, k1, yo, k1.
Explanation: Switch to Color C. This row creates a different pattern—knit two stitches, then slip one. This offset creates the chevron-like motifs.
Row 8 (WS, Color C): k2, *p2, sl1 wyif* rep from * to * until last 2 stitches, k2.
Explanation: On the wrong side with Color C, purl the two knit stitches and slip the slipped stitch with yarn in front.
Row 9 (RS, Color A): k1, yo, k1, *sl1 wyib, k2* rep from * to * until last 2 stitches, k1, yo, k1.
Explanation: Return to Color A. Now you'll slip one stitch and knit two. This is the reverse of Row 7, creating a mirrored pattern.
Row 10 (WS, Color A): k2, *sl1 wyif, p2* rep from * to * until last 2 stitches, k2.
Explanation: Complete the 10-row repeat with Color A on the wrong side.
Repeating the Pattern
Repeat Rows 1–10, alternating colors B and C for the contrast rows, until the shawl measures approximately 60 inches from the cast-on edge, ending with a WS row. Here's how to alternate:
- First repeat: Rows 1–6 with Color A, Rows 7–10 with Color C.
- Second repeat: Rows 1–6 with Color A, Rows 7–10 with Color B.
- Continue alternating B and C for each subsequent repeat.
Critical reminder: Always maintain the increase at the beginning and end of RS rows (k1, yo, k1 at start and k1, yo, k1 at end). This is what creates the crescent shape of the shawl.
Pro tip: As the shawl grows, it will become heavier. The circular needle is essential to support the weight and accommodate the increasing number of stitches. Take breaks if your hands tire, and enjoy the meditative rhythm of the pattern.
Edging
Once the body of the shawl reaches the desired length, it's time to add the finishing border:
- Switch to Color A permanently for the edging.
- Work 6 rows of garter stitch (knit every row), continuing the increases on RS rows (k1, yo, k1 at the beginning and end of each RS row).
- Bind off loosely. A loose bind-off is essential to prevent the edge from pulling and to maintain the drape of the shawl. You can use a larger needle for binding off if needed, or use a stretchy bind-off method like the "Jeny's Surprisingly Stretchy Bind-Off."
Finishing
The final steps will transform your knitted fabric into a beautiful, polished shawl:
- Weave in all ends using a tapestry needle. Be sure to weave in ends securely, following the path of the yarn to keep them invisible.
- Block the shawl gently to open up the mosaic pattern. Soak the shawl in lukewarm water with a gentle wool wash for 20-30 minutes. Gently squeeze out excess water (never wring or twist).
- Pin the shawl to shape on blocking mats. Create a gentle crescent shape by pinning the top edge straight and the bottom edge in a gentle curve. Stretch the fabric slightly to open up the mosaic pattern and even out the stitches.
- Allow to dry completely before unpinning. This may take 24-48 hours depending on humidity.
Once dry, your Aurora Mist Mosaic Shawl is ready to wear! The delicate, airy texture and subtle drape make it perfect for cool evenings, and the gradient colors will catch the light beautifully.
Tips for Success
- Use a lifeline: Mosaic knitting can be tricky to rip back if you make a mistake. Thread a lifeline every 20 rows to make corrections easier.
- Count your stitches regularly: The increases should add 2 stitches every RS row (one at each edge). If your stitch count doesn't match, check your work before proceeding.
- Keep your tension even: When slipping stitches, be careful not to pull the yarn too tightly, as this can cause puckering. Relax your hands and let the yarn flow naturally.
- Trust the pattern: Mosaic knitting can look chaotic on the needles, but the magic happens when you block the finished piece. Trust the process and keep going!
This pattern is perfect for knitters who want to try mosaic knitting without the complexity of traditional colorwork. The slipped stitches create a stunning textured fabric that looks much more complicated than it actually is. With just two colors per row and simple knit/purl stitches, you'll create a masterpiece that you'll be proud to wear or gift.
Happy knitting, and may your Aurora Mist Mosaic Shawl bring you warmth and joy for years to come!