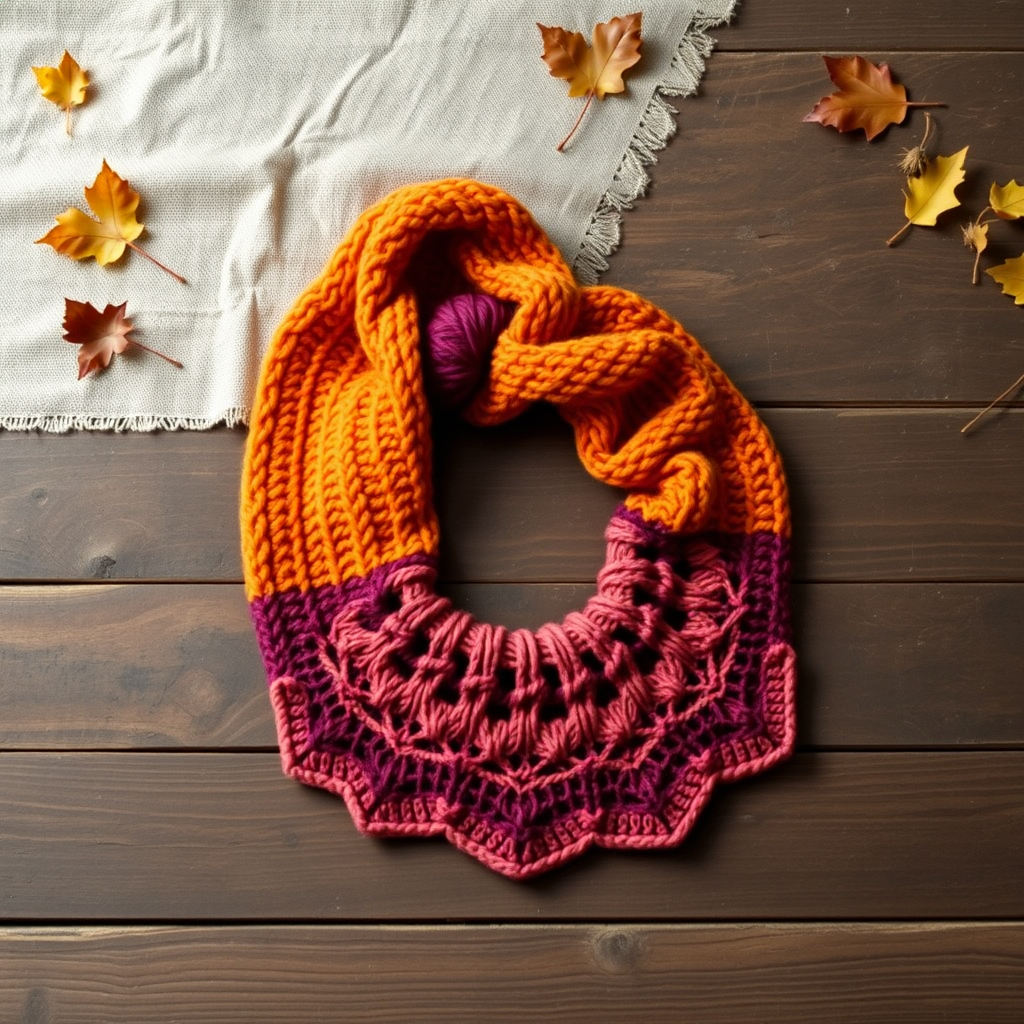
Emberfall Crescent Shawl Free Pattern – A Gradient Fade Knit Wrap

Introducing the Emberfall Crescent Shawl: A Gradient Fade Knit Wrap
Imagine wrapping yourself in the warm, glowing hues of a sunset—deep burgundy melting into burnt orange, then blooming into golden yellow. That's the magic of the Emberfall Crescent Shawl, a stunning gradient fade knit wrap that's as cozy as it is beautiful. This free knitting pattern is designed for adventurous beginners and seasoned makers alike, offering a soothing rhythm of increases that builds into a graceful crescent shape. The smooth stockinette body provides a perfect canvas for the color transitions, while a delicate lace edging adds a touch of elegance to the curved outer edge. Whether you're looking for a new layering piece for cool evenings or a heartfelt handmade gift, this shawl is a rewarding project that drapes beautifully and feels wonderfully soft.
This pattern is worked from the top center down, with increases on both sides of a central spine. The result is a gentle, crescent curve that sits beautifully on the shoulders. Let's gather your materials and get started on this cozy, gradient adventure.
Materials Needed
Before you begin, ensure you have everything you need for a smooth knitting experience. Here’s your complete supply list:
- Yarn: Fingering weight yarn in 3 colors:
- Color A: Deep Burgundy (approximately 130g)
- Color B: Burnt Orange (approximately 135g)
- Color C: Golden Yellow (approximately 135g)
- Needle: US 6 (4.0 mm) circular knitting needle, 32-inch (80 cm) or longer. The long cable is essential to accommodate the growing number of stitches.
- Notions: Stitch markers (at least 2), tapestry needle for weaving in ends, and blocking pins/mats for finishing.
- Gauge: 20 stitches and 28 rows = 4 inches in stockinette stitch (blocked). Gauge is important for the final size and drape, so take a moment to check it.
Step-by-Step Instructions
This shawl is worked from the top center down, increasing on both sides of a central spine. Use a long circular needle to accommodate the growing number of stitches. Let's break it down into manageable sections.
Abbreviations
- k = knit
- p = purl
- yo = yarn over
- k2tog = knit two together (decrease)
- ssk = slip, slip, knit (decrease)
- pm = place marker
- sm = slip marker
- RS = right side
- WS = wrong side
Setup Section
With Color A (deep burgundy), cast on 5 stitches.
- Row 1 (RS): k2, yo, k1, yo, k2 (7 stitches)
- Row 2 (WS): k2, p3, k2
- Row 3 (RS): k2, yo, k1, yo, pm, k1, pm, yo, k1, yo, k2 (11 stitches)
- Row 4 (WS): k2, p7, k2
Note: The center stitch (between the markers) is your spine. All increases happen on either side of this stitch.
Increase Section (Work with Color A)
Now we'll establish the main body of the shawl. The pattern is simple and repetitive.
- Row 5 (RS): k2, yo, knit to marker, yo, sm, k1, sm, yo, knit to last 2 stitches, yo, k2 (4 increases)
- Row 6 (WS): k2, purl to last 2 stitches, k2
Repeat Rows 5-6 until you have 45 stitches total (approximately 10 repeats). Remember to keep your edge stitches neat—the first and last 2 stitches are always knit, creating a tidy garter border.
Transition to Color B (Burnt Orange)
When you reach 45 stitches, it's time to introduce the next color. Simply drop Color A and pick up Color B.
- Continue repeating Rows 5-6 with Color B until you have 95 stitches total (approximately 12 more repeats).
Tip: When changing colors, knit the first row of the new color on the right side for a clean transition. Weave in ends later.
Transition to Color C (Golden Yellow)
Now switch to your final color, Color C.
- Continue repeating Rows 5-6 with Color C until you have 155 stitches total (approximately 15 more repeats).
Your shawl body is now complete. The gradient fade should look seamless and beautiful.
Lace Edging (Work with Color C)
This delicate lace edging adds the perfect finishing touch. It's a simple repeat of eyelets and decreases that opens up beautifully when blocked.
- Row 1 (RS): k2, yo, *k2tog, yo* repeat from * to * until 3 stitches before marker, k2tog, yo, sm, k1, sm, yo, *k2tog, yo* repeat from * to * until 5 stitches before end, k2tog, yo, k3
- Row 2 (WS): k2, purl to last 2 stitches, k2
- Row 3 (RS): k2, yo, *ssk, yo* repeat from * to * until 3 stitches before marker, ssk, yo, sm, k1, sm, yo, *ssk, yo* repeat from * to * until 5 stitches before end, ssk, yo, k3
- Row 4 (WS): k2, purl to last 2 stitches, k2
Repeat Rows 1-4 until the edging measures 3 inches from the start. The lace pattern will create a lovely scalloped effect along the edge.
Bind Off (Loosely)
This step is crucial for a stretchy, elegant edge.
- Bind off all stitches knitwise, using a larger needle (e.g., US 8 or 9) if needed to keep the edge stretchy. A tight bind-off will prevent the shawl from draping properly.
Finishing
The final steps bring your shawl to life.
- Weave in all ends carefully with a tapestry needle, making sure to secure them well.
- Block the shawl gently. Soak it in lukewarm water with a mild wool wash, then gently squeeze out excess water (never wring).
- Pin the shawl into its crescent shape on blocking mats. Stretch the lace edging to open up the eyelet pattern and define the points.
- Allow to dry completely before unpinning. This step is essential for the lace to look its best and for the shawl to achieve its final dimensions.
Once dry, your Emberfall Crescent Shawl is ready to wear. The gradient fade, soft drape, and delicate lace make it a truly special piece. Enjoy your beautiful, handmade wrap!