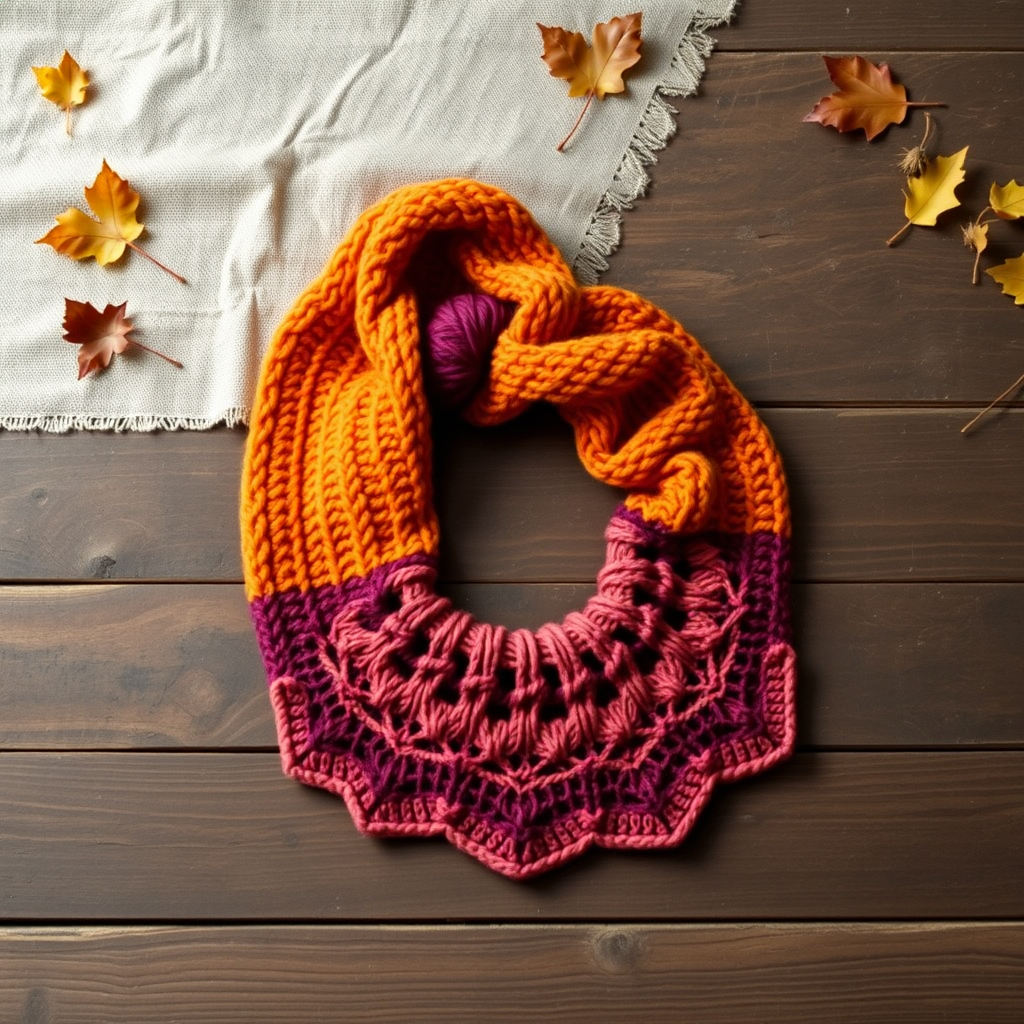
Mossy Glen Wrap Free Pattern – A Textured Knitted Shawl with Pockets

The Mossy Glen Wrap: A Textured Knitted Shawl with Pockets – Free Pattern
Imagine wrapping yourself in the quiet luxury of a forest floor—the soft, uneven texture of moss underfoot, the dappled light filtering through ancient trees. That's the feeling you'll create with the Mossy Glen Wrap, a deeply textured, pocketed shawl that's as functional as it is beautiful. This free knitting pattern combines the classic moss stitch with garter ridges and a stunning gradient of earthy greens, resulting in a modern, cozy heirloom piece you'll reach for season after season.
Whether you're an experienced knitter looking for a mindful project or a confident beginner ready for a rewarding challenge, this wrap is designed to be your new favorite make. The best part? The pockets are integrated as you knit, meaning zero sewing at the end. Let's dive into this journey of texture, color, and comfort.
Materials Needed
Before you cast on, gather your supplies. This project is wonderfully portable and uses readily available worsted weight yarn.
Yarn
- Worsted weight yarn in three shades of green (e.g., Sage, Moss, and Forest).
- Total yardage: Approximately 600g (200g of each color). This equates to roughly 1,200–1,400 yards depending on your yarn brand.
- Suggested colors: Color A (Sage) for the top, Color B (Moss) for the middle, and Color C (Forest) for the bottom.
Needles & Notions
- US 8 (5mm) circular knitting needle, 32 inches or longer to accommodate the growing number of stitches.
- Stitch markers (at least 2, preferably locking).
- Stitch holders or waste yarn for the pocket openings.
- Tapestry needle for weaving in ends.
- Blocking mats and pins for finishing.
Gauge
18 stitches and 24 rows = 4 inches in stockinette stitch (blocked). Gauge is important for the final drape, so take a moment to swatch!
Step-by-Step Instructions
This shawl is worked flat from the top center down, with increases at the edges and center to create a beautiful triangular shape. The pockets are added as you go, so no sewing is required. Follow along carefully, and you'll have a stunning wrap in no time.
Abbreviations
- k = knit
- p = purl
- k2tog = knit two together
- yo = yarn over
- sl1 = slip one stitch purlwise
- pm = place marker
- sm = slip marker
- RS = right side
- WS = wrong side
Pattern Notes
- The shawl is worked in three color sections: Sage (A), Moss (B), and Forest (C).
- The moss stitch pattern is a multiple of 2 + 1.
- The center stitch is always knit on the right side and purled on the wrong side.
- The edge stitches (first 2 and last 2) are always knit on both sides to create a neat garter border.
Setup
Cast on 5 stitches with color A.
- Row 1 (RS): k2, yo, k1, yo, k2 (9 stitches)
- Row 2 (WS): k2, p to last 2, k2
- Row 3 (RS): k2, yo, k1, yo, pm, k1, pm, yo, k1, yo, k2 (13 stitches)
- Row 4 (WS): k2, p to last 2, k2
Increase Section (Color A – Sage)
Work with color A until the piece measures 8 inches from the cast-on edge.
- Row 5 (RS): k2, yo, k1, yo, sm, work moss stitch to marker, sm, yo, k1, yo, k2 (increase 4 stitches)
- Row 6 (WS): k2, p to last 2, k2
- Row 7 (RS): k2, yo, k1, yo, sm, work moss stitch to marker, sm, yo, k1, yo, k2
- Row 8 (WS): k2, p to last 2, k2
Repeat rows 5–8 until you have 73 stitches total (including edge stitches). End with a WS row.
Moss Stitch Pattern (worked between markers)
- Row 1 (RS): *k1, p1* repeat to last stitch before marker, k1
- Row 2 (WS): *p1, k1* repeat to last stitch before marker, p1
Repeat these 2 rows for the moss stitch texture.
Continue with Color B (Moss) – Next 8 Inches
Continue working increase rows (5–8) with color B, maintaining the moss stitch between markers, until the piece measures 16 inches from the cast-on edge. End with a WS row.
Add Pockets (Both Sides)
This is where the magic happens! On the next RS row, you'll create the pocket openings.
- Row (RS): k2, yo, k1, yo, sm, work moss stitch over next 20 stitches, place these 20 stitches on a holder (for pocket opening), cast on 20 stitches using the backward loop method, continue moss stitch to marker, sm, yo, k1, yo, k2
Continue working increase rows as before, but now the pocket opening is created. Work 4 more inches with color B, then switch to color C (Forest).
Continue with Color C (Forest) – Final 8 Inches
Work increase rows with color C until the piece measures 24 inches from the cast-on edge. End with a WS row.
Edging (Worked Across All Stitches)
This simple edging frames the shawl beautifully and adds a polished finish.
- Row 1 (RS): k2, yo, k1, yo, sm, *k1, p1* repeat to marker, sm, yo, k1, yo, k2
- Row 2 (WS): k2, p to last 2, k2
- Row 3 (RS): k2, yo, k1, yo, sm, *k1, p1* repeat to marker, sm, yo, k1, yo, k2
- Row 4 (WS): k2, p to last 2, k2
- Row 5 (RS): k2, yo, k1, yo, sm, *k1, p1* repeat to marker, sm, yo, k1, yo, k2
- Row 6 (WS): k2, p to last 2, k2
Bind off loosely all stitches. Be careful not to bind off too tightly, as this will affect the drape of the shawl.
Pocket Linings
Now it's time to finish those pockets!
- Pick up the 20 stitches from the holder on each side.
- Work in stockinette stitch (knit RS, purl WS) for 4 inches.
- Bind off.
- Sew the pocket lining to the inside of the shawl using a tapestry needle and matching yarn.
Finishing
The final steps make all the difference.
- Weave in all ends carefully, especially at the color changes and pocket openings.
- Block the shawl to shape, pinning out the points to emphasize the triangular silhouette.
- Allow to dry completely before removing pins.
Your Cozy Companion Awaits
And there you have it—the Mossy Glen Wrap is complete! This textured, pocketed shawl is more than just an accessory; it's a wearable hug that carries the calm of the forest with you wherever you go. The gradient of sage to forest green creates a stunning ombre effect, while the moss stitch and garter ridges add depth and interest.
Whether you're curling up with a book, taking a chilly evening walk, or simply adding a layer of warmth to your day, this wrap is sure to become a beloved staple in your wardrobe. The integrated pockets are perfect for keeping your hands warm or holding small essentials.
We'd love to see your finished Mossy Glen Wrap! Share your photos on social media with the hashtag #MossyGlenWrap and tag us so we can admire your handiwork. Happy knitting!