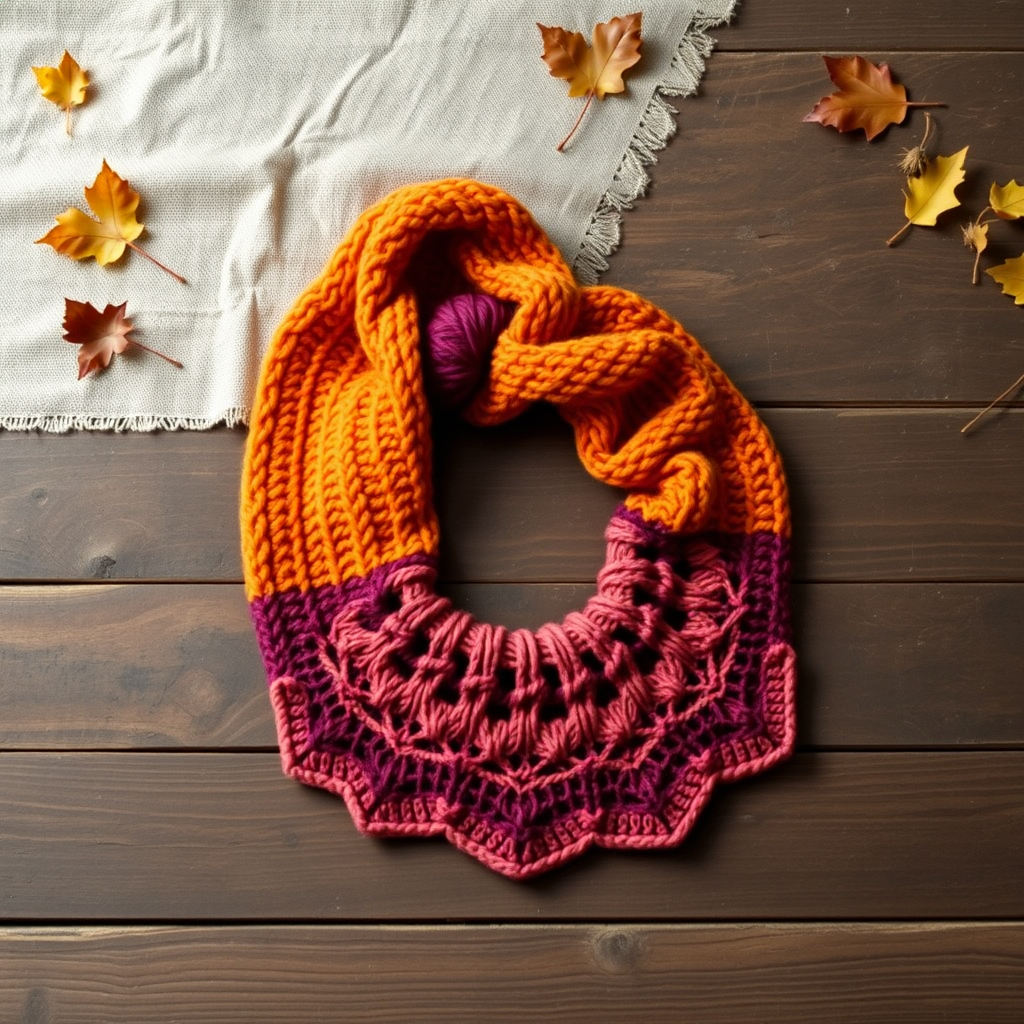
The Whispering Glen Crescent Shawl: A Free Knitting Pattern for a Textured, Ombre Landscape Wrap

Wrap Yourself in the Highland Mist: Introducing the Whispering Glen Crescent Shawl
Imagine the quiet beauty of a misty Scottish glen, where rolling hills fade from deep purple heather to soft, grey mist. That serene landscape is now something you can wear. The Whispering Glen Crescent Shawl is a free knitting pattern that captures this breathtaking ombre effect using a unique slipped-stitch texture. This crescent-shaped wrap is not just an accessory; it’s a meditative knitting experience that builds a cozy, sculptural layer perfect for cool evenings. Designed for the adventurous intermediate knitter, this pattern guides you through a top-down construction with gentle increases, creating a fabric that mimics the rolling hills of the highlands. Let’s cast on and bring this landscape to life.
Materials Needed: Your Palette for the Glen
Before you begin, gather your supplies. The magic of this shawl lies in the gradual color transition, so choosing your fingering-weight yarns is key.
- Yarn: Fingering weight yarn (approx. 800-900 yards total). The sample uses four colors:
- Color A (Deep Heather Purple): 200 yards
- Color B (Moss Green): 250 yards
- Color C (Soft Sage): 250 yards
- Color D (Mist Grey): 200 yards
- Needle: US 6 (4.0 mm) circular needle, 32-inch or longer cord (or size needed to obtain gauge).
- Notions: Stitch markers (2), tapestry needle for weaving ends, blocking pins and mats.
- Gauge: 20 stitches and 32 rows = 4 inches in Stockinette stitch, after blocking. Gauge is crucial for achieving the correct drape and size.
Step-by-Step Instructions: Knitting the Landscape
This shawl is worked from the top center outwards, increasing at the edges and center to form a crescent shape. The slipped stitch pattern creates a dense, warm fabric. Follow these instructions carefully, and you’ll be amazed at the texture you create.
Abbreviations
- k = knit
- p = purl
- sl1 wyif = slip 1 stitch purlwise with yarn in front
- yo = yarn over
- k2tog = knit 2 together
- ssk = slip slip knit
- pm = place marker
- sm = slip marker
- RS = right side
- WS = wrong side
Setup Section
We begin by casting on and establishing the center spine and garter stitch edges.
- Cast on 5 stitches.
- Row 1 (RS): k2, yo, k1, yo, k2. (7 stitches)
- Row 2 (WS): k2, p3, k2.
- Row 3: k2, yo, k1, yo, pm, k1, pm, yo, k1, yo, k2. (11 stitches) Note: The markers now separate the center stitch from the side sections.
- Row 4: k2, p7, k2.
Begin Slipped Stitch Pattern (Increase Section)
This section establishes the slipped stitch texture and continues the increases. Repeat these 4 rows until you have 43 stitches total.
- Row 5 (RS): k2, yo, k1, yo, sm, *sl1 wyif, k1* repeat from * to * until 1 stitch before marker, sl1 wyif, sm, yo, k1, yo, k2. (15 stitches)
- Row 6 (WS): k2, p to last 2 stitches, k2.
- Row 7: k2, yo, k1, yo, sm, *k1, sl1 wyif* repeat from * to * until 1 stitch before marker, k1, sm, yo, k1, yo, k2. (19 stitches)
- Row 8: k2, p to last 2 stitches, k2.
- Repeat Rows 5-8 until you have 43 stitches total (approximately 10 repeats). End after a WS row (Row 6 or 8).
Main Body Pattern
Once you have 43 stitches, you will work the Main Body Pattern. This is the same slipped stitch pattern, but without the increases. The stitch count will remain the same for each repeat of these 4 rows.
- Row 1 (RS): k2, yo, k1, yo, sm, *sl1 wyif, k1* repeat from * to * until 1 stitch before marker, sl1 wyif, sm, yo, k1, yo, k2.
- Row 2 (WS): k2, p to last 2 stitches, k2.
- Row 3: k2, yo, k1, yo, sm, *k1, sl1 wyif* repeat from * to * until 1 stitch before marker, k1, sm, yo, k1, yo, k2.
- Row 4: k2, p to last 2 stitches, k2.
Color Changes
Now, you will work the Main Body Pattern in the following color sequence to create the ombre fade. Remember to change colors at the beginning of a RS row.
- Color A (Deep Heather Purple): Work 8 rows of the Main Body Pattern.
- Color B (Moss Green): Work 12 rows of the Main Body Pattern.
- Color C (Soft Sage): Work 16 rows of the Main Body Pattern.
- Color D (Mist Grey): Work 12 rows of the Main Body Pattern.
Final Section & Bind Off
After completing the last color row, we add a few more pattern repeats and a decorative bind-off.
- Final Section: Work Rows 1-4 of the Main Body Pattern 3 more times in Color D.
- Bind Off Row (RS): K2, yo, k1, yo, sm, *k2tog, yo* repeat from * to * until 1 stitch before marker, k1, sm, yo, k1, yo, k2. Then bind off all stitches loosely knitwise. This creates a delicate, lacy edge.
Finishing
Your shawl is almost complete! The final steps are crucial for revealing the beautiful texture and shape.
- Weave in all ends carefully, following the color changes to keep the back neat.
- Block aggressively. Soak the shawl in lukewarm water with a gentle wool wash. Gently squeeze out excess water (do not wring). Lay flat on a blocking mat. Pin out the points at the top and bottom edges to create a gentle crescent curve. Stretch the fabric to open up the slipped stitch texture. Allow to dry completely.
Once dry, your Whispering Glen Crescent Shawl is ready to wear. The dense, textured fabric will keep you warm, while the ombre fade will remind you of the serene beauty of the highlands. Happy knitting!