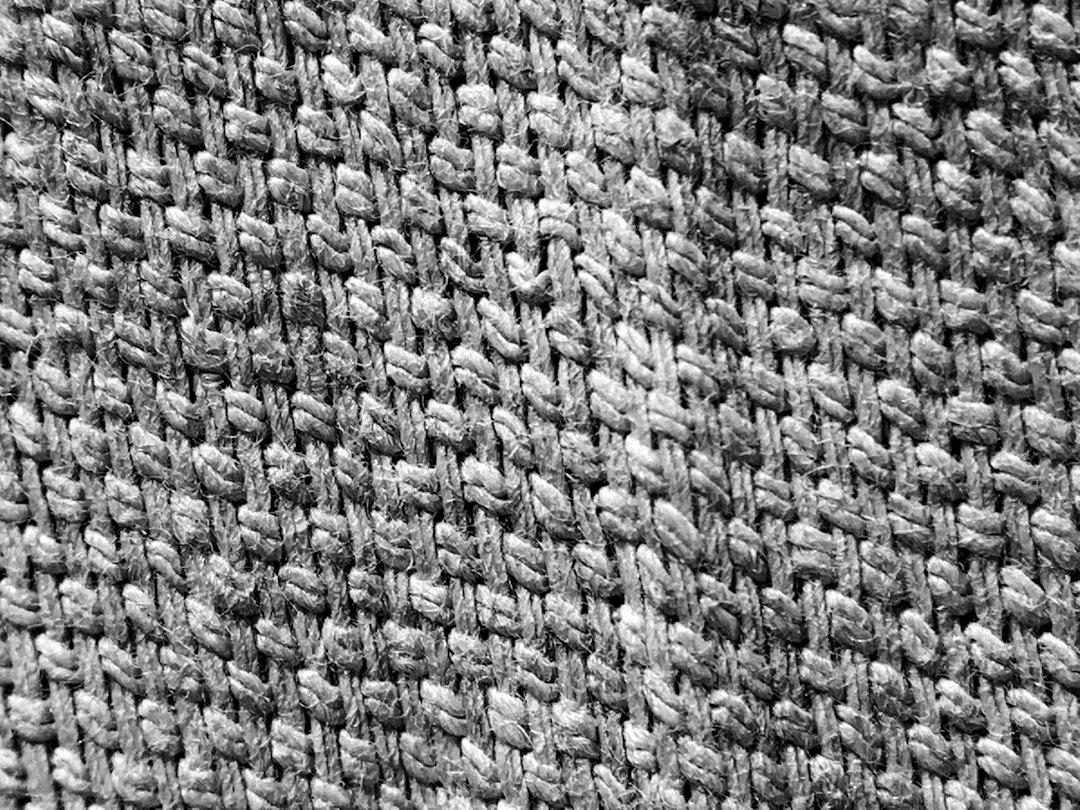
The Sunlit Veranda Towel Free Pattern – A Knitted Open-Weave Kitchen Towel with Honeycomb Lace

The Sunlit Veranda Towel Free Pattern – A Knitted Open-Weave Kitchen Towel with Honeycomb Lace
Bring the breezy feel of a sun-drenched porch into your kitchen with this airy, open-weave knitted towel. The honeycomb lace stitch creates a beautiful texture that's both absorbent and quick-drying. This pattern is perfect for intermediate beginners who want to try lace knitting with a simple, repeatable stitch. The result is a stunning, functional piece that adds a handmade touch to any kitchen.
Materials Needed
Before you begin, gather the following supplies. Using the recommended yarn will ensure your towel matches the intended drape and absorbency.
- Yarn: Worsted weight cotton yarn (e.g., Lion Brand Kitchen Cotton) in a sunny yellow or soft sage green – approximately 120 yards. Cotton is essential for absorbency and durability.
- Needles: US 6 (4.0 mm) knitting needles. A circular needle (24" or longer) can be used for comfort, but you will be working flat.
- Other: Tapestry needle for weaving in ends, stitch markers (optional, but helpful for keeping track of pattern repeats), and blocking pins/mat.
Gauge: 20 stitches and 28 rows = 4 inches in honeycomb lace pattern (blocked). Always knit a swatch to ensure your gauge matches, as this affects the final size.
Step-by-Step Instructions
This pattern is worked flat from the bottom up. The honeycomb lace is a multiple of 6 stitches + 2, and our cast-on of 62 stitches gives us 10 full repeats. Follow the instructions carefully, and don't be afraid to use stitch markers between repeats if you find it helpful.
Finished Size
Approximately 12 inches wide by 18 inches long (blocked).
Abbreviations
- k = knit
- p = purl
- yo = yarn over
- k2tog = knit two together (right-leaning decrease)
- sl1 = slip one stitch purlwise
- psso = pass slipped stitch over
- rep = repeat
Pattern Notes
- The honeycomb lace pattern is a multiple of 6 stitches + 2.
- Work all slipped stitches purlwise with yarn in front (wyf).
- The towel is worked flat from the bottom up.
- Each row begins and ends with a knit stitch to create a neat selvedge edge.
Cast On
Cast on 62 stitches loosely. A long-tail cast-on works well. Ensure your cast-on is not too tight, as the lace pattern needs to open up during blocking.
Border (Garter Stitch)
Rows 1-4: Knit all stitches. This creates a solid, non-curling border at the bottom of the towel.
Honeycomb Lace Pattern
Now you will begin the main lace pattern. Work the following 12 rows, repeating them until the towel measures approximately 16 inches from the cast-on edge, ending with a Row 12.
Row 1 (RS): K1, *yo, sl1, k1, psso, k2, k2tog, yo, k1; rep from * to last stitch, k1.
Row 2 (WS): K1, *p1, yo, sl1, p1, psso, p2, yo, p1; rep from * to last stitch, k1.
Row 3: K1, *k1, yo, sl1, k1, psso, k2tog, yo, k2; rep from * to last stitch, k1.
Row 4: K1, *p2, yo, sl1, p1, psso, p1, yo, p2; rep from * to last stitch, k1.
Row 5: K1, *k2, yo, sl1, k2tog, psso, yo, k3; rep from * to last stitch, k1.
Row 6: K1, *p3, yo, p2tog, yo, p3; rep from * to last stitch, k1.
Row 7: K1, *k3, yo, sl1, k1, psso, k2, k2tog, yo, k1; rep from * to last stitch, k1.
Row 8: K1, *p2, yo, p2tog, p1, yo, p3; rep from * to last stitch, k1.
Row 9: K1, *k1, yo, sl1, k1, psso, k2, k2tog, yo, k2; rep from * to last stitch, k1.
Row 10: K1, *p1, yo, p2tog, p3, yo, p2; rep from * to last stitch, k1.
Row 11: K1, *k2, yo, sl1, k2tog, psso, yo, k3; rep from * to last stitch, k1.
Row 12: K1, *p3, yo, p2tog, yo, p3; rep from * to last stitch, k1.
Pro Tip: When you see "sl1, k1, psso," you are creating a left-leaning decrease. When you see "k2tog," you are creating a right-leaning decrease. These paired decreases give the honeycomb its symmetrical, diamond-like shape.
Border (Garter Stitch)
Once your towel reaches approximately 16 inches (ending with a Row 12 of the pattern), work the top border.
Rows 1-4: Knit all stitches.
Bind Off
Bind off all stitches loosely. To ensure a stretchy edge that won't pucker, you can use a larger needle (e.g., US 8 or 5.0 mm) to bind off, or use a standard bind-off but keep your tension very loose.
Finishing
Weave in all ends with a tapestry needle. Block the towel gently to open up the lace pattern and even out the stitches. To block, soak the towel in lukewarm water with a drop of mild soap, gently squeeze out excess water (do not wring), and lay flat on a blocking mat. Pin the edges to the desired dimensions (12" x 18") and allow to dry completely. This step is crucial for the lace to look its best.
Optional Hanging Loop
After binding off, with the right side facing, pick up and knit 3 stitches from one corner of the top border. Work an i-cord for 4 inches, then bind off. Sew the end to the opposite corner to create a loop for hanging. This is a lovely, practical addition for storing your towel.
Your Sunlit Veranda Towel is now complete! Enjoy the beautiful texture and the practical, quick-drying nature of this lovely kitchen accessory. It also makes a wonderful handmade gift.