The Solar Flare Crescent Shawl Free Pattern – Crochet a Radiant Open Fan Stitch Wrap

The Solar Flare Crescent Shawl: A Radiant Crochet Pattern for Beginners
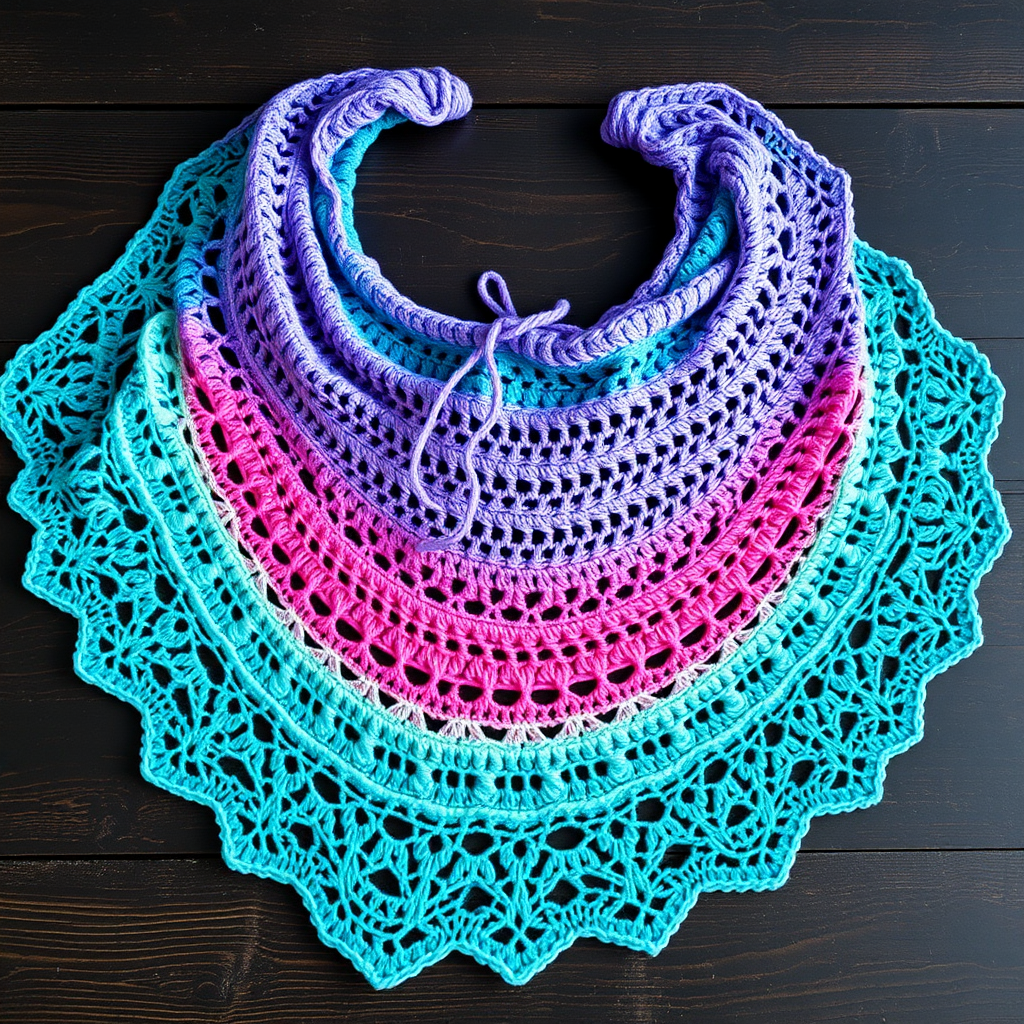
Wrap yourself in the warmth of a handcrafted crescent shawl that shimmers with the rhythm of open fan stitches. This pattern is a celebration of light and texture, perfect for adding a touch of handmade elegance to any outfit. The Solar Flare Crescent Shawl is designed with the beginner in mind, using a simple, repetitive stitch pattern that builds into a stunning, drapey wrap. The gradient of sunset hues—terracotta, amber, gold, and coral—creates a luminous effect that feels both modern and timeless. Whether you're new to crochet or looking for a relaxing, meditative project, this shawl is your perfect companion.
Why You'll Love This Pattern
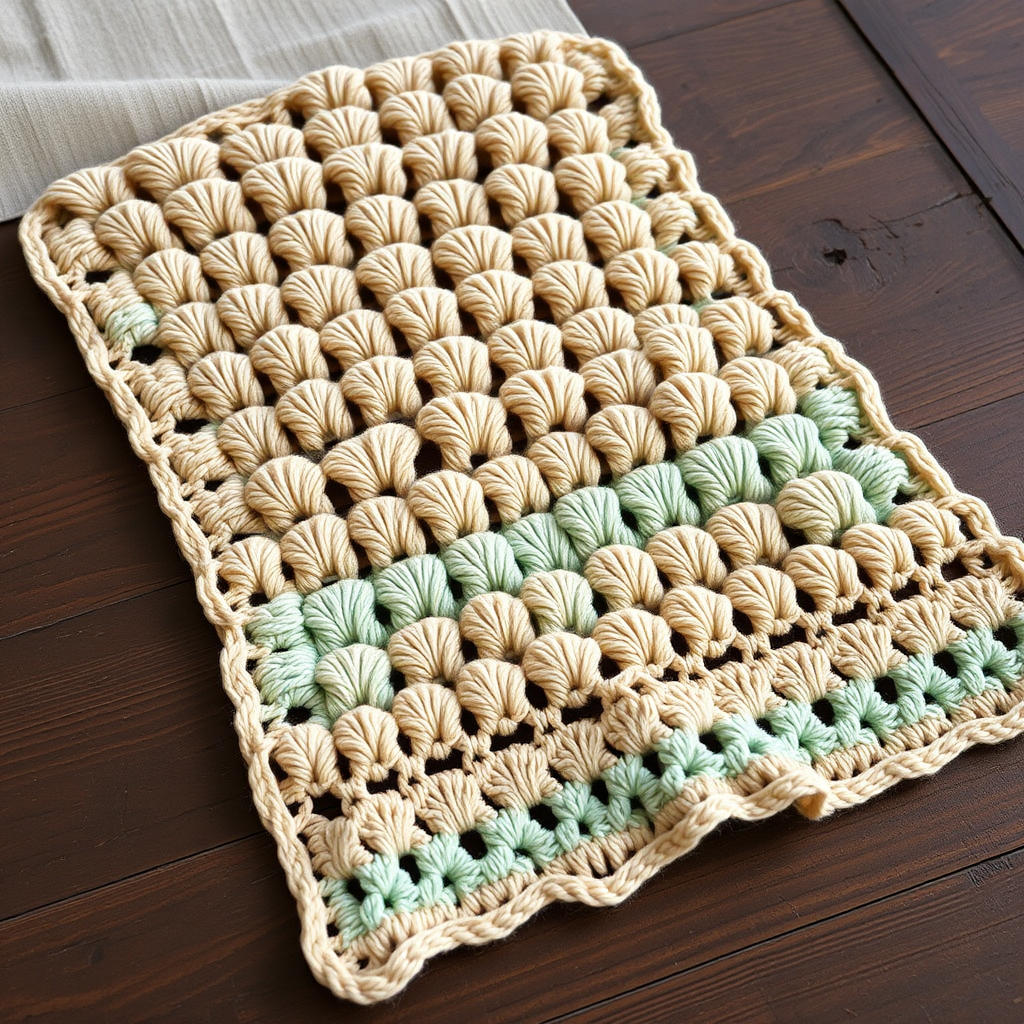
This isn't just a shawl; it's a wearable piece of art. The open fan stitch creates a delicate, lace-like fabric that is surprisingly warm yet breathable. The crescent shape is achieved through simple increases at both ends of each row, making it an excellent project for practicing your stitch consistency. Plus, the scalloped edging adds a romantic, finished touch that elevates the entire piece. You'll be amazed at how quickly this works up with worsted-weight yarn and a 5.5mm hook.
Materials Needed
Before you begin, gather the following supplies to ensure a smooth and enjoyable crochet experience:
- Yarn: Worsted weight cotton or cotton-blend yarn (approx. 600-700 yards) in a gradient or variegated colorway of sunset hues (terracotta, amber, gold, and coral). A smooth, non-fuzzy yarn will best showcase the stitch definition.
- Crochet Hook: 5.5 mm (I-9) crochet hook. Ensure you have a comfortable grip, as you'll be working many rows.
- Other Tools: Yarn needle for weaving in ends, scissors, and blocking pins (for the final wet blocking step).
Gauge
4 fan stitches (each fan = 3 dc, ch 1, 3 dc) and 6 rows = 4 inches in pattern. While gauge is important for size, this shawl is forgiving. If your gauge is slightly off, the shawl will still be beautiful—just slightly larger or smaller. For best results, make a small swatch first to check your tension.
Step-by-Step Instructions
This pattern is worked from the center top down, increasing at both ends to create the crescent shape. Follow these detailed instructions carefully, and you'll have a gorgeous shawl in no time.
Understanding the Stitches
- Ch: Chain
- Dc: Double Crochet
- Sc: Single Crochet
- St(s): Stitch(es)
- Sp: Space
Important Notes: Worked from the center top down. Chain counts at the beginning of rows count as the first stitch unless otherwise stated. The shawl is worked in rows, increasing at both ends to create a crescent shape. Each "fan" consists of 3 dc, ch 1, 3 dc worked into the same space.
Foundation Row
Ch 4, work 3 dc in the 4th ch from the hook. Turn. (You now have 3 dc, with the initial ch-3 counting as the first dc).
Row 1
Ch 3 (counts as dc), 2 dc in the same st (this is your first increase), ch 1, 3 dc in the next st (this forms your first fan), ch 1, 3 dc in the top of the turning ch (this is your second increase). Turn. (You should have 2 fans total).
Row 2
Ch 3, 2 dc in the same st (increase), ch 1, 3 dc in the ch-1 space of the first fan, ch 1, 3 dc in the ch-1 space of the next fan, ch 1, 3 dc in the top of the turning ch (increase). Turn. (3 fans total).
Row 3
Ch 3, 2 dc in the same st (increase), *ch 1, 3 dc in the next ch-1 space* repeat from * to * across, ending with ch 1, 3 dc in the top of the turning ch (increase). Turn. (4 fans total).
Rows 4-30
Continue in this manner, increasing by one fan each row. Here's the simple formula to follow:
- Start of row: Ch 3, 2 dc in the same st (this creates your increase at the beginning).
- Middle of row: *Ch 1, 3 dc in the next ch-1 space* repeat from * to * across the row. You will be working into the ch-1 spaces of the fans from the previous row.
- End of row: Ch 1, 3 dc in the top of the turning ch (this creates your increase at the end).
- Turn your work at the end of each row.
At the end of Row 30, you will have 31 fans across. The shawl will naturally curve into a crescent shape as you increase.
Edging
Do not turn your work at the end of Row 30. You will now work a scalloped edging along the bottom edge of the shawl. This adds a beautiful, romantic finish.
*Sc in the next ch-1 space, ch 3, 3 dc in the same space, skip the next fan (the 3 dc group), repeat from * across the entire bottom edge. This creates a series of scallops that echo the fan motif. When you reach the end, fasten off and weave in all loose ends with your yarn needle.
Blocking
Blocking is essential for this project to open up the lace and accentuate the fan pattern. Here's how to do it:
- Fill a basin with lukewarm water and a small amount of mild soap (like wool wash).
- Submerge the shawl and let it soak for 15-20 minutes. Do not agitate.
- Gently squeeze out excess water (do not wring). Roll the shawl in a clean towel to remove more moisture.
- Lay the shawl flat on a blocking mat or a clean, dry towel. Use rust-proof pins to pin the shawl to your desired dimensions, gently stretching the points of the fans and the scalloped edge to open up the lace.
- Allow it to dry completely before unpinning and wearing.
Final Thoughts
Congratulations! You've just created a stunning, handmade crescent shawl that radiates warmth and style. The Solar Flare Crescent Shawl is perfect for draping over your shoulders on a cool evening, adding a pop of color to a simple outfit, or giving as a thoughtful, handmade gift. The open fan stitch pattern is not only beautiful but also a joy to crochet, making this a pattern you'll return to again and again. Enjoy your beautiful creation!