Solar Flare Lace Shrug Free Pattern – A Crocheted Sunset Embrace

Solar Flare Lace Shrug Free Pattern – A Crocheted Sunset Embrace
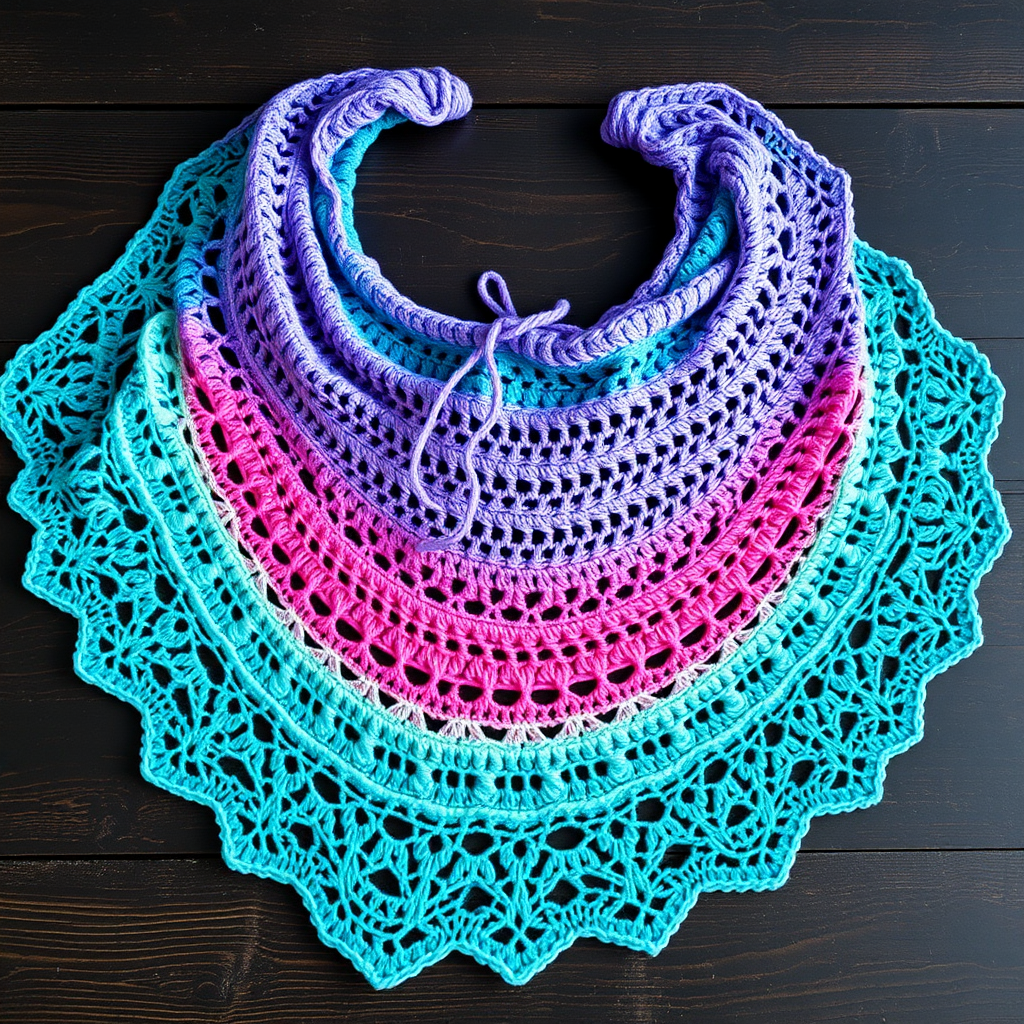
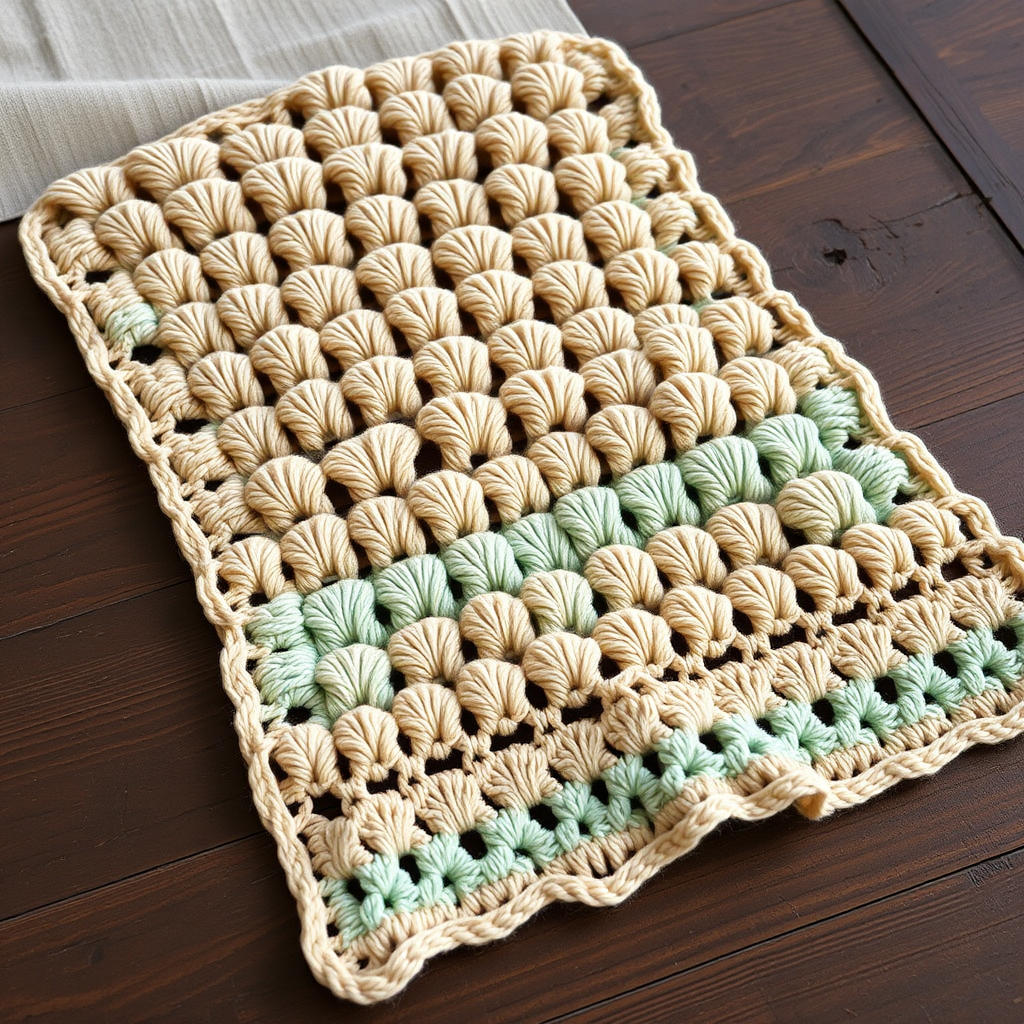
Wrap yourself in the warm glow of a handcrafted sunset with this airy, openwork shrug that drapes like a golden hour dream. The intricate fan-and-shell stitch pattern creates a luminous, textured fabric that's perfect for cool evenings, beachside strolls, or adding a handmade touch to your favorite outfit. This beginner-friendly pattern is worked flat in one piece from cuff to cuff, making it surprisingly simple to create despite its stunning, complex-looking design. With its vibrant gradient of burnt orange, deep magenta, and golden yellow, this shrug is a wearable piece of art that will turn heads wherever you go.
Whether you're new to crochet or a seasoned maker looking for a quick, satisfying project, the Solar Flare Lace Shrug is the perfect way to spend a cozy afternoon. The repetitive shell stitch is meditative and easy to memorize, while the shaping is minimal and clearly explained. By the end of this project, you'll have a beautiful, one-of-a-kind garment that feels like a warm embrace on a chilly evening.
Materials Needed
Before you begin, gather the following supplies. All items are readily available at your local craft store or online. The total cost is minimal, and the result is priceless.
- Yarn: Red Heart Unforgettable (or similar worsted weight yarn) in the 'Sunset' colorway – 2 skeins (approximately 500 yards total). This yarn features a beautiful, self-striping gradient that creates the sunset effect automatically. If you prefer, you can use any worsted weight yarn in your favorite colors.
- Crochet Hook: US Size H/8 (5.0 mm) crochet hook. This size works perfectly with worsted weight yarn to create a drapey, open fabric.
- Stitch Markers: A few stitch markers to help you keep track of your rows and increases.
- Yarn Needle: A tapestry or yarn needle for weaving in ends and sewing seams.
- Scissors: A sharp pair of scissors for cutting yarn.
Gauge: 4 pattern repeats (each repeat is 8 stitches) and 8 rows = 4 inches in the main stitch pattern. Gauge is important for achieving the correct size, so be sure to check your gauge before starting. If your gauge is off, adjust your hook size accordingly.
Step-by-Step Instructions
This pattern is worked flat in one piece from cuff to cuff. The shrug is essentially a rectangle with shaped sleeves. Follow these detailed instructions carefully, and you'll have a beautiful shrug in no time. Remember to use stitch markers to keep track of your increases and decreases.
Foundation Row
Chain 120. Work 1 double crochet (dc) in the 4th chain from the hook (this counts as your first dc). Now, work the following sequence across the row: skip 2 chains, work 5 dc in the next chain (this forms a shell), skip 2 chains, work 1 dc in the next chain. Repeat this sequence across the entire row, ending with 1 dc in the last chain. Turn your work. (You will have 15 shells and 16 single dc posts).
Main Body Pattern (Rows 1-20)
This is the core of the shrug. The pattern is simple to memorize after a couple of rows.
Row 1 (Right Side): Chain 3 (this counts as your first dc). *Skip 2 dc, work 5 dc in the single dc post (the one between the shells), skip 2 dc, work 1 dc in the center dc of the next shell.* Repeat from * to * across the row, ending with 1 dc in the top of the turning chain. Turn.
Row 2: Chain 3. *Skip 2 dc, work 5 dc in the single dc post, skip 2 dc, work 1 dc in the center dc of the next shell.* Repeat from * to * across the row, ending with 1 dc in the top of the chain-3. Turn.
Rows 3-20: Repeat Row 2. This forms the main body of the shrug. At the end of Row 20, do not turn. You will now begin the sleeve shaping.
Sleeve Shaping (First Sleeve)
Now we will add increases to shape the first sleeve. This creates a gentle flare that fits comfortably around your arm.
Row 21 (Increase Row): Chain 3, work 2 dc in the same stitch (this is an increase). Work in the established pattern across to the last stitch, then work 2 dc in the last stitch. Turn. (You have added 2 stitches on this row).
Row 22: Repeat Row 2 (no increases).
Row 23: Repeat Row 21 (increase row).
Row 24: Repeat Row 2.
Row 25: Repeat Row 21.
Row 26: Repeat Row 2.
Row 27: Repeat Row 21. (Total increases: 8 stitches added on each side).
Back Panel (Rows 28-40)
Now you will work even in the pattern to create the back of the shrug. This section will drape beautifully across your shoulders.
Rows 28-40: Work even in the established pattern (no increases or decreases). This forms the back of the shrug.
Decrease for Second Sleeve
Now we will decrease to shape the second sleeve, mirroring the increases we made earlier.
Row 41: Chain 2 (this counts as your first dc), skip the next stitch (this is a decrease). Work in the established pattern across to the last 2 stitches, skip the next stitch, work 1 dc in the last stitch. Turn. (You have decreased 2 stitches on this row).
Row 42: Repeat Row 2.
Row 43: Repeat Row 41.
Row 44: Repeat Row 2.
Row 45: Repeat Row 41.
Row 46: Repeat Row 2.
Row 47: Repeat Row 41. (Total decreases: 8 stitches removed on each side).
Second Front Panel (Rows 48-67)
Work even in the pattern to create the second front panel, which will mirror the first.
Rows 48-67: Work even in the established pattern. This forms the second front panel.
Finishing and Assembly
Now it's time to bring your shrug together. This is the most exciting part!
Step 1: Fasten off your yarn and weave in all loose ends using your yarn needle.
Step 2: Fold the piece in half lengthwise with the right sides together. The short ends are the cuffs, and the long folded edge will be the top of the shrug.
Step 3: Sew the side seams from the cuff edge to the underarm point. This should be about 8 inches from each end. Use a whip stitch or mattress stitch for a clean, invisible seam.
Step 4: Turn the shrug right side out. Try it on to admire your work!
Edging (Optional but Lovely)
This delicate edging adds a professional, polished finish to your shrug. It's simple and quick to work.
Step 1: Attach your yarn to the bottom edge of the shrug with a slip stitch.
Step 2: Work 1 round of single crochet (sc) around the entire opening of the shrug. This includes the bottom edge and the front panels.
Step 3: Work 1 round of picot edging as follows: *sc in the next stitch, chain 3, sc in the same stitch*. Repeat from * to * around the entire opening. This creates a delicate, scalloped finish.
Step 4: Fasten off and weave in all ends.
Congratulations! You've just completed your very own Solar Flare Lace Shrug. This beautiful, handcrafted piece is perfect for layering over dresses, tops, or even a simple tank. The warm, sunset-inspired colors will brighten any outfit and bring a touch of handmade luxury to your wardrobe. Enjoy wearing your creation, and don't forget to share your beautiful work with fellow crafters!