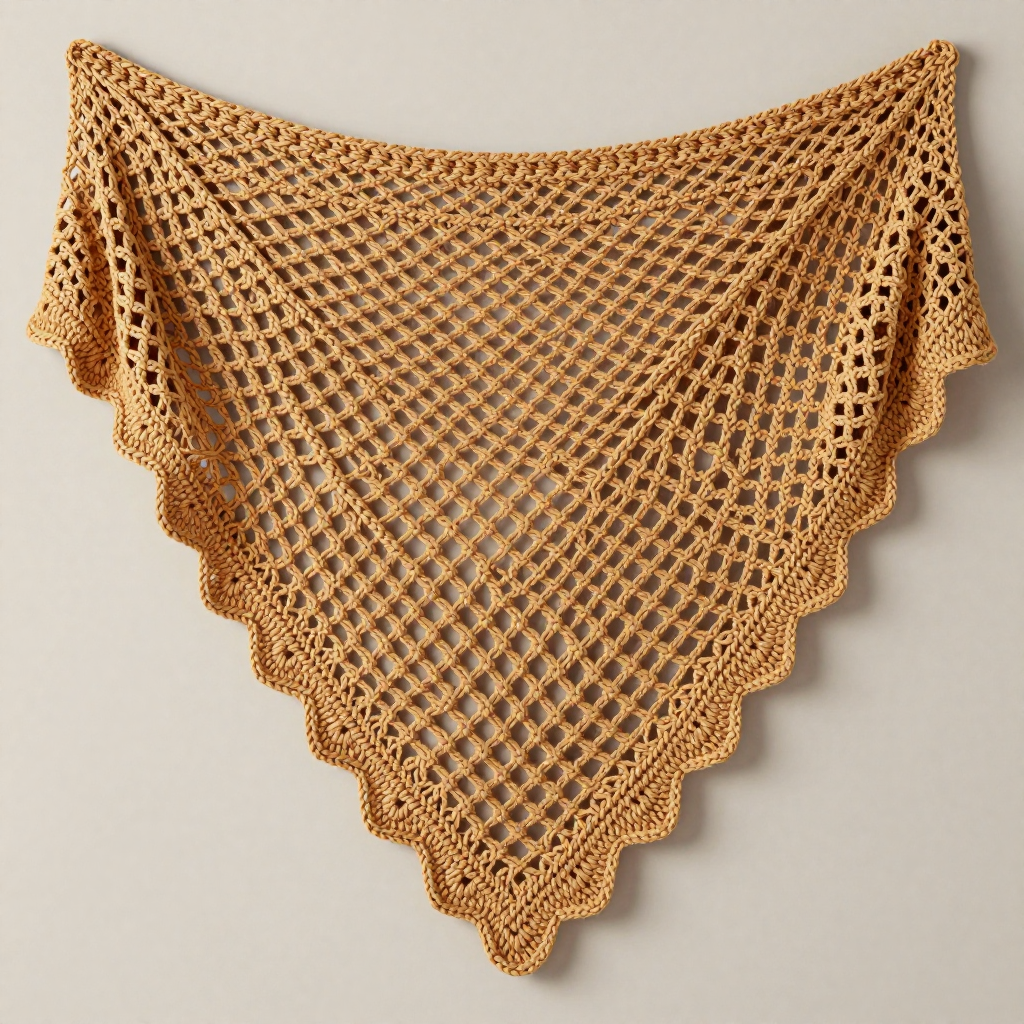
Aurora Mist Crescent Wrap Free Pattern
Aurora Mist Crescent Wrap: A Free Crochet Pattern
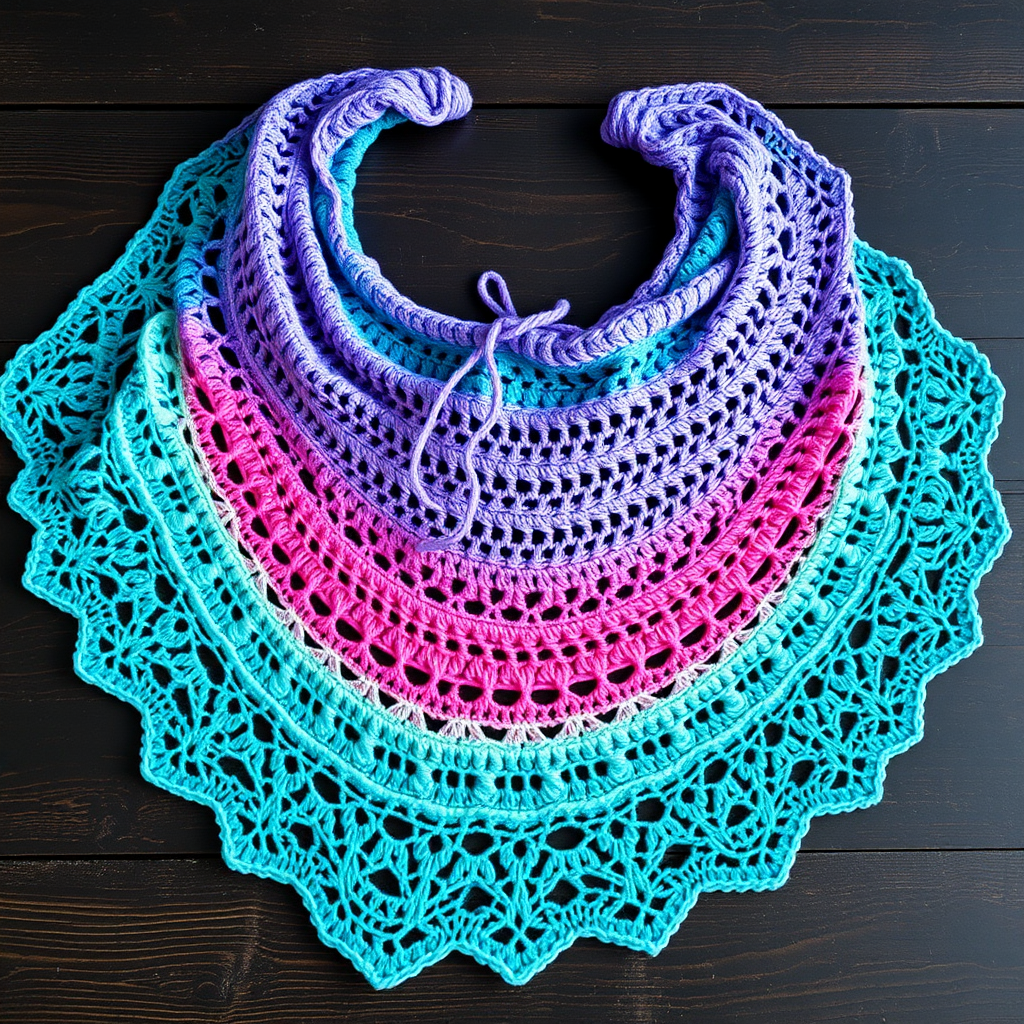
Imagine draping the ethereal, shifting colors of the northern lights over your shoulders. That is the magic of the Aurora Mist Crescent Wrap. This lightweight, lacy crochet shawl pattern is designed to mimic the breathtaking gradient of the aurora borealis, transitioning from deep teal to soft lavender and warm sunset pink. Whether you are looking for a statement piece for a cool evening or a thoughtful handmade gift, this crescent-shaped wrap adds an elegant, romantic touch to any outfit. Best of all, this free crochet pattern is accessible for confident beginners, using basic stitches and a simple, rhythmic lace repeat.
Materials Needed
Before you begin your journey crafting this stunning wrap, gather the following materials. The quality of your yarn will significantly impact the drape and overall look of your finished shawl.
- Yarn: Fingering weight yarn in a gradient or variegated colorway (e.g., Scheepjes Whirl or similar). You will need approximately 850-900 yards (777-823 meters).
- Crochet Hook: 3.5 mm (E/4) crochet hook, or size needed to obtain gauge.
- Other Tools: Yarn needle for weaving in ends, blocking mats, and rust-proof pins for finishing.
Gauge: 20 double crochet stitches x 12 rows = 4 inches (10 cm) in pattern stitch (after blocking). While gauge is important for size, the drape of this shawl is forgiving. Always check your gauge to ensure you have enough yarn.
Step-by-Step Instructions
This crescent shawl is worked from the center top down, increasing at both ends and the center to create a gentle, elegant curve. The pattern uses basic stitches and a simple lace repeat, making it suitable for confident beginners and beyond. Let's break down the process into manageable steps.
Special Stitches
Before you start, familiarize yourself with these two simple stitch combinations used throughout the pattern.
- V-stitch (V-st): (dc, ch 1, dc) in same stitch or space. This creates a "V" shape.
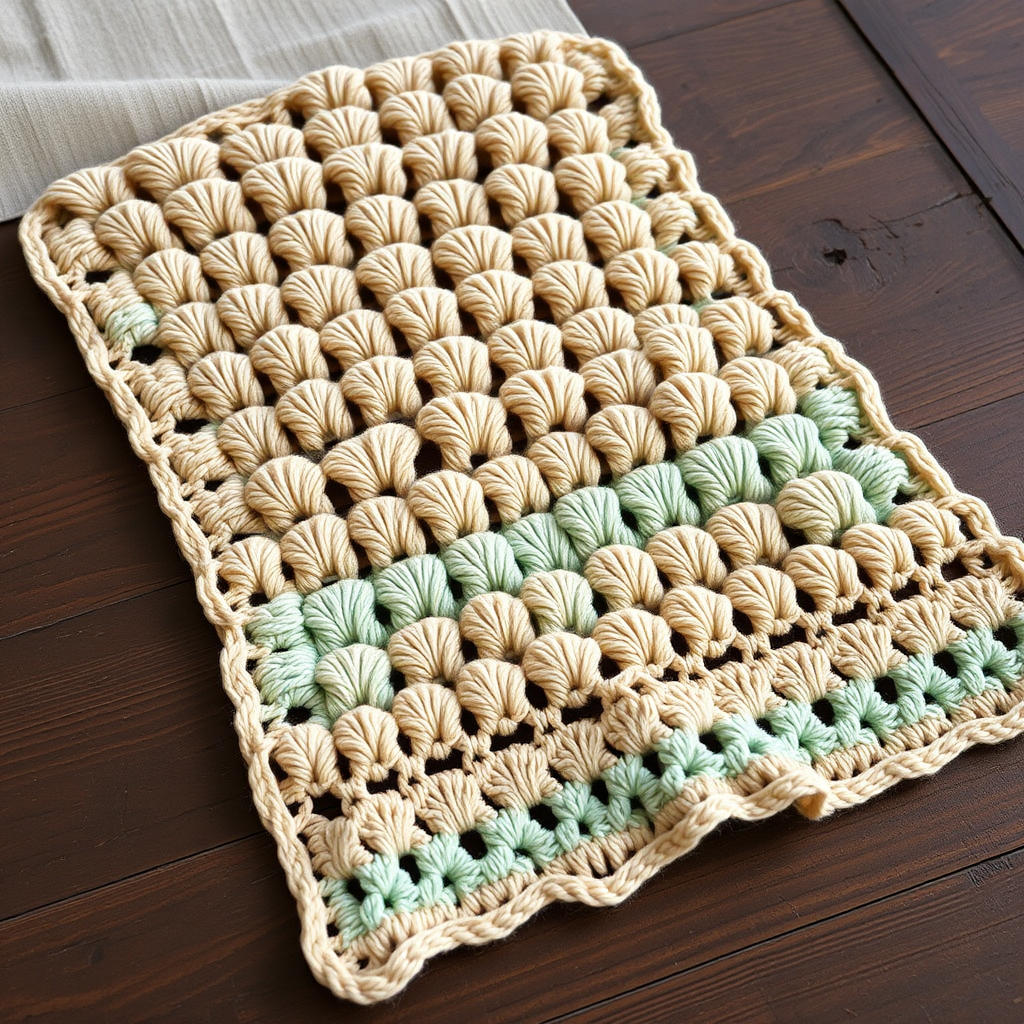
- Shell: 5 dc in same stitch or space. This creates a fan-like cluster.
Getting Started: The Foundation
We will begin with a simple foundation that sets up the initial shape of the shawl.
Foundation Row: Ch 5, dc in 5th ch from hook (counts as first dc and ch-2 space). Turn. (You now have 1 dc and 1 ch-2 space).
Shaping the Center: Increasing Rows
In this section, we will work flat, turning at the end of each row. We will increase at both ends to widen the shawl into its crescent shape.
Row 1: Ch 4 (counts as dc and ch-1), work 2 dc in the ch-2 space from foundation row, ch 1, dc in same space. Turn. (You now have 3 dc and 2 ch-1 spaces).
Row 2: Ch 4 (counts as dc and ch-1), work V-st in first ch-1 space, ch 1, work V-st in next ch-1 space, ch 1, dc in top of turning ch. Turn. (4 V-sts total).
Row 3: Ch 4, work V-st in first ch-1 space, ch 1, work V-st in next ch-1 space, ch 1, work V-st in next ch-1 space, ch 1, work V-st in last ch-1 space, ch 1, dc in top of turning ch. Turn. (6 V-sts total).
Continue increasing: Repeat Row 3, adding one V-st at each end of every row until you have 20 V-sts across (approximately 18 rows total). This forms the solid, structured top edge of the shawl.
Transitioning to the Lace Pattern
Now that the base is established, we will introduce the beautiful shell stitch to create the airy lace fabric. We will alternate between two rows to create the pattern.
Row 19 (Lace Setup): Ch 4, work V-st in first ch-1 space, *ch 1, skip next ch-1 space, work shell in next ch-1 space, ch 1, skip next ch-1 space, work V-st in next ch-1 space*; repeat from * to * across, ending with V-st in last ch-1 space, ch 1, dc in top of turning ch. Turn.
Row 20: Ch 4, work V-st in first ch-1 space, *ch 1, work V-st in center dc of next shell, ch 1, work V-st in next ch-1 space*; repeat from * to * across, ending with V-st in last ch-1 space, ch 1, dc in top of turning ch. Turn.
Row 21: Ch 4, work V-st in first ch-1 space, *ch 1, skip next ch-1 space, work shell in next ch-1 space (between V-sts), ch 1, skip next ch-1 space, work V-st in next ch-1 space*; repeat from * to * across, ending with V-st in last ch-1 space, ch 1, dc in top of turning ch. Turn.
Repeating the Lace Pattern
Now you will see the rhythm of the pattern. The shells create the dense sections, and the V-stitches create the open, airy holes.
Repeat Rows 20-21 until the shawl measures approximately 20 inches (50 cm) from the center top to the bottom point, ending with a Row 20 repeat. This ensures your bottom edge is ready for the final edging.
Adding the Finishing Touches: Edging
To give your shawl a clean, professional finish, we will add a simple border and an optional delicate picot trim.
Final Row (Scallop Base): Ch 1, work 2 sc in each ch-1 space and 1 sc in each dc across the bottom edge. Do not turn.
Picot Edging (Optional): Work *3 sc, ch 3, sl st in 3rd ch from hook, sc in next stitch*; repeat from * to * across the entire bottom edge. Fasten off.
Finishing and Blocking
This final step is crucial for transforming your crochet project into a professional-looking shawl. Blocking opens up the lace pattern and shapes the crescent.
- Weave in all ends securely using your yarn needle.
- Soak the shawl in lukewarm water with a gentle wool wash for 15-20 minutes.
- Gently squeeze out excess water (do not wring). Roll it in a clean towel to remove additional moisture.
- Pin out the shawl on blocking mats to its final measurements. The top edge should measure approximately 60 inches across, and the depth should be 20 inches. Pin the points of the lace to open up the pattern fully.
- Allow to dry completely before unpinning and wearing your beautiful new wrap.
Your Aurora Mist Crescent Wrap is now complete! The rhythmic texture of the V-stitches and shells, combined with the mesmerizing gradient of the yarn, creates a truly ethereal accessory. Drape it over your shoulders and enjoy the beauty of your handmade creation.