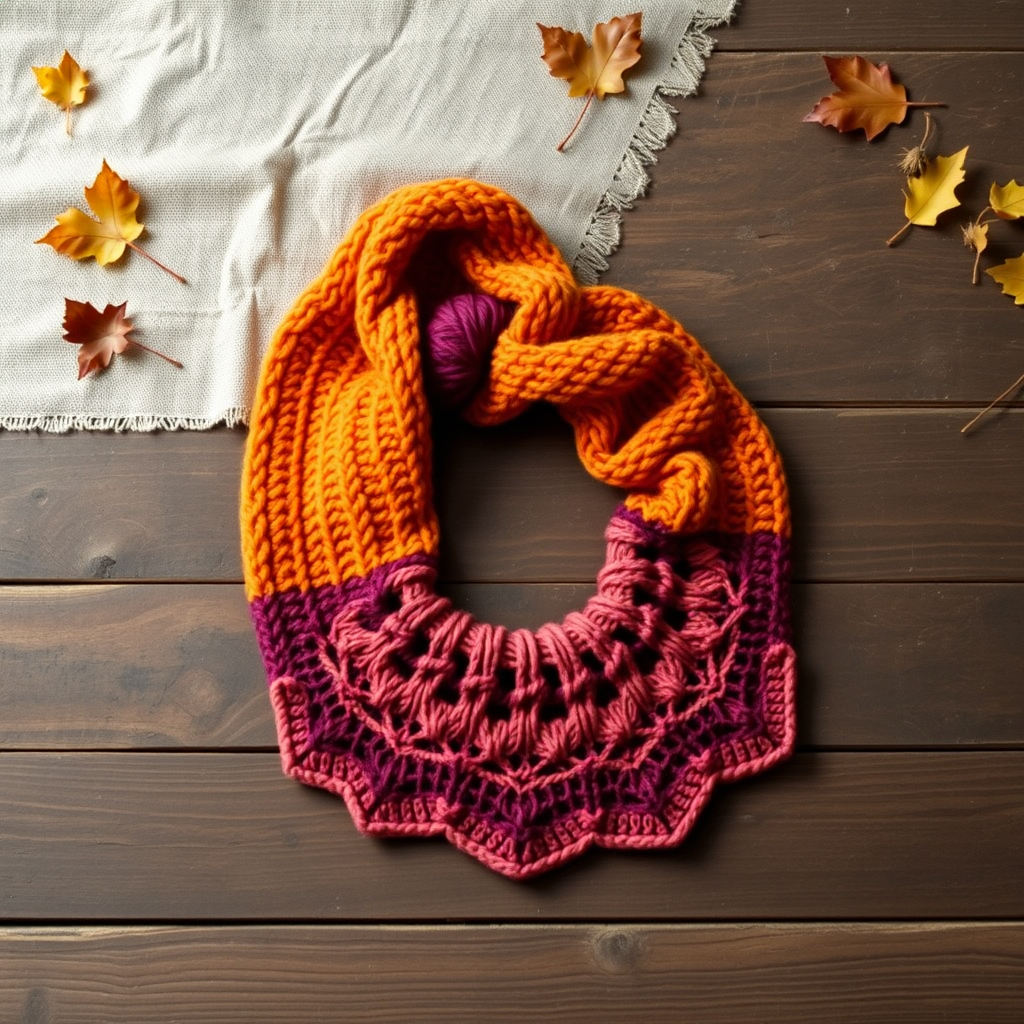
The Gilded Fern Lace Shawlette Free Pattern – A Knitted Botanical Wrap with Beaded Edge

The Gilded Fern Lace Shawlette: A Free Knitted Botanical Wrap with Beaded Edge
Wrap yourself in the elegance of a fern-filled forest with this stunning crescent-shaped shawlette. Featuring delicate lace panels that mimic unfurling fern fronds and a shimmering beaded edge, this pattern is the perfect project for the holiday season. Whether you're hosting a festive gathering or searching for a handmade hostess gift, this botanical wrap drapes beautifully over shoulders and adds a touch of handcrafted luxury to any outfit. The combination of deep emerald green and warm gold creates a rich, opulent look that's sure to become a wardrobe favorite.
Materials Needed
Before you begin, gather the following supplies to ensure a smooth knitting experience:
- Yarn: Fingering weight yarn in two colors:
- Main Color (MC): 400 yards of deep emerald green (e.g., Malabrigo Sock or Knit Picks Stroll)
- Contrast Color (CC): 200 yards of warm gold (e.g., Malabrigo Sock or Knit Picks Stroll)
- Needle: US 5 (3.75 mm) circular knitting needle, 32-inch or longer (to accommodate the growing stitch count)
- Notions: Tapestry needle for weaving in ends; small beads (size 6/0) for edging (optional but highly recommended for the shimmer effect)
- Blocking Supplies: Blocking mats, rust-proof pins, and a spray bottle or basin for wet blocking
Gauge
22 stitches and 30 rows = 4 inches in stockinette stitch after blocking. While gauge is important for size, this shawlette is forgiving—focus on consistent tension for the best drape.
Step-by-Step Instructions
This shawlette is worked from the top center down, increasing at the edges to form a graceful crescent shape. The lace pattern is a simple repeat of yarn overs and decreases, making it accessible for adventurous beginners who are comfortable with basic lace techniques.
Special Stitches
- K2tog: Knit two stitches together (right-leaning decrease)
- SSK: Slip, slip, knit (left-leaning decrease)—slip two stitches knitwise one at a time, then insert left needle into the front of both slipped stitches and knit them together
- YO: Yarn over (increase)—bring yarn to front, then over the needle to the back, creating a new loop
- Beaded bind off: Slide a bead onto the working yarn before knitting the next stitch, then knit that stitch and bind off as usual. This creates a delicate, beaded picot edge.
Setup Section
With MC, cast on 5 stitches.
- Row 1 (RS): K2, YO, K1, YO, K2 (7 stitches)
- Row 2 (WS): K2, Purl to last 2 stitches, K2
- Row 3: K2, YO, K1, YO, K3, YO, K1, YO, K2 (11 stitches)
- Row 4: K2, Purl to last 2 stitches, K2
- Row 5: K2, YO, K1, YO, K5, YO, K1, YO, K2 (15 stitches)
- Row 6: K2, Purl to last 2 stitches, K2
Body Section
Continue in this pattern, increasing 4 stitches every RS row—one YO at each edge and one YO on each side of the center stitch. Work in stockinette with a garter stitch border (first and last 2 stitches knit on every row) until you have 85 stitches on the needle, ending with a WS row.
Pro tip: Place stitch markers on either side of the center stitch to help track your increases. The center stitch is the one between the two YOs in the middle of the row.
Lace Pattern Section
Now begin the lace section. Work the following 8-row repeat, maintaining the garter edge and center increases as before:
- Row 1 (RS): K2, YO, K1, YO, *K2tog, YO, K1, YO, SSK, K1; repeat from * to last 3 stitches, K1, YO, K1, YO, K2
- Row 2 and all WS rows: K2, Purl to last 2 stitches, K2
- Row 3: K2, YO, K1, YO, *K1, K2tog, YO, K1, YO, SSK; repeat from * to last 3 stitches, K1, YO, K1, YO, K2
- Row 5: K2, YO, K1, YO, *K2, K2tog, YO, K1, YO, SSK, K1; repeat from * to last 3 stitches, K1, YO, K1, YO, K2
- Row 7: K2, YO, K1, YO, *K3, K2tog, YO, K1, YO, SSK, K2; repeat from * to last 3 stitches, K1, YO, K1, YO, K2
Repeat these 8 rows until the shawl measures approximately 20 inches from the center cast-on edge, ending with a WS row. The lace pattern will naturally create a fern-like motif that opens up beautifully after blocking.
Edging
Switch to CC (warm gold). Work one row of knit across all stitches, then bind off loosely as follows:
- Beaded bind off: K2, *slide a bead onto the yarn, K1, pass the first stitch over the second; repeat from * across. This creates a delicate, beaded picot edge that catches the light.
Weave in all ends with your tapestry needle, being careful to secure them discreetly on the wrong side of the work.
Blocking
Blocking is essential to open up the lace pattern and achieve the beautiful drape this shawlette is known for:
- Soak the shawlette in lukewarm water with a drop of wool wash for 20 minutes.
- Gently squeeze out excess water—do not wring or twist.
- Lay flat on a blocking mat.
- Pin out the points of the lace edges to open up the pattern, stretching gently to the desired dimensions.
- Allow to dry completely before unpinning.
Once dry, your Gilded Fern Lace Shawlette is ready to wear or gift. The deep emerald green and warm gold combination evokes the richness of a winter forest, while the beaded edge adds just the right amount of sparkle for holiday celebrations. This pattern is a joy to knit and an even greater joy to wear—enjoy every stitch!