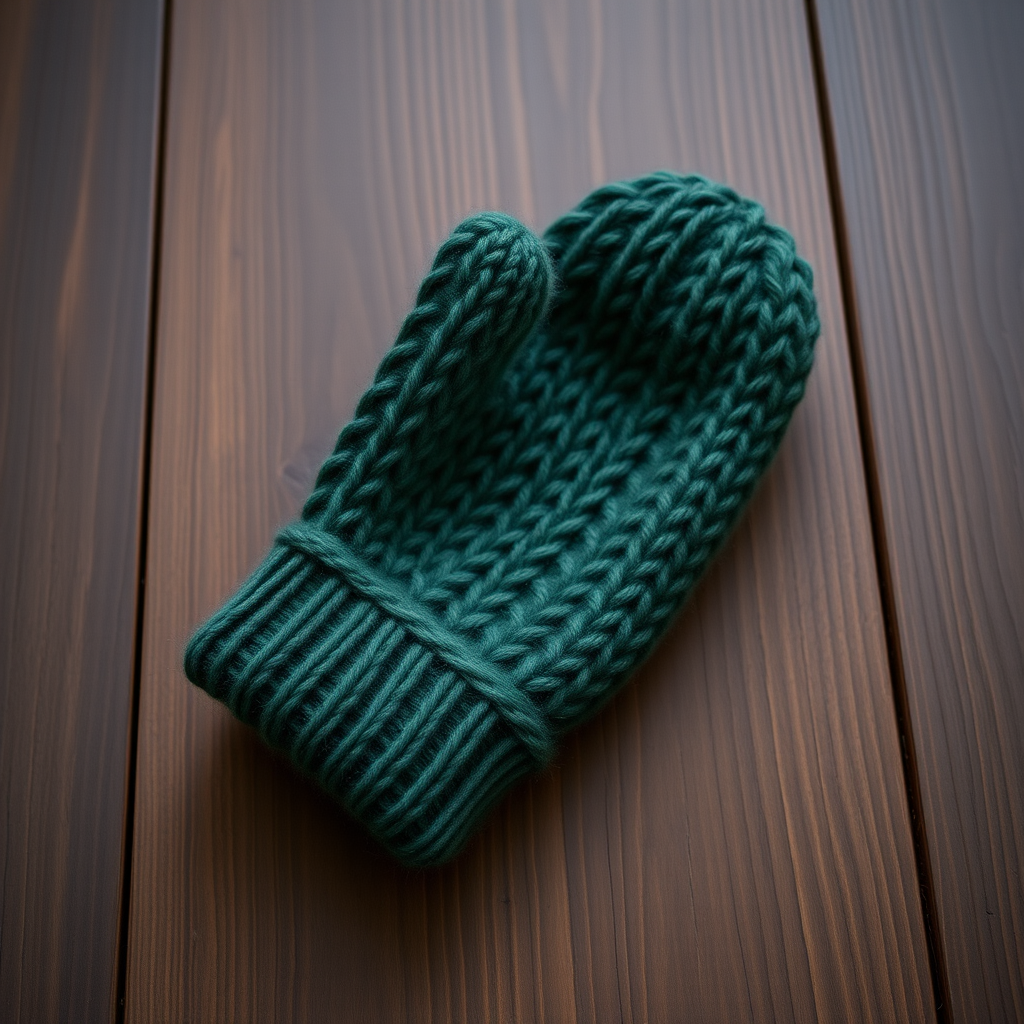
The Frosted Berry Mittens: A Free Knitting Pattern for Textured, Color-Blocked Kids' Mittens

Cozy & Colorful: Introducing the Frosted Berry Mittens
There’s something truly special about knitting a pair of mittens for little hands. They’re quick, satisfying, and the perfect canvas for adding a bit of playful texture. Today, I’m thrilled to share a free pattern for the Frosted Berry Mittens—a pair of cozy, color-blocked kids’ mittens that combine a classic, dense fabric with a whimsical bobble stitch motif.
Designed for children aged 2 to 8, these mittens feature a rich cranberry main color (MC) and a creamy white contrast color (CC) band near the top. The simple combination of knit and purl stitches creates a warm, durable fabric, while the single row of bobbles adds just the right amount of charm. Whether you’re a seasoned knitter looking for a quick gift or a confident beginner ready to try a new technique, this pattern is a joy to make.
Materials Needed
Before you cast on, gather the following supplies. The pattern uses worsted weight yarn and two needle sizes to create a neat, stretchy ribbing and a smooth body.
Yarn
- Main Color (MC): 100g (approx. 200 yards) of worsted weight yarn. Sample used: Cascade 220 Superwash in ‘Cranberry’.
- Contrast Color (CC): 50g (approx. 100 yards) of worsted weight yarn. Sample used: Cascade 220 Superwash in ‘Cream’.
Needles & Notions
- US Size 5 (3.75 mm) double-pointed needles (or circular needle for magic loop) – for the ribbing.
- US Size 6 (4.0 mm) double-pointed needles (or circular needle for magic loop) – for the main body.
- Stitch holder or waste yarn (for thumb stitches).
- Tapestry needle for weaving in ends.
- Scissors.
Gauge
22 stitches and 30 rows = 4 inches in stockinette stitch on larger needles (US 6). Always check your gauge to ensure the correct finished size.
Step-by-Step Instructions
This pattern is written for two sizes: Child 2-4 and Child 5-8. Instructions for the larger size are in parentheses. The finished hand circumference is 5 (6) inches, and the length is 6 (7) inches.
Abbreviations
- CO – cast on
- K – knit
- P – purl
- K2tog – knit two together (decrease)
- P2tog – purl two together (decrease)
- M1 – make one (increase)
- St(s) – stitch(es)
- MC – Main Color
- CC – Contrast Color
- Bobble – (K1, P1, K1, P1, K1) into the same stitch, then pass the 4 extra stitches over the first stitch (one stitch remains).
Left Mitten
Ribbing
With smaller needles (US 5) and MC, CO 28 (32) stitches. Distribute evenly on double-pointed needles (or use magic loop). Join in the round, being careful not to twist. Work in K2, P2 ribbing for 1.5 (2) inches.
Hand
Switch to larger needles (US 6). Work in stockinette stitch (knit every round) for 2 (2.5) inches from the cast-on edge.
Thumb Gusset
Round 1: K14 (16), M1, K1, M1, K to end. (30, 34 sts)
Round 2: Knit all sts.
Round 3: K14 (16), M1, K3, M1, K to end. (32, 36 sts)
Round 4: Knit all sts.
Continue increasing every other round, working 2 more stitches between the M1 increases each time, until you have 12 (14) stitches for the thumb. (Total stitches: 40, 46)
Separate Thumb
Knit across the hand stitches until you reach the thumb stitches. Place the 12 (14) thumb stitches on a stitch holder or waste yarn. CO 2 stitches over the gap. Continue knitting in the round on the remaining 30 (34) stitches for 1.5 (2) inches.
Color Block & Bobble Pattern
Switch to CC. Work 4 rounds in stockinette.
Next round: For size 2-4: *K3, Bobble, K4* repeat around. For size 5-8: *K4, Bobble, K5* repeat around.
Work 3 more rounds in stockinette with CC.
Switch back to MC. Work 2 rounds.
Decrease for Top
Round 1: *K2, K2tog* repeat around. (23, 26 sts)
Round 2: Knit.
Round 3: *K1, K2tog* repeat around. (15, 17 sts)
Round 4: Knit.
Round 5: *K2tog* repeat around. (8, 9 sts)
Cut yarn, thread through remaining stitches, pull tight, and weave in end.
Thumb
Place thumb stitches on larger DPNs. Pick up 2 stitches from the CO edge. Knit all stitches in the round (14, 16 sts) for 1 (1.25) inches.
Decrease: *K2tog* repeat around. (7, 8 sts)
Cut yarn, thread through stitches, pull tight, and weave in end.
Right Mitten
Work as for the left mitten, but place the thumb gusset after K14 (16) stitches from the beginning of the round (mirror image).
Finishing
Weave in all ends. Block gently if desired to even out stitches and set the shape.
These mittens are the perfect winter accessory—warm, durable, and full of personality. The bobble stitch adds a fun, tactile element that kids love, and the color-blocked design makes them stand out from the crowd. Happy knitting!