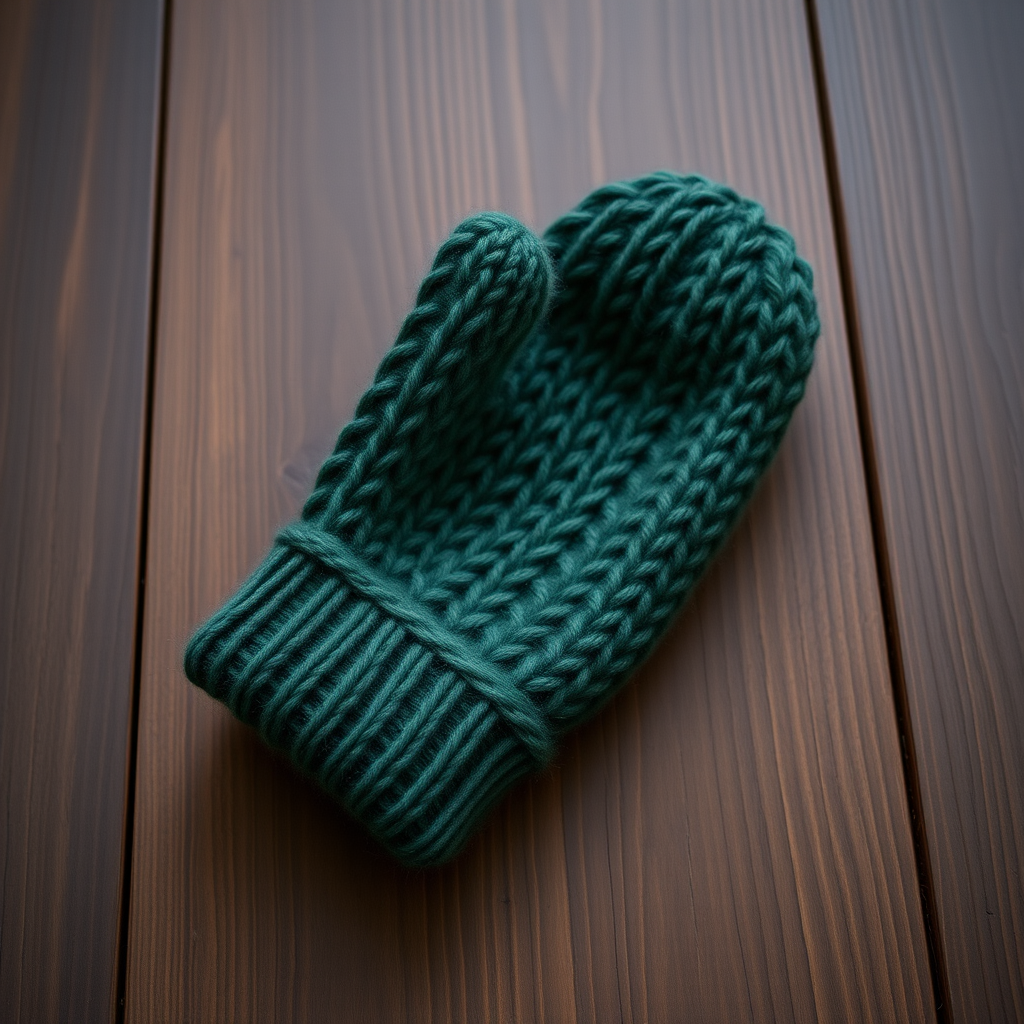
Frosted Fern Lace Mittens Free Pattern – Knit a Delicate Winter Garden

Frosted Fern Lace Mittens Free Pattern – Knit a Delicate Winter Garden
Wrap your hands in the quiet beauty of a winter garden with these lace-paneled mittens, where delicate fern motifs climb over a soft, heathered base. This cozy, textured knit feels like a gentle snowfall on your skin—a perfect project for intermediate knitters ready to explore lace in the round. The combination of a smooth stockinette palm and an intricate fern lace back creates a garment that is both practical and heirloom-beautiful.
Whether you're a seasoned knitter looking for a quick weekend project or a confident beginner eager to stretch your skills, these mittens deliver. The pattern is fully written out (no charts to decipher), uses worsted-weight yarn for quick results, and includes detailed instructions for both right and left mittens. Let's dive into creating your own pair of frost-kissed handwear.
Materials Needed
Before you begin, gather the following supplies. All items are readily available at your local yarn shop or online.
Yarn
- Main Color (MC): Heathered Sage Green – Worsted weight yarn, approximately 200 yards
- Contrast Color (CC): Creamy White – Worsted weight yarn, approximately 50 yards
Pro tip: Choose a yarn with good stitch definition, such as a wool or wool-blend, to make the lace pattern pop. The heathered quality of the MC adds depth to the finished piece.
Needles & Notions
- US 6 (4.0 mm) double-pointed needles (DPNs) – set of 4 or 5, or a circular needle for magic loop
- Stitch markers (at least 4)
- Tapestry needle for weaving in ends
- Waste yarn or stitch holders for the thumb
- Lifeline thread (optional but recommended for lace)
Gauge
20 stitches and 28 rows = 4 inches in stockinette stitch (after blocking). Always knit a gauge swatch to ensure your mittens fit properly. Adjust needle size if necessary.
Finished Size
Women's medium – approximately 7.5 inches hand circumference and 10 inches long from cuff to tip.
Step-by-Step Instructions
This pattern is worked in the round from the cuff to the tip. The lace pattern is only on the back of the hand (first 20 stitches), while the palm is worked in simple stockinette. Follow the instructions carefully, and don't forget to place a lifeline before starting the lace section—it will save you hours of frustration if you need to rip back.
Abbreviations
- CO: cast on
- K: knit
- P: purl
- K2tog: knit two together (right-leaning decrease)
- SSK: slip, slip, knit (left-leaning decrease)
- YO: yarn over
- PM: place marker
- SM: slip marker
- M1L: make one left (increase)
- M1R: make one right (increase)
- St(s): stitch(es)
- MC: main color
- CC: contrast color
Pattern Notes
- Worked in the round from cuff to tip.
- Lace pattern is provided in written form below.
- Use a lifeline before starting the lace section.
- The right and left mittens are worked identically except for the thumb gusset placement.
Cuff
With MC, CO 40 stitches. Distribute evenly on 4 DPNs (10 stitches per needle). Join in the round, being careful not to twist your cast-on edge. Place a marker to indicate the beginning of the round.
Rounds 1-12: *K2, P2* repeat to end of round. (This creates a 2x2 ribbing that will form a snug, stretchy cuff.)
After completing 12 rounds of ribbing, your cuff should measure approximately 1.5 inches. If you prefer a longer cuff, add more ribbing rounds here.
Hand – Right Mitten
Round 13: K all stitches.
Round 14: K all stitches. (These two plain rounds separate the ribbing from the lace pattern.)
Round 15: Begin lace pattern on the back of hand (first 20 stitches) and stockinette on palm (last 20 stitches).
Important: The first 20 stitches of each round form the back of the hand (where the lace lives). The last 20 stitches form the palm. Keep this distinction clear as you work.
Lace Pattern (worked over 20 stitches, repeat rounds 1-8)
This 8-round repeat creates the fern-like motifs. Work these 20 stitches at the beginning of each round, then knit the remaining 20 palm stitches plain.
Round 1: K2, YO, SSK, K4, K2tog, YO, K2, YO, SSK, K4, K2tog, YO, K2 (20 sts)
Round 2: K all 20 sts.
Round 3: K3, YO, SSK, K2, K2tog, YO, K4, YO, SSK, K2, K2tog, YO, K3 (20 sts)
Round 4: K all 20 sts.
Round 5: K4, YO, SSK, K2tog, YO, K6, YO, SSK, K2tog, YO, K4 (20 sts)
Round 6: K all 20 sts.
Round 7: K5, YO, SSK, YO, K8, YO, SSK, YO, K5 (20 sts)
Round 8: K all 20 sts.
Repeat rounds 1-8 until the hand measures 4 inches from the cuff, ending with round 8 of the lace pattern. This ensures you're at a clean point before starting the thumb gusset.
Thumb Gusset
The thumb gusset is worked on the palm side of the mitten. For the right mitten, the gusset begins at the start of the round (after the lace pattern).
Round 1 (increase round): K1, PM, M1L, K1, M1R, PM, K to end of round. (You've increased 2 stitches – the gusset now has 3 stitches between markers.)
Round 2: K all stitches.
Round 3: K1, SM, M1L, K to marker, M1R, SM, K to end of round. (2 stitches increased – gusset now has 5 stitches.)
Repeat rounds 2-3 until there are 13 stitches between the markers. This means you've completed 6 increase rounds total. The gusset will feel roomy—this is correct.
Separate Thumb
Next round: K to first marker, remove marker, place the 13 thumb stitches onto waste yarn, remove second marker, CO 1 stitch (to bridge the gap), K to end of round. You should have 40 stitches total back on your needles (20 lace + 20 palm, with the 1 new stitch counted in the palm section).
Continue working in pattern (lace on back, stockinette on palm) until the hand measures 7 inches from the cuff, ending with round 8 of the lace pattern. This positions you perfectly for the top decreases.
Top Decreases
Now we'll shape the rounded tip of the mitten. The decreases happen on both the lace side and the palm side simultaneously.
Round 1 (decrease round): K1, SSK, K to last 3 sts of back (lace side), K2tog, K1; then K1, SSK, K to last 3 sts of palm, K2tog, K1. (4 stitches decreased – 2 on each side.)
Round 2: K all stitches.
Repeat rounds 1-2 until 12 stitches remain on your needles. This will take 7 decrease rounds total. The lace pattern will naturally distort as you decrease—this is expected and creates a lovely organic shape.
Final round: K2tog around. (6 stitches remain.)
Cut yarn, leaving a 6-inch tail. Thread the tail through a tapestry needle, pass it through the remaining 6 stitches, pull tight to close the top, and weave in the end securely.
Thumb
Transfer the 13 thumb stitches from waste yarn onto DPNs. Pick up 1 stitch from the CO gap at the base of the thumb, and 1 stitch from each side of the gap. You should now have 15 stitches total for the thumb.
Rounds 1-10: K all stitches. (The thumb should measure approximately 2 inches.)
Round 11: K2tog around. (8 stitches remain.)
Cut yarn, thread through remaining stitches, pull tight, and weave in the end.
Left Mitten
Work the left mitten exactly as the right, but place the thumb gusset at the end of the round (after the lace pattern) instead of at the beginning. This mirrors the thumb placement anatomically.
To do this: Work the lace pattern on the first 20 stitches, then K1, PM, M1L, K1, M1R, PM, K to end of round. Continue the gusset increases as written, but they'll occur on the palm side after the lace section. All other instructions remain identical.
Finishing
Weave in all loose ends using a tapestry needle. Block the mittens gently to open up the lace pattern—this is crucial for the fern motifs to shine. Use a gentle wet-blocking method: soak in lukewarm water with a drop of wool wash, gently squeeze out excess water (never wring), lay flat to dry, and shape while damp.
Optional decorative touch: Using CC (creamy white), crochet a simple chain tie at the cuff. Make a chain approximately 6 inches long, attach it at the side of the cuff, and add a small loop for a button or toggle. This adds a charming, rustic detail that echoes the winter garden theme.
Final Thoughts
These Frosted Fern Lace Mittens are more than just handwear—they're a wearable piece of winter poetry. The combination of the heathered sage green and creamy white evokes frost-kissed ferns in a quiet woodland, while the lace pattern adds an heirloom quality that will make these mittens a favorite gift or personal treasure.
Remember: lace knitting requires patience, but the results are always worth it. Use your lifeline, count your stitches regularly, and don't be afraid to rip back if something looks off. The rhythm of the 8-round repeat becomes meditative after a few repetitions.
Happy knitting, and may your hands be wrapped in the beauty of a winter garden all season long!