Daddy's Simply Easy Mittens Free Pattern – Chunky Textured Knit for Beginners
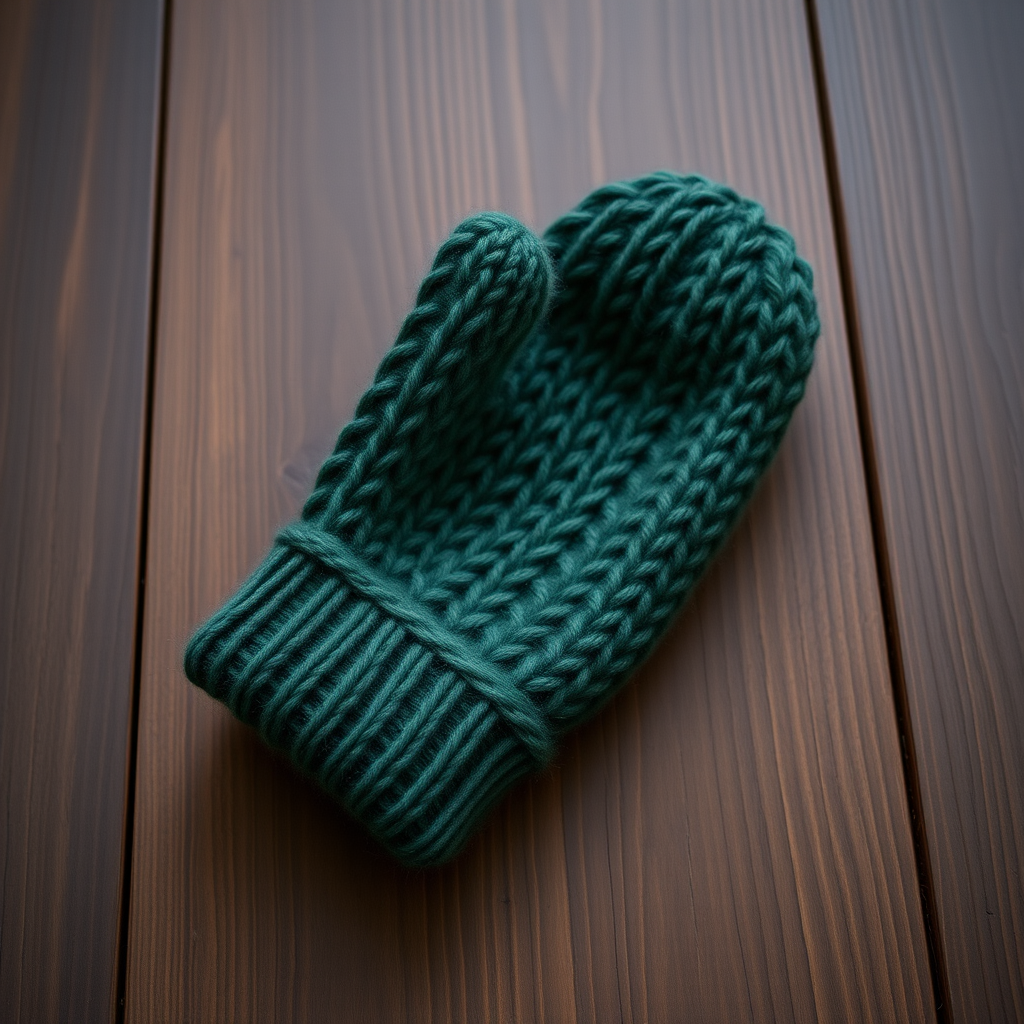
Cozy Up with Daddy's Simply Easy Mittens: A Beginner's Knitting Pattern
There's something incredibly special about wrapping your hands in a pair of mittens made with love. This free pattern for Daddy's Simply Easy Mittens is designed with the beginner in mind, using chunky yarn and simple stitches to create a warm, textured, and generously sized accessory. Whether you're knitting for a dad, a husband, or treating yourself, these flat-knit mittens are a quick, satisfying project that yields a beautifully handmade result. The dense ribbed cuff and soft stockinette body provide both a snug fit and cozy warmth, making them the perfect winter companion.
This pattern is a fantastic introduction to garment knitting. Because the mittens are worked flat and seamed, you don't need to master circular knitting or complex shaping. You'll only use knit and purl stitches, along with a simple decrease, to create a professional-looking finish. Let's gather our supplies and get started on a project that's as rewarding to make as it is to wear.
Materials Needed
Before you begin, ensure you have all the necessary materials on hand. This project is wonderfully portable and requires minimal supplies.
- Yarn: Super bulky weight yarn (approx. 150-200 yards per pair). A great example is Lion Brand Wool-Ease Thick & Quick in your favorite color. The chunky nature of the yarn is what makes this project knit up so fast.
- Knitting Needles: US 11 (8.0 mm) knitting needles. You can use straight needles or circular needles for flat knitting—whatever you find most comfortable.
- Other Notions: A yarn needle for seaming and weaving in ends, and a pair of scissors.
Gauge: 12 stitches and 16 rows = 4 inches in stockinette stitch (after blocking). While gauge is important for fit, the generous size of these mittens makes them quite forgiving.
Step-by-Step Instructions
Follow these detailed instructions to create your pair of mittens. The pattern is written for an Adult Medium/Large size (approx. 8.5 inches long, 4.5 inches wide). You will make two identical mittens.
Abbreviations
- CO: Cast on
- K: Knit
- P: Purl
- K2tog: Knit two together (a right-leaning decrease)
- St(s): Stitch(es)
- BO: Bind off
Instructions (Make 2 Identical Mittens)
Part 1: The Cuff
We'll start with the stretchy ribbed cuff that will keep the cold air out and the mitten securely on the hand.
- Cast On: CO 24 sts.
- Row 1: *K2, P2*; repeat from * to * across all 24 sts. This establishes the 2x2 ribbing pattern.
- Repeat Row 1: Continue repeating Row 1 for a total of 10 rows. This will create a cuff that is approximately 2.5 inches long, providing a nice, snug fit around the wrist.
Part 2: The Mitten Body
Now we'll switch to the smooth stockinette stitch, which forms the main body of the mitten. This section is a simple, repetitive rhythm of knit and purl rows.
- Row 11 (Right Side): Knit across all 24 sts.
- Row 12 (Wrong Side): Purl across all 24 sts.
- Repeat Rows 11-12: Continue alternating these two rows for 14 more rows (meaning you will knit rows 13 through 26). In total, you will have completed 16 rows of stockinette after the cuff. This creates the roomy hand portion of the mitten.
Part 3: Shaping the Top
This is where we begin to decrease stitches to create the rounded top of the mitten. Pay close attention to the pattern, but don't worry—it's just a simple sequence of knits and decreases.
- Row 27 (Decrease Row): K2, K2tog, K4, K2tog, K4, K2tog, K4, K2tog, K2. (You will have 20 sts remaining). Let's break this down: You're knitting 2, then decreasing, then knitting 4, decreasing, and repeating this until the end. This evenly removes 4 stitches.
- Row 28: Purl across all 20 sts.
- Row 29: K2, K2tog, K3, K2tog, K3, K2tog, K3, K2tog, K2. (You will have 16 sts remaining).
- Row 30: Purl across all 16 sts.
- Row 31: K2, K2tog, K2, K2tog, K2, K2tog, K2, K2tog, K2. (You will have 12 sts remaining).
- Row 32: Purl across all 12 sts.
- Row 33: K2tog across all sts. (You will have 6 sts remaining).
- Finish: Cut the yarn, leaving a long tail of about 12 inches. Thread this tail onto your yarn needle. Slide the needle through all 6 remaining stitches on your knitting needle, then gently pull the tail tight to gather the top of the mitten closed. Secure it with a small knot.
Part 4: Finishing Touches
Your mitten is almost complete! The final steps are all about seaming and making it look polished.
- Sew the Side Seam: With the right side of the mitten facing you, use your yarn needle and the tail from the cast-on edge to sew the side seam. You can use a mattress stitch for an invisible seam or a simple whip stitch for a more rustic look. Start at the cuff and work your way up to the top of the mitten.
- Weave in Ends: Weave in all loose yarn ends securely using your yarn needle. This ensures your mitten won't unravel with wear.
- Repeat: Repeat the entire process to create the second mitten.
- Optional Loop: For a charming and practical touch, you can create a simple braided or twisted cord from a small piece of yarn and attach it to the inside of the cuff. This makes it easy to hang the mittens to dry or clip them together.
And that's it! You've just completed a pair of wonderfully warm, chunky mittens. The simple pattern and soft, textured yarn make these a joy to knit and an even greater joy to gift. They are perfect for a beginner looking to move beyond scarves or for any knitter who wants a quick, satisfying weekend project. Enjoy the warmth and the well-deserved pride in your handmade creation!


