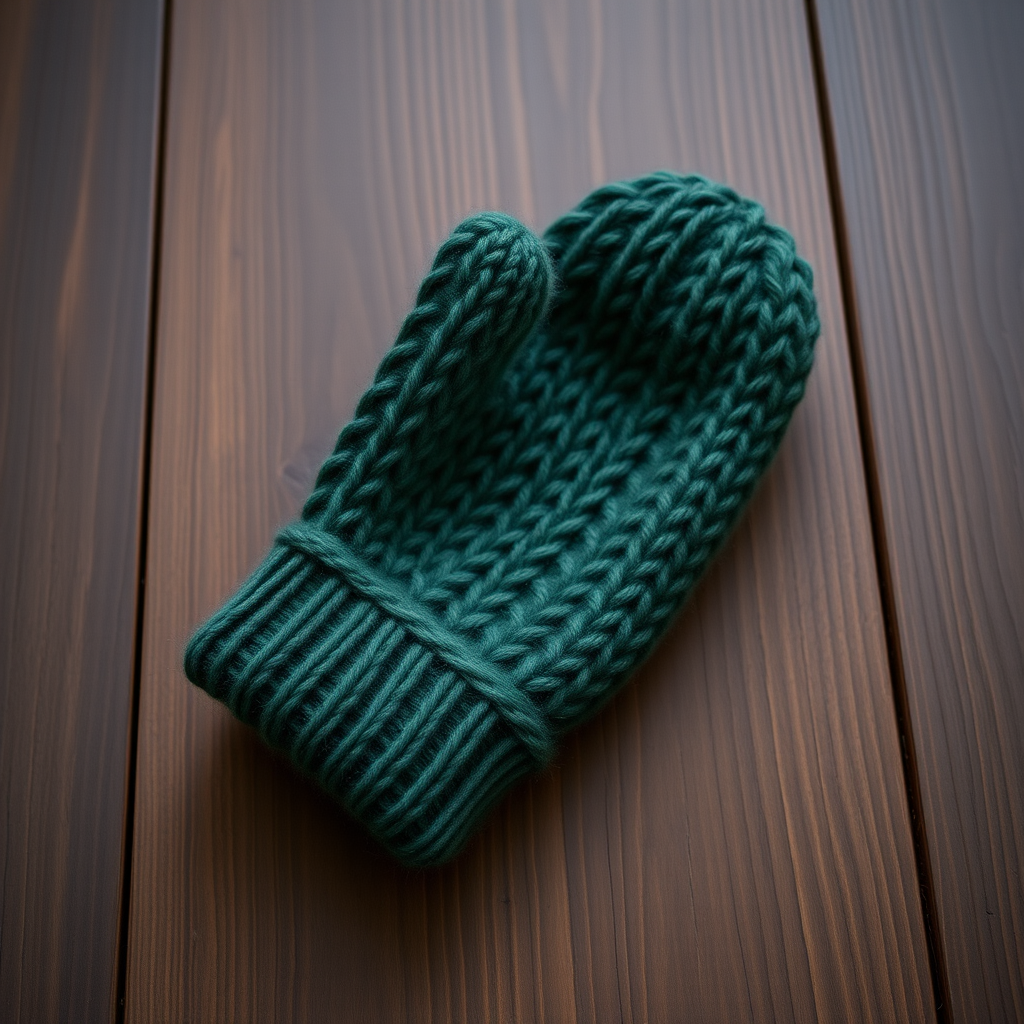
Emberwood Split Finger Mittens Free Pattern – A Knitted Cozy Glove

Emberwood Split Finger Mittens Free Pattern – A Knitted Cozy Glove
There's something deeply satisfying about slipping your hands into a pair of hand-knit mittens—especially when they're as thoughtfully designed as these Emberwood Split Finger Mittens. Combining the warmth of a full mitten with the dexterity of fingerless gloves, this pattern is perfect for chilly commutes, cozy coffee shop afternoons, and everything in between. The textured cable and ribbing design adds a rustic, handcrafted charm that will elevate any winter outfit. Whether you're a seasoned knitter or a confident beginner ready for a new challenge, this free pattern will guide you through creating a pair of mittens that are as functional as they are beautiful.
In this post, we'll walk through everything you need—from materials and gauge to detailed, step-by-step instructions that will have you knitting these gorgeous mittens in no time. Let's dive in!
Materials Needed
Before you cast on, gather the following supplies. These are the exact materials used in the sample, but feel free to substitute with similar worsted weight yarns you love.
Yarn
- Worsted weight yarn (e.g., Lion Brand Wool-Ease) in two colors:
- Main Color (MC): Rust Orange
- Contrast Color (CC): Cream
Needles & Notions
- US 7 (4.5 mm) double-pointed needles (DPNs) or a circular needle for magic loop
- Stitch holders or waste yarn (for thumb and finger openings)
- Cable needle
- Tapestry needle (for weaving in ends)
- Stitch markers (optional, but helpful)
Gauge
20 stitches and 26 rows = 4 inches in stockinette stitch. Adjust needle size as needed to achieve this gauge. Getting the right gauge ensures your mittens fit comfortably.
Step-by-Step Instructions
This pattern is worked in the round from the cuff up. The instructions below are for a woman's medium size (7.5-inch hand circumference). If you need a different size, adjust your needle size to achieve gauge, or modify the stitch count proportionally.
Abbreviations
- CO: cast on
- K: knit
- P: purl
- K2tog: knit two together
- SSK: slip slip knit
- M1L: make one left (increase)
- M1R: make one right (increase)
- C4F: cable 4 front (slip 2 stitches to cable needle, hold in front, knit next 2 stitches, then knit the 2 from cable needle)
- C4B: cable 4 back (slip 2 stitches to cable needle, hold in back, knit next 2 stitches, then knit the 2 from cable needle)
- St(s): stitch(es)
- Rnd(s): round(s)
Cuff
With your Contrast Color (CC) yarn, CO 40 stitches. Distribute them evenly on your DPNs (10 stitches per needle). Join in the round, being careful not to twist your stitches.
Work K2, P2 ribbing for 2 inches. This snug, stretchy cuff will keep the mittens securely on your hands.
Hand (Right Mitten)
Switch to your Main Color (MC) yarn. You'll now begin the beautiful cable pattern that gives these mittens their signature texture.
Rnd 1: *K2, P2* repeat to end.
Rnd 2: *K2, P2* repeat to end.
Rnd 3: *C4F, P2* repeat to end (10 times).
Rnd 4: *K4, P2* repeat to end.
Rnd 5: *K4, P2* repeat to end.
Rnd 6: *C4B, P2* repeat to end.
Rnd 7: *K4, P2* repeat to end.
Rnd 8: *K4, P2* repeat to end.
Repeat Rnds 3–8 until the piece measures 4 inches from the cast-on edge, ending with Rnd 8. This creates the beautiful braided cable effect on the back of your hand.
Thumb Gusset
Now we'll shape the thumb. You'll be increasing stitches at the beginning of each round, which will form the gusset. Follow carefully, as the stitch counts change each round.
Rnd 1: K1, M1L, K2, M1R, K1, then continue in pattern (K4, P2) to end. (42 sts)
Rnd 2: K4 (thumb sts), then continue in pattern to end.
Rnd 3: K1, M1L, K4, M1R, K1, then continue in pattern to end. (44 sts)
Rnd 4: K6 (thumb sts), then continue in pattern to end.
Rnd 5: K1, M1L, K6, M1R, K1, then continue in pattern to end. (46 sts)
Rnd 6: K8 (thumb sts), then continue in pattern to end.
Rnd 7: K1, M1L, K8, M1R, K1, then continue in pattern to end. (48 sts)
Rnd 8: K10 (thumb sts), then continue in pattern to end.
Rnd 9: K1, M1L, K10, M1R, K1, then continue in pattern to end. (50 sts)
Rnd 10: K12 (thumb sts), then continue in pattern to end.
Rnd 11: K1, M1L, K12, M1R, K1, then continue in pattern to end. (52 sts)
Rnd 12: K14 (thumb sts), then continue in pattern to end.
Rnd 13: K1, M1L, K14, M1R, K1, then continue in pattern to end. (54 sts)
Rnd 14: K16 (thumb sts), then continue in pattern to end.
Rnd 15: K1, M1L, K16, M1R, K1, then continue in pattern to end. (56 sts)
Rnd 16: K18 (thumb sts), then continue in pattern to end.
Rnd 17: K1, M1L, K18, M1R, K1, then continue in pattern to end. (58 sts)
Rnd 18: K20 (thumb sts), then continue in pattern to end.
Rnd 19: K1, M1L, K20, M1R, K1, then continue in pattern to end. (60 sts)
Rnd 20: K22 (thumb sts), then continue in pattern to end.
Now, place the 22 thumb stitches on a stitch holder or waste yarn. Using the backward loop method, CO 2 stitches over the gap. Continue in pattern across the remaining 38 stitches. You should now have 40 stitches total on your needles.
Hand Body
Continue in the established cable pattern (Rnds 3–8) for 2 more inches, or until the mitten reaches the base of your fingers. Try it on to check the fit—it should feel snug but comfortable.
Split Finger Opening
This is where the magic happens! We'll create the split finger design that gives these mittens their unique functionality.
Rnd 1: Work in pattern across the first 20 stitches (back of hand), then place the next 20 stitches (palm) on a stitch holder. Turn your work and work flat on the back-of-hand stitches only.
Work back and forth in pattern (K4, P2) for 1.5 inches, ending with a wrong-side row. This creates the flap that will cover your fingers.
Finger Separation
Now we'll split the flap into two sections to create the finger opening.
Row 1 (RS): Work in pattern across the first 10 stitches, place the next 10 stitches on a holder for the index finger. Turn.
Row 2 (WS): Work in pattern across these 10 stitches for 1 inch (about 6 rows), then bind off loosely.
Return to the 10 held stitches for the index finger. Attach yarn and work in pattern for 1 inch, then bind off loosely. This creates the split that exposes your index finger while keeping the rest of your fingers covered.
Palm Section
Return to the 20 held palm stitches. Attach yarn and work in pattern (K4, P2) flat for 1.5 inches, then repeat the finger separation exactly as above. This ensures both sides of the mitten match perfectly.
Thumb
Pick up the 22 thumb stitches from your holder, plus 2 stitches from the CO gap (pick up 1 stitch from each side of the gap). You should have 24 stitches total. Distribute them on DPNs and knit in stockinette stitch (all knit) for 1.5 inches, then bind off loosely.
Finishing
Weave in all ends with your tapestry needle. Block gently to shape—this helps the cables relax and the fabric settle beautifully.
Repeat for the left mitten, mirroring the thumb gusset placement. Instead of increasing at the beginning of the round, increase at the end of the round. This ensures the thumbs are on the correct sides for each hand.
Tips for Success
- Gauge matters: Take the time to swatch. A proper gauge ensures your mittens fit comfortably and the cables look crisp.
- Use stitch markers: Place a marker at the beginning of your round and between the thumb gusset stitches to keep track of your increases.
- Try as you go: Slip the mitten on periodically to check length. Everyone's hands are slightly different, so adjust the hand body length if needed.
- Blocking is key: A gentle wet block will even out your stitches and make the cable pattern pop.
These Emberwood Split Finger Mittens are more than just an accessory—they're a statement piece that shows off your knitting skills while keeping you warm and functional. The rich rust orange paired with cream creates a cozy, autumnal palette that pairs beautifully with everything from denim jackets to wool coats.
I'd love to see your finished mittens! Share your progress and final results on social media using the hashtag #EmberwoodMittens. Happy knitting!