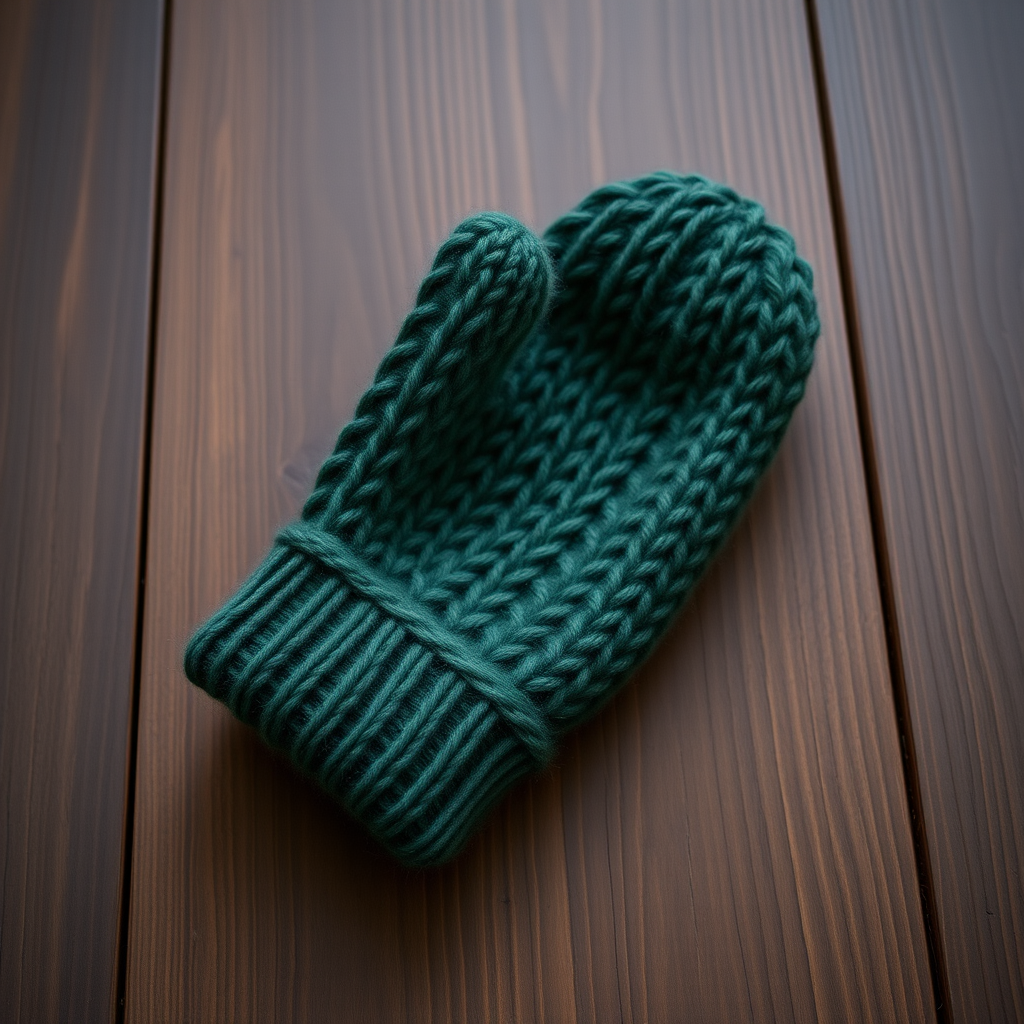
The Ember Glow Cable Mittens: A Free Knitting Pattern for Textured, Heirloom-Quality Hand Warmers

Wrap Your Hands in Heirloom Warmth: The Ember Glow Cable Mittens
There's something magical about slipping your hands into a pair of hand-knit mittens—especially when they're as richly textured as the Ember Glow Cable Mittens. Inspired by the deep, crackling warmth of an autumn fire, these mittens feature a sculptural braided cable that travels up the back of the hand, creating a timeless, heirloom-quality accessory. The plush alpaca blend yarn in a variegated palette of burnt sienna, deep amber, and charcoal makes every stitch feel like a cozy embrace. Whether you're a seasoned cable knitter or ready to try your first braided pattern, this free pattern will guide you through creating a pair of mittens that look and feel like a cherished treasure.
Materials Needed
Before you begin, gather the following supplies. All measurements are for Women's S/M (M/L in parentheses).
- Yarn: Worsted weight (#4) alpaca/merino blend yarn, approximately 200-250 yards. Shown in 'Burnt Sienna' and 'Ember Glow'.
- Needles: US 6 (4.0 mm) double-pointed needles (or circular for magic loop) for the cuff; US 7 (4.5 mm) double-pointed needles (or circular for magic loop) for the hand; cable needle.
- Notions: Stitch markers, waste yarn or stitch holder, tapestry needle for weaving ends.
- Gauge: 20 stitches x 28 rows = 4 inches in stockinette stitch on larger needles. Take time to check gauge for best fit.
Step-by-Step Instructions
Sizes & Abbreviations
Sizes: Women's S/M (M/L). Instructions for S/M given, with M/L in parentheses.
Abbreviations:
- CO: cast on
- k: knit
- p: purl
- k2tog: knit two together
- ssk: slip, slip, knit
- C4F: slip 2 stitches to cable needle, hold in front, k2, k2 from cable needle
- C4B: slip 2 stitches to cable needle, hold in back, k2, k2 from cable needle
- st(s): stitch(es)
- rnd(s): round(s)
- pm: place marker
- sm: slip marker
Cuff (make 2)
With smaller needles (US 6), CO 36 (40) stitches. Distribute evenly on double-pointed needles or use magic loop. Join in the round, being careful not to twist.
Work in k2, p2 ribbing for 12 rounds. This creates a snug, stretchy cuff that will keep the cold out.
Hand (make 2)
Switch to larger needles (US 7).
Set-up Round: K18 (20), pm, k18 (20). You now have a marker dividing the back of the hand (where the cable will go) and the palm.
Begin Cable Pattern
Work the following 6-round repeat for the cable panel on the back of the hand. The palm remains in stockinette (knit every round).
- Round 1: K18 (20), sm, k2, p2, C4F, p2, k2, sm, k to end.
- Round 2: K18 (20), sm, k2, p2, k4, p2, k2, sm, k to end.
- Round 3: K18 (20), sm, k2, p2, k4, p2, k2, sm, k to end.
- Round 4: K18 (20), sm, k2, p2, C4B, p2, k2, sm, k to end.
- Round 5: K18 (20), sm, k2, p2, k4, p2, k2, sm, k to end.
- Round 6: K18 (20), sm, k2, p2, k4, p2, k2, sm, k to end.
Repeat Rounds 1-6 until piece measures 4 (4.5) inches from cast-on edge, ending with Round 6.
Thumb Gusset
Important: The thumb gusset is worked on the palm side of the mitten. For the right mitten, increases happen before the second marker. For the left mitten, increases happen after the first marker. Follow the instructions for your mitten.
Right Mitten Only
Next Round (Increase Round): K18 (20), sm, k1, M1L (make one left), k to last stitch before marker, M1R (make one right), k1, sm, k to end. (2 stitches increased)
Work 2 rounds even in pattern (knit palm stitches, continue cable pattern on back).
Repeat these 3 rounds until there are 14 (16) stitches between markers (the thumb gusset).
Next Round: Work to marker, remove marker, place 14 (16) thumb stitches on waste yarn, CO 2 stitches over the gap using the backward loop method, replace marker, work to end. (36 (40) stitches total)
Left Mitten Only
Work same as right mitten, but place thumb gusset increases after the first marker (on the palm side). So the increase round becomes: K18 (20), sm, k1, M1L, k to last stitch before end of round, M1R, k1, sm, k to end. Continue as for right mitten.
Continue Hand
Work even in pattern (knit palm, continue cable on back) until piece measures 7 (7.5) inches from cast-on edge, or until mitten covers your pinky finger when tried on.
Decrease for Top
Now you'll shape the rounded top of the mitten. Work decreases on both sides of each marker.
- Round 1 (Decrease Round): K1, ssk, k to 3 stitches before marker, k2tog, k1, sm, k1, ssk, k to 3 stitches before end, k2tog, k1. (4 stitches decreased)
- Round 2: Knit all stitches.
Repeat Rounds 1-2 until 12 (16) stitches remain. Cut yarn, leaving a 6-inch tail. Thread tail through remaining stitches, pull tight to close the top, and weave in end securely.
Thumb
Place the 14 (16) thumb stitches from waste yarn onto larger needles. Pick up and knit 2 stitches from the cast-on gap (where you added 2 stitches). (16 (18) stitches total)
Knit every round until thumb measures 2 (2.25) inches, or covers your thumb tip.
Next Round: K2tog around. (8 (9) stitches)
Cut yarn, thread through remaining stitches, pull tight, and weave in end.
Finishing
Weave in all ends neatly on the wrong side. Block gently by soaking in cool water, squeezing out excess, and laying flat to dry. This will open up the cables and give your mittens a professional, polished look.
Now slip your hands into your new Ember Glow Cable Mittens and feel the warmth of your own handcrafted heirloom. Perfect for crisp autumn walks or cozying up by the fire, these mittens are sure to become a beloved staple in your winter wardrobe.