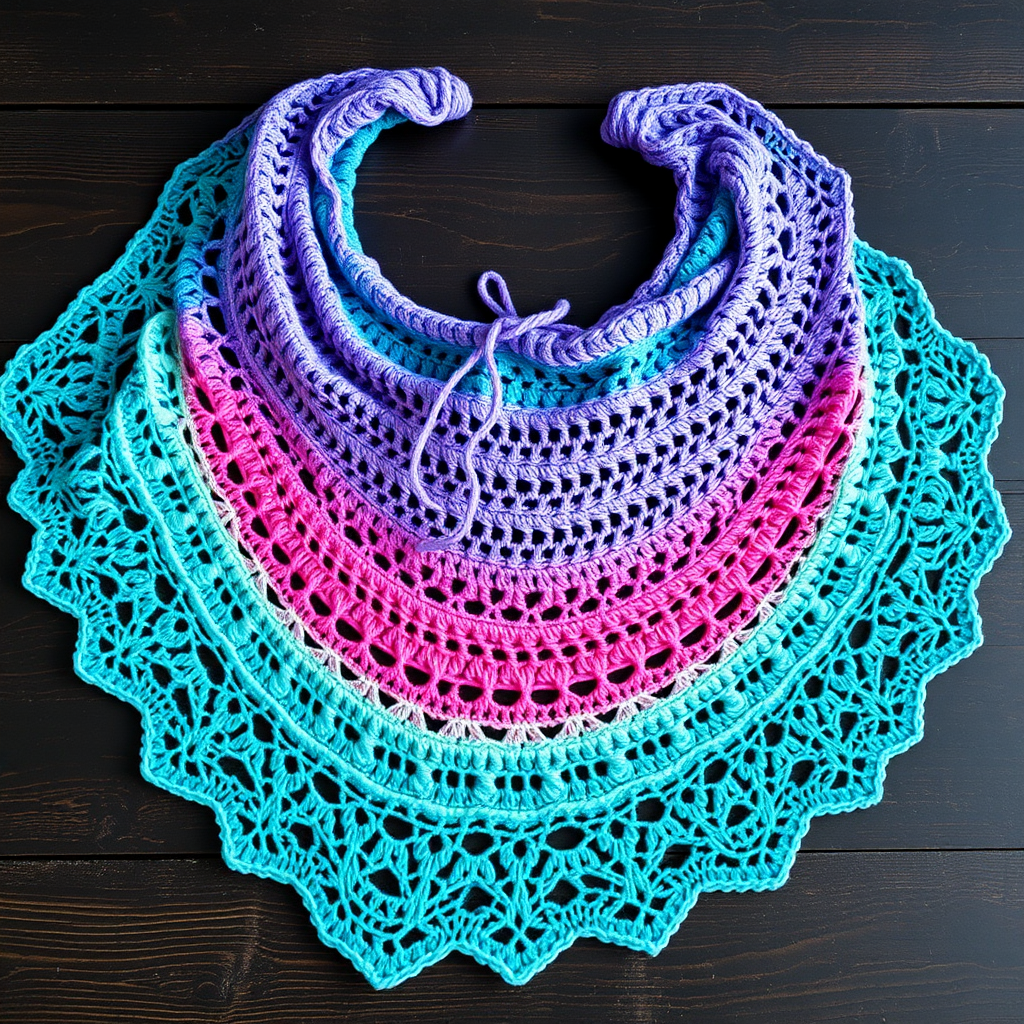
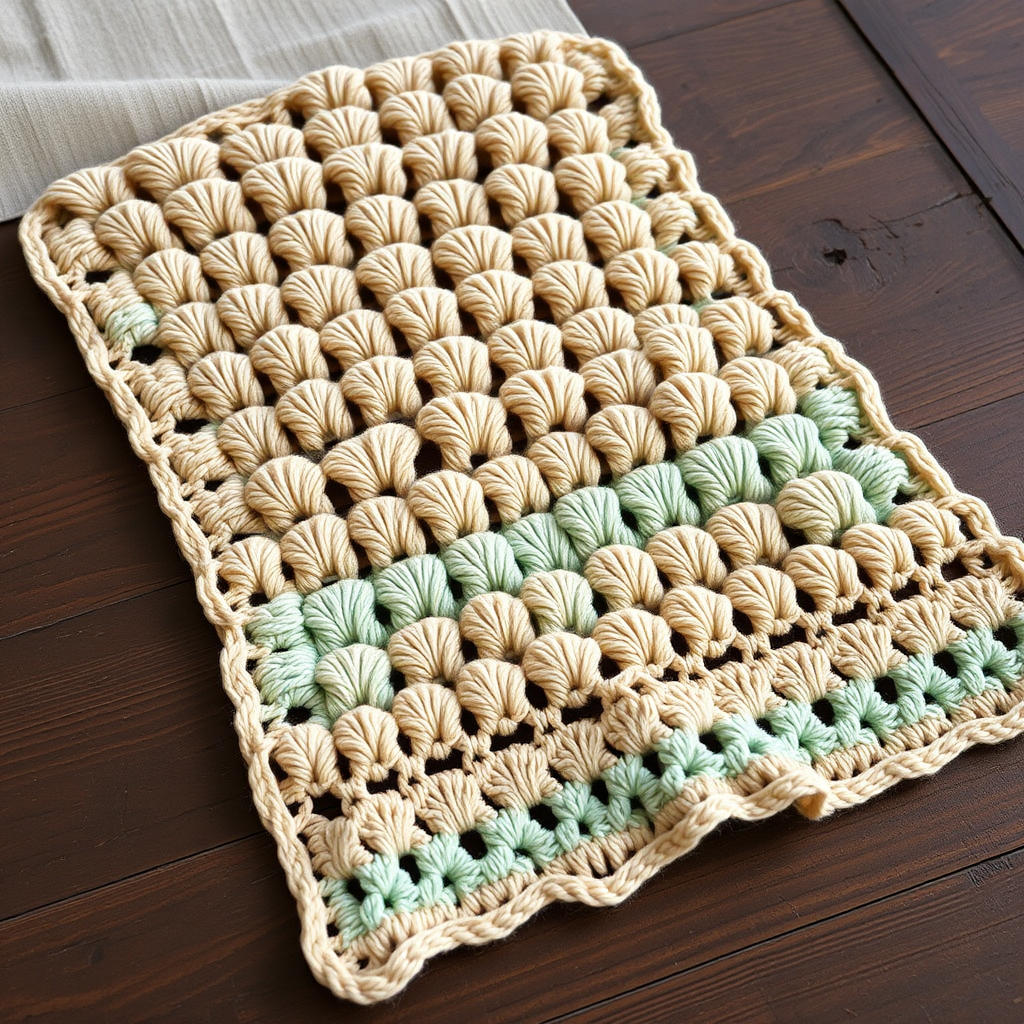
The Ember & Ash Mosaic Crochet Shawl Free Pattern

Introducing the Ember & Ash Mosaic Crochet Shawl
Get ready to create a stunning, modern accessory that looks far more complex than it actually is! The Ember & Ash Mosaic Crochet Shawl is a lightweight, drapey triangular shawl worked from the top down, featuring a mesmerizing geometric pattern. Using a unique mosaic crochet technique, this pattern creates sharp zigzags and diamond shapes that transition from a cool, pale grey-ash at the top to a vibrant, fiery orange-red at the bottom points. The result is a gradient masterpiece that will turn heads and keep you cozy. Best of all, this pattern is designed for adventurous beginners and intermediate crocheters alike—the mosaic technique is simpler than it looks, using only one color per row!
Materials Needed
Before you begin, gather the following supplies. Gauge is not critical for this project, but it will affect the final size, so check your tension if you want a specific measurement.
- Yarn: Fingering weight yarn in 2 colors:
- Color A (Ash): 500 yards (shown in Knit Picks Stroll Tonal 'Ash')
- Color B (Ember): 500 yards (shown in Knit Picks Stroll Tonal 'Firecracker')
- Hook: Size G (4.0 mm) crochet hook
- Gauge: 18 stitches x 12 rows in mosaic pattern = 4 inches (10 cm). Gauge is not critical, but affects final size.
- Other: Yarn needle for weaving in ends, scissors, blocking mats and pins (optional, but recommended for best results).
Step-by-Step Instructions
Pattern Notes
- This shawl is worked from the top center point down, increasing on each side.
- Mosaic crochet is worked in rows, carrying the unused color loosely along the side. Only one color is used per row.
- The pattern uses a simple two-row repeat.
- Stitches used: ch (chain), sc (single crochet), dc (double crochet), sl st (slip stitch).
- The mosaic pattern is created by working dc stitches into the row below, while sc stitches are worked into the current row. The unused color is carried up the side.
Foundation
With Color A, ch 4. Sl st to first ch to form a ring.
Row 1 (Right Side, Color A)
Ch 3 (counts as dc), 3 dc in ring, ch 2, 4 dc in ring. Turn. (8 dc, 1 ch-2 space)
Row 2 (Wrong Side, Color A)
Ch 1, sc in first dc, sc in next 3 dc, (sc, ch 2, sc) in ch-2 space, sc in next 4 dc. Turn. (10 sc, 1 ch-2 space)
Row 3 (Right Side, Color B)
Ch 3 (counts as dc), dc in next sc, *ch 1, skip next sc, dc in next sc* repeat across to ch-2 space. In ch-2 space work: (dc, ch 2, dc). Then repeat from * to * across to last 2 sc. Dc in last 2 sc. Turn. (10 dc, 8 ch-1 spaces, 1 ch-2 space)
Row 4 (Wrong Side, Color B)
Ch 1, sc in first dc, sc in next dc, *sc in ch-1 space, sc in next dc* repeat across to ch-2 space. In ch-2 space work: (sc, ch 2, sc). Then repeat from * to * across to last 2 dc. Sc in last 2 dc. Turn. (20 sc, 1 ch-2 space)
Row 5 (Right Side, Color A)
Ch 3 (counts as dc), dc in next sc, *ch 1, skip next sc, dc in next sc* repeat across to ch-2 space. In ch-2 space work: (dc, ch 2, dc). Then repeat from * to * across to last 2 sc. Dc in last 2 sc. Turn. (12 dc, 10 ch-1 spaces, 1 ch-2 space)
Row 6 (Wrong Side, Color A)
Ch 1, sc in first dc, sc in next dc, *sc in ch-1 space, sc in next dc* repeat across to ch-2 space. In ch-2 space work: (sc, ch 2, sc). Then repeat from * to * across to last 2 dc. Sc in last 2 dc. Turn. (24 sc, 1 ch-2 space)
Repeat Rows 3-6 for Pattern
Continue repeating Rows 3-6. Each repeat of Rows 3-6 adds 4 dc (or 8 sc) to each side of the center ch-2 space. Continue until shawl reaches desired size, ending with a Row 6 (Color A). Fasten off.
Border (Optional)
With Color A, work a round of sc evenly around all edges, working 3 sc in each corner point. For a picot edge: *sc in next 3 sts, ch 3, sl st in third ch from hook* repeat around. Fasten off.
Finishing
Weave in all ends using a yarn needle. Block the shawl to open up the mosaic pattern—this step is highly recommended for the best visual effect. Lay the shawl flat on blocking mats, pin the edges to shape, and mist with water. Allow to dry completely before removing pins.
Your Ember & Ash Mosaic Crochet Shawl is now complete! Enjoy the stunning gradient and geometric pattern that you created with your own hands.