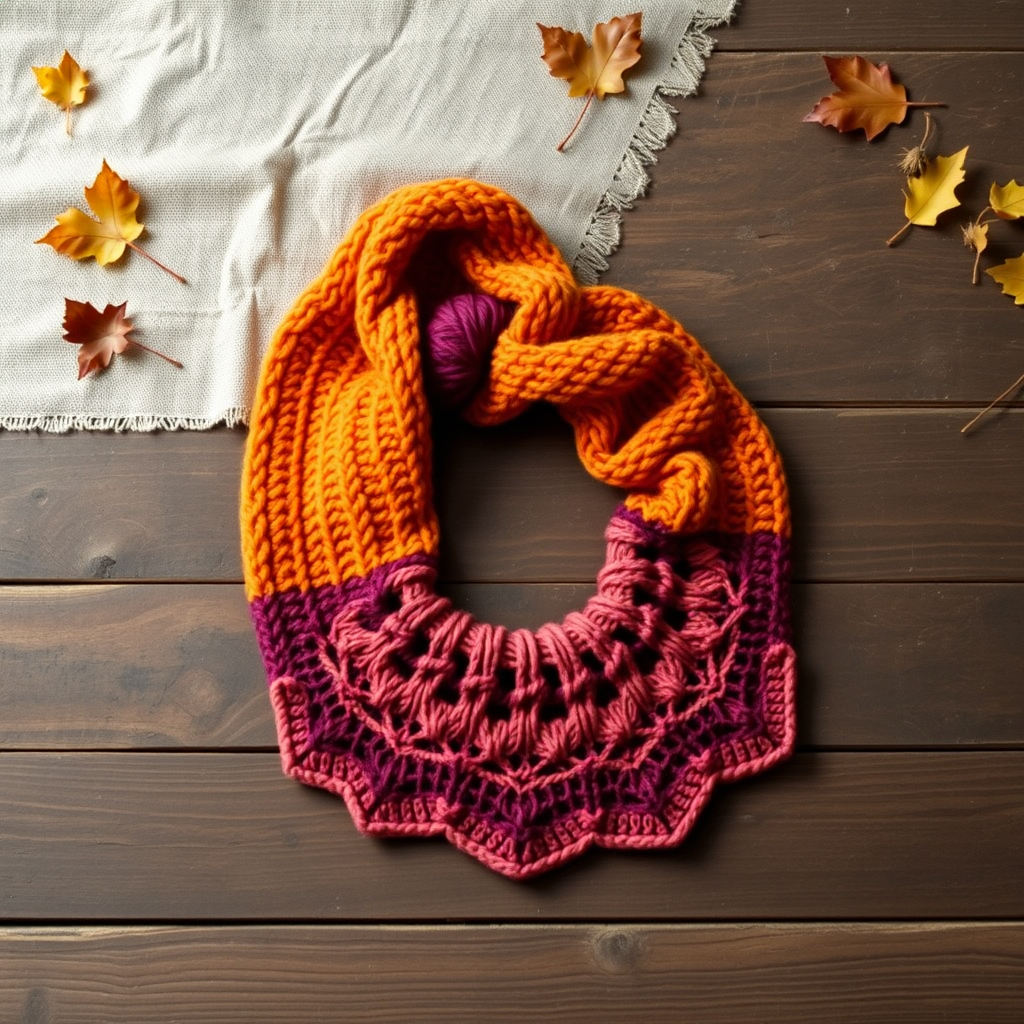
The Ember & Ash Crescent Shawl: A Free Knitting Pattern for a Textured, Gradient Wrap

Wrap Yourself in Warmth: The Ember & Ash Crescent Shawl
Imagine the cozy glow of a fading fire, captured in a hand-knit accessory. The Ember & Ash Crescent Shawl is a modern, textured wrap that transitions from deep charcoal to glowing amber, mimicking the beautiful gradient of embers turning to ash. This free knitting pattern is designed for intermediate knitters and features a unique slipped-stitch pattern that creates a dense, woven-like fabric. The crescent shape drapes beautifully over your shoulders, making it the perfect statement piece for cool evenings. With clear, step-by-step instructions, you'll create a stunning, cozy shawl that's as enjoyable to knit as it is to wear.
Materials Needed
Before you begin, gather the following supplies. Using the recommended yarn will ensure your shawl matches the gauge and texture shown.
- Yarn: Worsted weight yarn in two colors.
- Color A (Charcoal): 350 yards (320 meters)
- Color B (Amber): 350 yards (320 meters)
- Needles: US 8 (5.0 mm) 32-inch circular needle (or longer for magic loop). A circular needle is essential to accommodate the increasing number of stitches.
- Notions: Stitch markers (2), tapestry needle for weaving in ends.
Step-by-Step Instructions
This shawl is worked flat from the top center outwards, increasing at the center and edges. The slipped stitch pattern creates a dense, warm fabric with a beautiful woven look. Blocking is essential to open up the stitches and show the gradient.
Abbreviations
- CO: Cast on
- K: Knit
- P: Purl
- Sl1 wyif: Slip 1 stitch purlwise with yarn in front
- Sl1 wyib: Slip 1 stitch purlwise with yarn in back
- YO: Yarn over
- K2tog: Knit two together
- SSK: Slip, slip, knit (decrease)
- PM: Place marker
- SM: Slip marker
Getting Started: The Foundation
With Color A, CO 3 stitches.
- Row 1 (WS): K1, YO, K1, YO, K1. (5 sts)
- Row 2 (RS): K1, YO, K1, PM, YO, K1, YO, PM, K1, YO, K1. (9 sts)
- Row 3 (WS): K1, P to last st, K1.
- Row 4 (RS): K1, YO, K to marker, YO, SM, K1, SM, YO, K to last st, YO, K1. (13 sts)
- Row 5 (WS): K1, P to last st, K1.
Repeat Rows 4-5 until you have 25 sts (after a WS row).
Begin Slipped Stitch Pattern
Now you'll start the textured slipped stitch pattern. This creates the woven look.
- Row 1 (RS): K1, YO, *Sl1 wyib, K1* repeat from * to * until 2 sts before marker, Sl1 wyib, YO, SM, K1, SM, YO, *Sl1 wyib, K1* repeat from * to * until 1 st before end, Sl1 wyib, YO, K1. (4 sts increased)
- Row 2 (WS): K1, P to last st, K1.
- Row 3 (RS): K1, YO, *K1, Sl1 wyib* repeat from * to * until 2 sts before marker, K1, Sl1 wyib, YO, SM, K1, SM, YO, *K1, Sl1 wyib* repeat from * to * until 1 st before end, K1, YO, K1. (4 sts increased)
- Row 4 (WS): K1, P to last st, K1.
Repeat Rows 1-4, working increases on every RS row. Continue until the shawl measures approximately 18 inches from the cast-on edge (or desired length), ending with a WS row.
Color Transition
This is where the magic happens, creating the gradient effect.
- Work 4 more repeats of the slipped stitch pattern with Color A.
- Then, work 2 repeats with both colors held together (Color A + Color B).
- Then, work the remainder of the shawl with Color B only, until the shawl measures 36 inches from the cast-on edge (or desired total length).
Edging (worked with Color B)
This lace edging gives the shawl a beautiful scalloped finish.
- Row 1 (RS): K1, YO, *K2tog, YO* repeat from * to * until 2 sts before marker, K2tog, YO, SM, K1, SM, YO, *K2tog, YO* repeat from * to * until 1 st before end, K2tog, YO, K1. (4 sts increased)
- Row 2 (WS): K1, P to last st, K1.
- Row 3 (RS): K1, YO, *SSK, YO* repeat from * to * until 2 sts before marker, SSK, YO, SM, K1, SM, YO, *SSK, YO* repeat from * to * until 1 st before end, SSK, YO, K1. (4 sts increased)
- Row 4 (WS): Bind off loosely purlwise.
Finishing
Weave in all ends with a tapestry needle. Block aggressively to open up the slipped stitch pattern and shape the crescent. Wet block or steam block as preferred, pinning to the desired crescent shape and allowing to dry completely. This step is crucial for the final look and drape of your shawl.