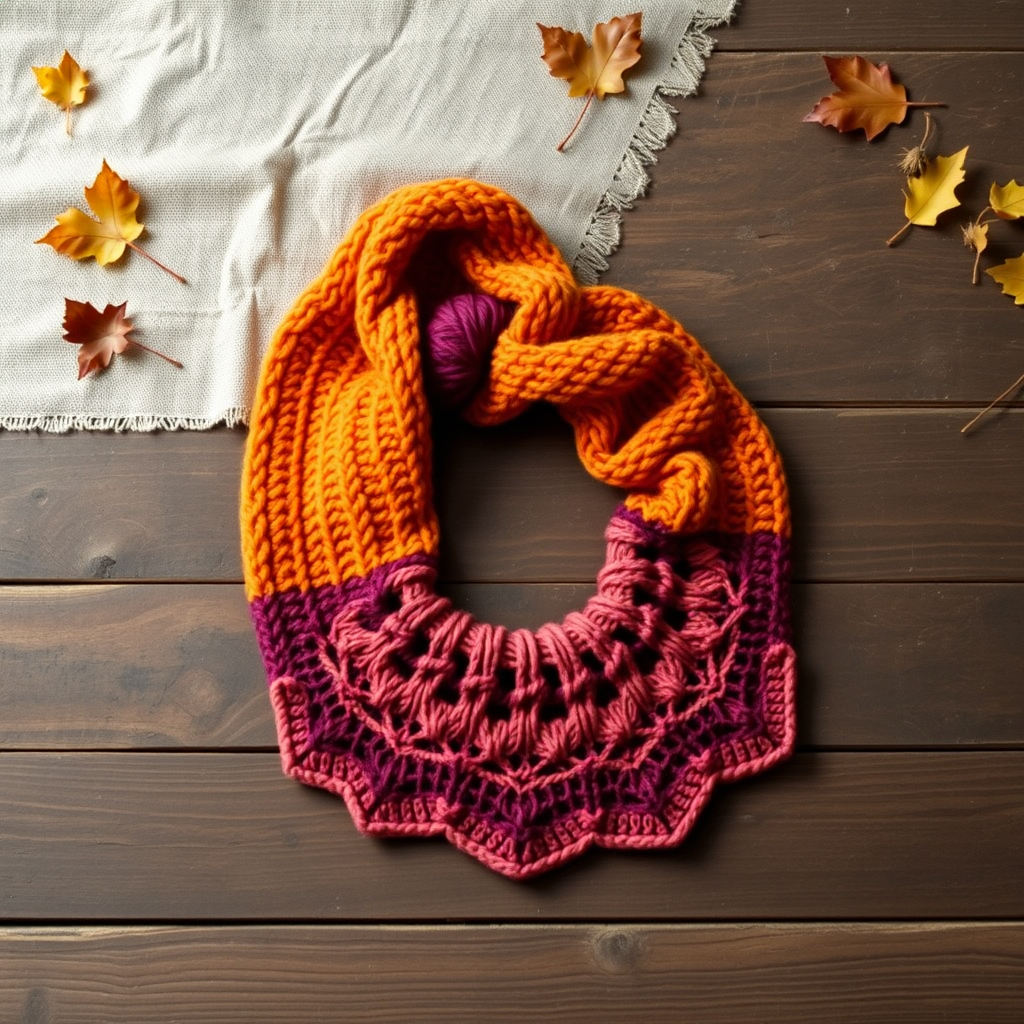
The Driftwood Dune Shawl Free Pattern – A Knitted Textured Wrap with Wavy Ribbing and Shell Border

The Driftwood Dune Shawl: A Free Knitting Pattern for a Textured Coastal Wrap
Imagine the soothing rhythm of waves, the warmth of sun-bleached sand, and the cool touch of sea glass. That's the essence of the Driftwood Dune Shawl. This free knitting pattern guides you through creating a stunning, textured wrap that captures the organic beauty of the shoreline. With its undulating waves of ribbing, a delicate shell border, and an earthy palette of Sand, Driftwood Gray, and Sea Glass Teal, this shawl is a versatile and cozy layering piece for any season. Whether you're a seasoned knitter or a confident beginner looking for a rewarding project, this pattern is designed to be both enjoyable and achievable. Let's cast on and bring a piece of the coast into your home.
Materials Needed
Before you begin, gather your materials. This project uses worsted weight yarn and a circular needle to accommodate the growing number of stitches as you knit from the top down.
- Yarn: Worsted weight yarn in 3 colors:
- Color A (Sand): 400g (approx. 800-900 yards)
- Color B (Driftwood Gray): 300g (approx. 600-700 yards)
- Color C (Sea Glass Teal): 200g (approx. 400-450 yards)
- Needle: US 8 (5mm) circular knitting needle with a 32-inch (80cm) cable. A long cable is essential to hold the increasing number of stitches comfortably.
- Other: Stitch markers (optional, but helpful for tracking the ribbing pattern), tapestry needle for weaving in ends, blocking mats and pins.
Gauge: 18 stitches and 24 rows = 4 inches in stockinette stitch (knit on RS, purl on WS). Getting the correct gauge is important for the final size and drape, so take a moment to knit a swatch.
Step-by-Step Instructions
This shawl is knitted from the top center down, increasing on both sides to form a triangle. The pattern uses a simple combination of knits, purls, yarn overs, and decreases to create the wavy ribbing and shell border. Read through the entire pattern before you begin.
Abbreviations
- CO: Cast on
- K: Knit
- P: Purl
- K2tog: Knit two stitches together (decrease)
- YO: Yarn over (increase)
- Sl: Slip stitch
- Rep: Repeat
- RS: Right side
- WS: Wrong side
Getting Started: The Top Center
We'll begin by casting on a few stitches and working the initial increases to establish the center of the shawl.
Row 1 (RS): With Color A, CO 3 stitches.
Row 2 (WS): K1, P1, K1.
Row 3: K1, YO, K1, YO, K1. (You now have 5 stitches)
Row 4: K1, P3, K1.
Row 5: K1, YO, K1, YO, K1, YO, K1. (You now have 7 stitches)
Row 6: K1, P5, K1.
Row 7: K1, YO, K1, YO, K3, YO, K1, YO, K1. (You now have 11 stitches)
Row 8: K1, P9, K1.
The Wave Pattern
Now we begin the main body of the shawl. This section creates the beautiful wavy ribbing. You will be increasing on every right-side row, which shapes the triangle.
Row 9 (RS): K1, YO, K2, (P2, K2) rep to last 2 stitches, YO, K1. (You now have 13 stitches)
Row 10 (WS): K1, P to last stitch, K1.
Row 11: K1, YO, K3, (P2, K2) rep to last 3 stitches, YO, K1. (You now have 15 stitches)
Row 12: K1, P to last stitch, K1.
Row 13: K1, YO, K4, (P2, K2) rep to last 4 stitches, YO, K1. (You now have 17 stitches)
Row 14: K1, P to last stitch, K1.
Continue in this manner: On every RS row, increase the number of K stitches at the beginning and end of the row by 1. For example, the next RS row would be: K1, YO, K5, (P2, K2) rep to last 5 stitches, YO, K1. Always keep the (P2, K2) ribbing pattern across the middle of the row. Work until you have 45 stitches total, ending with a WS row.
Adding the Color Bands
Now we'll introduce the second color to create the driftwood gray band.
Switch to Color B.
Repeat the same increase pattern with Color B for 30 more rows, always keeping the (P2, K2) ribbing pattern intact. Remember to increase on every RS row. You will have 75 stitches after completing these 30 rows.
Adding the Color C Band
Next, we'll add the sea glass teal band.
Switch to Color C.
Repeat the increase pattern with Color C for 20 more rows, ending with a WS row. You will have 95 stitches.
Returning to Color A
Let's bring back the sand color for the final section before the border.
Switch back to Color A.
Work 10 more rows in the same pattern, ending with a WS row. You will have 105 stitches.
The Shell Border
This delicate lace border adds the perfect finishing touch, creating a scalloped edge with eyelets.
Row 1 (RS): K1, YO, K1, *K2tog, YO, K1, YO, K2tog, K1* rep from * to * until last 2 stitches, YO, K1. (This row increases 1 stitch)
Row 2 (WS): K1, P to last stitch, K1.
Row 3: K1, YO, K2, *K2tog, YO, K1, YO, K2tog, K2* rep from * to * until last 3 stitches, YO, K1. (This row increases 1 stitch)
Row 4: K1, P to last stitch, K1.
Repeat Rows 3-4 until you have 125 stitches. This will create a lovely, wavy edge.
Binding Off
It's time to cast off your work with a stretchy bind-off to ensure the shell edge can open up beautifully.
Bind off loosely: K1, *YO, K2tog, pass previous stitch over* rep to end. Cut yarn, leaving a long tail, and weave in all ends with your tapestry needle.
Blocking for Perfection
Blocking is essential for this shawl to open up the lace pattern and achieve its final shape.
Soak the shawl in lukewarm water with a drop of wool wash for 20 minutes. Gently squeeze out the excess water (do not wring). Lay the shawl flat on a clean towel and roll it up to remove more water. Then, lay it flat on a blocking mat and shape it to the desired dimensions. Use rust-proof pins to pin out the shell edge, opening up the points and eyelets. Allow it to dry completely before unpinning.
Your Driftwood Dune Shawl is now complete! Drape it over your shoulders and enjoy the cozy, coastal elegance you've created with your own hands.