The Aurora Veil Mosaic Knit Shawl Free Pattern – A Gradient Ombre Wrap
The Aurora Veil Mosaic Knit Shawl: A Beginner-Friendly Journey into Gradient Knitting
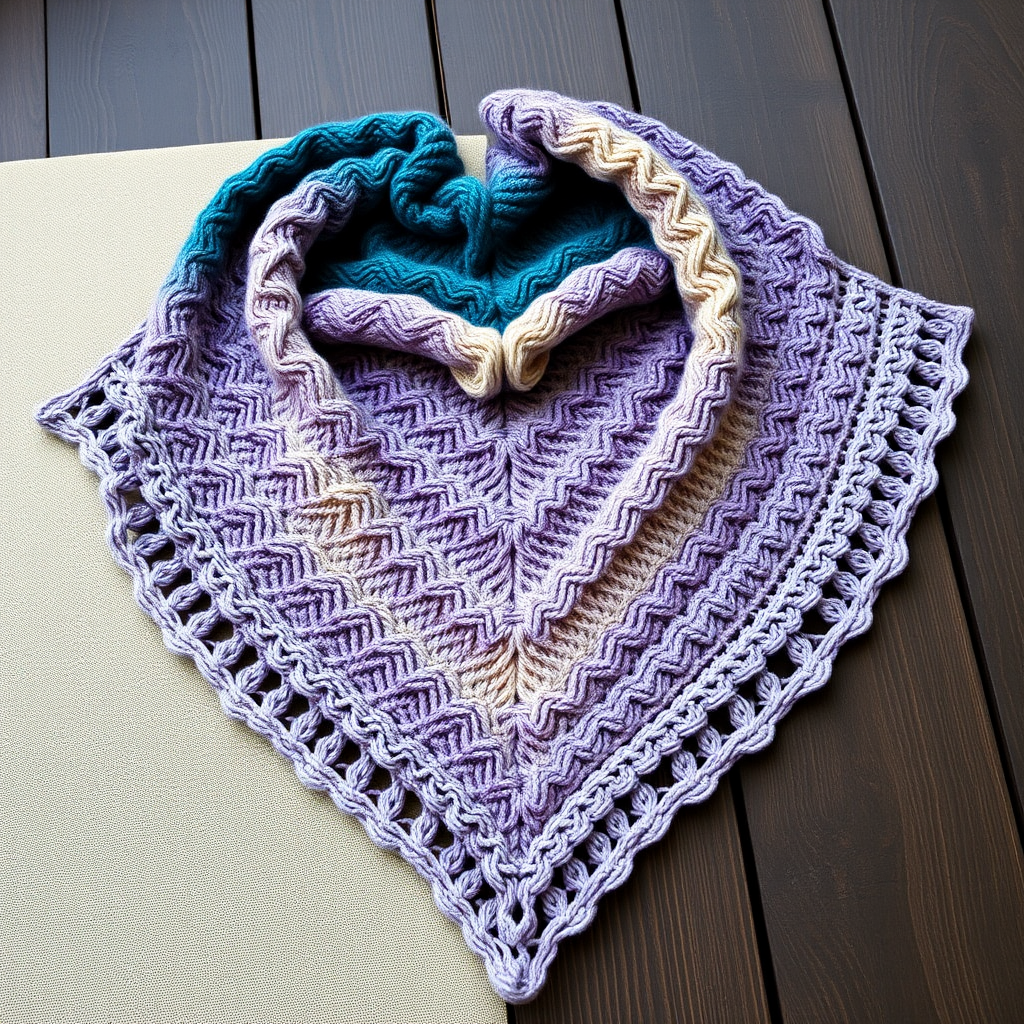
Imagine wrapping yourself in the ethereal glow of the northern lights—deep teal melting into soft lavender, then blooming into pale gold. That's the magic of the Aurora Veil Mosaic Knit Shawl. This stunning gradient ombre wrap isn't just a beautiful accessory; it's a meditative knitting experience that teaches you the captivating art of mosaic knitting. While the intricate slipped-stitch texture looks complex, the pattern is surprisingly approachable, making it the perfect project for an adventurous beginner or an intermediate knitter seeking a rhythmic, visually striking make.
This free pattern guides you through creating a wide, triangular wrap with gently curved wings, worked from the top center down. The mosaic technique uses simple slipped stitches and two-color rows to create geometric, wave-like chevrons that ripple across the fabric. The result is a dense yet beautifully draping shawl with a delicate garter stitch edge—a true heirloom piece you'll be proud to say you made yourself.
Materials Needed: Gathering Your Aurora Palette
Before you begin, let's gather your supplies. The beauty of this pattern lies in its simplicity—you only need three colors of fingering weight yarn and one circular needle. Here's your complete shopping list:
- Yarn: Fingering weight yarn in 3 colors (approx. 400g total)
- Color A: Deep Teal (for the top center and first increase section)
- Color B: Soft Lavender (for the mosaic pattern section)
- Color C: Pale Gold (for the final increase and edging)
- Needle: US 6 (4.0 mm) circular knitting needle with a 32-inch cable (the long cable is essential for accommodating the growing number of stitches)
- Other Tools: Stitch markers (optional but helpful), tapestry needle for weaving in ends, blocking pins and mats
Gauge: 22 stitches and 32 rows = 4 inches in stockinette stitch (blocked). While gauge isn't critical for a shawl, matching it will ensure you use the expected amount of yarn and achieve the intended drape.
Step-by-Step Instructions: Knitting Your Aurora Veil
This shawl is worked from the top center down, increasing on each side to form a triangular shape. The mosaic pattern uses slipped stitches and two-color rows to create geometric waves. Follow these detailed instructions carefully, and you'll be amazed at what you create.
Abbreviations
- k = knit
- p = purl
- sl = slip stitch purlwise
- yo = yarn over
- k2tog = knit two together
- ssk = slip slip knit
- RS = right side
- WS = wrong side
Setup: Casting On and Creating the Foundation
With Color A (deep teal), cast on 3 stitches using your preferred method (long-tail cast on works beautifully).
Row 1 (RS): k1, yo, k1, yo, k1 (you now have 5 stitches)
Row 2 (WS): k1, p3, k1
Row 3 (RS): k1, yo, k1, yo, k1, yo, k1, yo, k1 (you now have 9 stitches)
Row 4 (WS): k1, p7, k1
Increase Section: Building the Top Center (Worked with Color A)
Now we'll establish the rhythmic increases that shape the shawl's top edge.
Row 5 (RS): k1, yo, knit to last stitch, yo, k1 (you'll have 11 stitches)
Row 6 (WS): k1, purl to last stitch, k1
Repeat Rows 5-6 until you have 45 stitches on your needle, always ending with a WS row. This creates a beautiful, clean edge with a subtle garter stitch border.
Mosaic Pattern Section: Creating the Geometric Waves
Now for the exciting part—the mosaic pattern! This section is worked in two-row stripes, alternating between Color B (lavender) and Color A (teal). The key to mosaic knitting is remembering to always slip stitches purlwise with yarn in back on RS rows and yarn in front on WS rows. This creates the distinctive, woven look.
Row 1 (RS, Color B): k1, yo, *sl 1, k3* repeat from * to * until 4 stitches remain, sl 1, k2, yo, k1
Row 2 (WS, Color B): k1, p1, *sl 1, p3* repeat from * to * until 3 stitches remain, sl 1, p1, k1
Row 3 (RS, Color A): k1, yo, *k1, sl 1, k1* repeat from * to * until 4 stitches remain, k1, sl 1, k1, yo, k1
Row 4 (WS, Color A): k1, p1, *p1, sl 1, p1* repeat from * to * until 3 stitches remain, p1, p1, k1
Repeat Rows 1-4, but here's the beautiful part: each time you repeat, the pattern will naturally shift by 2 stitches due to the increases. This creates the stunning diagonal, wave-like effect. Continue this section until the shawl measures approximately 24 inches from the center cast-on edge, ending with a WS row. Don't worry if it seems slow-going at first—the rhythm becomes meditative, and the visual payoff is incredible.
Final Increase Section: Expanding Your Wingspan (Worked with Color C)
Switch to Color C (pale gold). This section is simple and relaxing after the mosaic pattern.
Repeat the increase rows from the first section: RS: k1, yo, knit to last stitch, yo, k1; WS: k1, purl to last stitch, k1.
Continue until the shawl reaches your desired wingspan—typically 60-70 inches from tip to tip. This is where you can customize the size to your preference. Remember to measure from the center cast-on edge to ensure symmetry.
Edging: The Perfect Finishing Touch
Work 6 rows of garter stitch (knit every row) in Color C, maintaining the increases on RS rows (k1, yo, knit to last stitch, yo, k1). This creates a delicate, lacy edge that beautifully frames the mosaic pattern. Bind off loosely—if your bind-off is too tight, the edge will pucker. Consider using a larger needle or a stretchy bind-off method like the knitted bind-off.
Finishing: Blocking Your Masterpiece
Weave in all ends carefully with your tapestry needle, being sure to secure them well. Now for the transformative step—blocking. Soak the shawl in lukewarm water with a gentle wool wash for 20-30 minutes. Gently squeeze out excess water (never wring or twist). Lay the shawl on a clean towel and roll it up to remove more water. Then, pin it to shape on blocking mats, stretching it gently to open up the mosaic pattern and define the points. Allow it to dry completely—this can take 24-48 hours depending on your climate. Once dry, unpin and admire your stunning Aurora Veil!
Your Aurora Veil Mosaic Knit Shawl is now complete—a wearable piece of art that captures the magic of the northern lights. Whether you drape it over your shoulders on a cool evening or gift it to someone special, this shawl is sure to become a treasured favorite. Happy knitting!