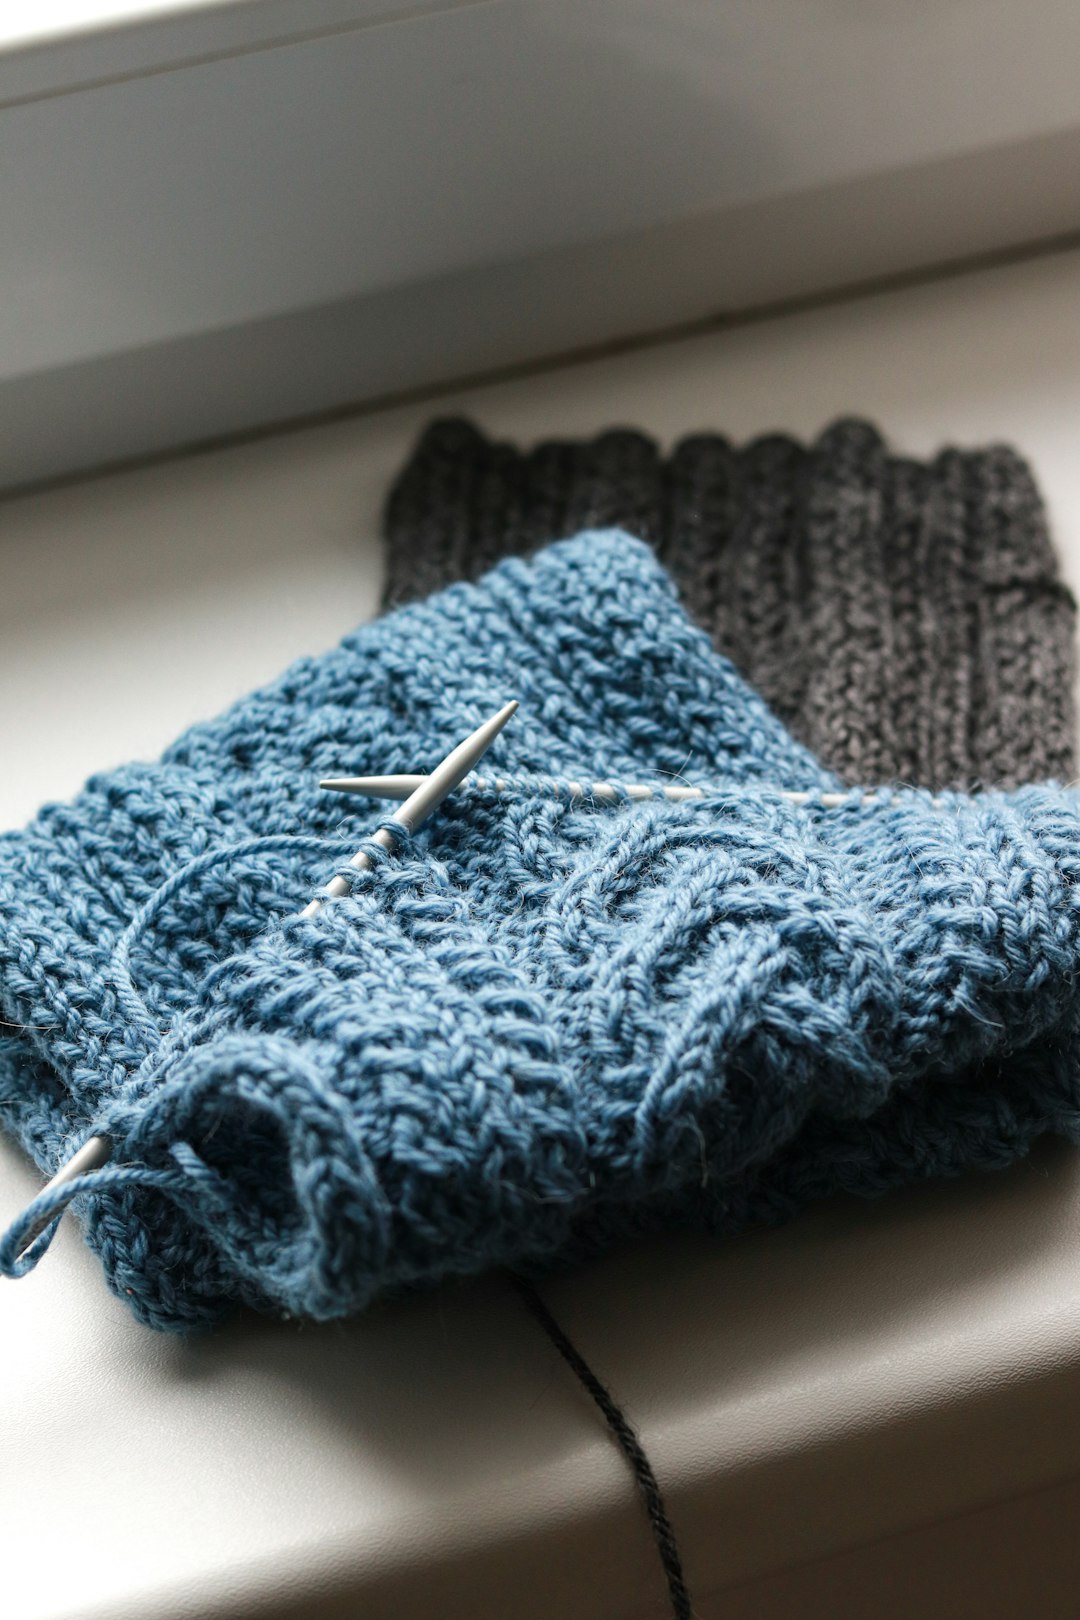
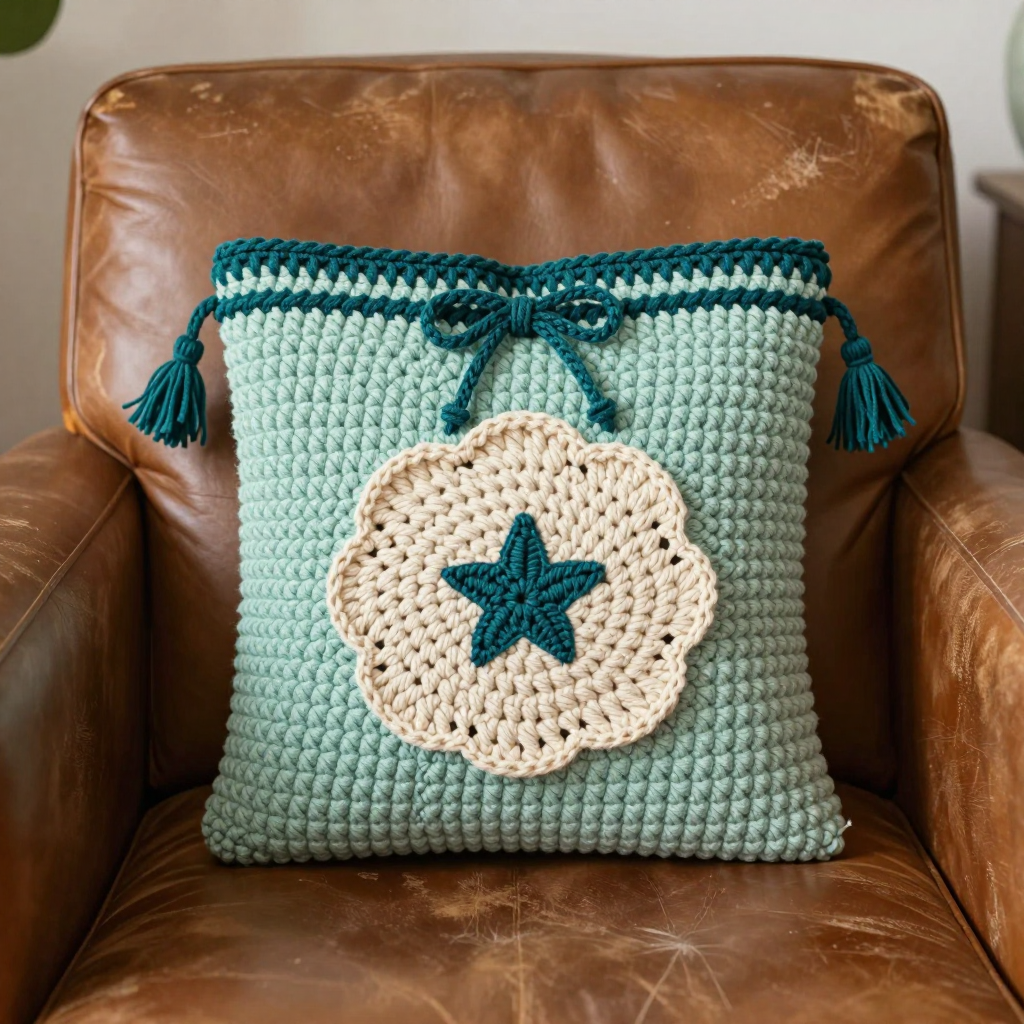
Terracotta Tile Stitch Fingerless Mitts Free Pattern: Raised Wicker-Grid Crochet

Terracotta Tile Stitch Fingerless Mitts: A Warm, Textured First Project
These fingerless mitts are the perfect first "real" project for a brand-new crocheter, because they are made from one simple rectangle that you fold and seam into a tube. That's it! No shaping, no complicated counting, and no working in the round. The raised wicker-grid stitch gives the fabric a woven, basket-like texture that looks far more advanced than it is, and the warm terracotta and cream stripes feel like a sunny Mediterranean afternoon. When you slip them on, they hug your hands softly, keep your palms warm, and leave your fingers free for texting, typing, or holding a coffee cup. If you can make a single crochet and a double crochet, you can absolutely make these mitts.
Materials Needed
- Yarn: Worsted weight (category 4) acrylic or cotton-blend yarn, approximately 110–130 yards total. You will need about 70 yards of terracotta (Color A) and about 50 yards of cream (Color B). One standard skein of each is plenty for both mitts.
- Main hook: 5.0 mm crochet hook (US size H/8) for the main hand fabric.
- Cuff hook: 4.5 mm crochet hook (US size G/7) for the ribbed cuff.
- Stitch markers: At least 2 (or use scrap yarn loops). These help you mark the thumb gap and count rows.
- Tapestry needle: A blunt-tipped yarn needle with a large eye for seaming and weaving in ends.
- Scissors: Any sharp pair for cutting yarn.
- Measuring tape: For checking gauge and measuring the cuff and seam lengths.
- Finished size (one mitt, laid flat): 7 inches (18 cm) long from cuff to top edge, 3.75 inches (9.5 cm) wide across the palm. Fits an average adult hand (7–8 inch palm circumference). Make 2.
Abbreviations and Beginner Glossary
Every abbreviation used in this pattern is listed here. Read through this list once before you begin — it is your dictionary.
- ch – chain: Yarn over (wrap yarn around hook), pull the hook through the loop on your hook. That makes one chain.
- sc – single crochet: Insert hook into the stitch, yarn over, pull up a loop (2 loops on hook), yarn over again, pull through both loops. One single crochet made.
- dc – double crochet: Yarn over, insert hook into stitch, yarn over, pull up a loop (3 loops on hook), yarn over, pull through 2 loops, yarn over, pull through last 2 loops. One double crochet made.
- st / sts – stitch / stitches: One completed stitch, or several of them.
- sp / sps – space / spaces: The little gap under a chain from the previous row. You work into this gap, not into a stitch.
- RS – right side: The "public" side of the fabric that faces out when worn.
- rep – repeat: Do the instruction again.
- beg – beginning: The start of a row.
- tog – together: Used in phrases like "work 2 sts tog."
- yo – yarn over: Wrap the yarn over your hook from back to front.
- back loop only (BLO) – Working only under the back strand of the V-shaped stitch top, not both strands. This creates a ribbed texture.
- fasten off – Cut the yarn leaving a tail, then pull the tail all the way through the last loop to lock it.
- whipstitch – A simple seaming stitch: pass the needle through both layers, over the edge, and back through again in a spiral, like lacing.
- blocking – Gently wetting or steaming the finished piece and pinning it to shape so it dries flat and even.
Gauge
Gauge: 14 stitches and 12 rows = 4 inches (10 cm) in the wicker-grid stitch pattern using the 5.0 mm hook, measured after light blocking.
Why gauge matters: Gauge is simply how big your stitches turn out. If your stitches are bigger than the pattern's, your mitts will be too loose; if smaller, they'll be too tight. Checking first saves you from ripping out hours of work.
How to make a gauge swatch: With the 5.0 mm hook and Color A, chain 17. Work the wicker-grid pattern (Row 1 and Row 2, alternating) until the swatch is about 4 inches tall. Lay it flat without stretching and measure across the middle. Count how many stitches fit in 4 inches and how many rows fit in 4 inches. If you have more stitches than 14, try a larger hook; if fewer, try a smaller hook.
Beginner Tips Before You Start
- Mark your thumb gap early. Place a stitch marker where the thumb opening will begin so you never lose your place while seaming.
- Don't pull the yarn tight. Keep your chains and stitches relaxed and even. Tight tension makes the fabric stiff and hard to work into.
- Count your stitches at the end of every row. Each row should have 25 stitches (13 sc + 12 ch-1 spaces, or 25 dc). Counting takes ten seconds and prevents big problems.
- Carry the unused color loosely. When you switch from terracotta to cream, let the resting yarn travel up the side edge without pulling. If it's too tight, the edge will pucker.
- Work the cuff first. The cuff is a small, forgiving piece — perfect practice for the back-loop single crochet before you tackle the main fabric.
- Use the right hook for each part. The smaller 4.5 mm hook makes the cuff snug; the 5.0 mm hook keeps the hand fabric soft and drapey.
Step-by-Step Instructions
Stitch Notes (Read First)
Wicker-grid stitch (multiple of 2 sts + 1):
- Row 1 (RS): Ch 1, sc in first st, *ch 1, skip 1 st, sc in next st; rep from * to end.
- Row 2: Ch 2 (counts as first dc), dc in each ch-1 sp and in each sc across, ending with dc in last sc.
- Row 3: Ch 1, sc in first st, *ch 1, skip 1 st, sc in next st; rep from * to end.
- Repeat Rows 2–3 for the pattern. The offset sc and dc rows create the raised wicker grid.
Color changes are made on the last yarn-over of the final stitch of a row. Carry the unused color loosely up the side edge.
Cuff (worked first, with 4.5 mm hook, Color A)
Row 1: Ch 9. Sc in 2nd ch from hook and in each ch across. (8 sc)
Row 2: Ch 1, turn. Working in back loops only, sc in each st across. (8 sc)
Rows 3–28: Repeat Row 2 until the cuff measures approximately 7 inches (18 cm) unstretched. (8 sc) Do not fasten off; turn to work along the long edge.
Main Hand (switch to 5.0 mm hook, Color A)
Set-up Row: Ch 1, work 25 sc evenly along the long edge of the cuff (about 1 sc per cuff row, skipping every 6th row). (25 sc) Turn.
Row 1 (RS, Color A): Ch 1, sc in first st, *ch 1, skip 1 st, sc in next st; rep from * to end. (13 sc and 12 ch-1 sps = 25 sts) Turn.
Row 2 (Color A): Ch 2 (counts as first dc), dc in each ch-1 sp and in each sc across, ending with dc in last sc. (25 dc) Turn.
Row 3 (Color B): Ch 1, sc in first st, *ch 1, skip 1 st, sc in next st; rep from * to end. (25 sts) Turn.
Row 4 (Color B): Ch 2, dc in each ch-1 sp and in each sc across, ending with dc in last sc. (25 dc) Turn.
Rows 5–6: Repeat Rows 1–2 in Color A. (25 sts)
Rows 7–8: Repeat Rows 3–4 in Color B. (25 sts)
Rows 9–10: Repeat Rows 1–2 in Color A. (25 sts)
Rows 11–12: Repeat Rows 3–4 in Color B. (25 sts)
Rows 13–14: Repeat Rows 1–2 in Color A. (25 sts)
Rows 15–16: Repeat Rows 3–4 in Color B. (25 sts)
Rows 17–18: Repeat Rows 1–2 in Color A. (25 sts)
Rows 19–20: Repeat Rows 3–4 in Color B. (25 sts)
Rows 21–22: Repeat Rows 1–2 in Color A. (25 sts)
Rows 23–24: Repeat Rows 3–4 in Color B. (25 sts)
Rows 25–26: Repeat Rows 1–2 in Color A. (25 sts)
Rows 27–28: Repeat Rows 3–4 in Color B. (25 sts)
Row 29: Repeat Row 1 in Color A. (25 sts) Fasten off, leaving a 20 inch (50 cm) tail for seaming.
Total: 29 rows of main fabric (about 9.5 inches at gauge, lightly blocked to 7 inches finished length including the cuff).
Assembly and Finishing
- Block the rectangle lightly to 7 inches long x 3.75 inches wide. Pin it flat, mist it with water, and let it dry completely.
- Fold the rectangle in half lengthwise with the right sides together, so the cuff sits at the bottom. Line up the side edges.
- Seam the palm tube: Thread the long tail onto your tapestry needle. Whipstitch the side edges together from the cuff upward for 4.5 inches (11.5 cm). Keep your stitches small and even so the seam lies flat.
- Leave the thumb gap: Skip the next 1.25 inches (3 cm) — this is the thumb opening. Place a stitch marker here so you don't accidentally sew it shut.
- Seam the top: Continue whipstitching the remaining 1.25 inches (3 cm) up to the top edge. Fasten off and weave in the end.
- Turn the mitt right side out. Gently push out the corners with your fingers.
- Repeat for the second mitt, but reverse the seam direction so the thumb gaps mirror each other (one for the left hand, one for the right).
- Optional tidy edge: With the 5.0 mm hook and Color A, work one round of sc evenly around the thumb opening and around the top edge. Join with a slip stitch and fasten off.
- Weave in all ends on the wrong side, running the needle through several stitches in different directions so the tails never work loose.
- Steam-block lightly one last time to smooth the seams and even out the texture. Let dry fully before wearing.
Pro Tips and Variations
- Change the color story: Swap the terracotta and cream for any two colors you love — mustard and oatmeal, sage and ivory, or navy and gray. Keep the 2-row stripe rhythm for the same tile effect.
- Adjust the size: For a smaller hand, work 2 fewer rows in the main hand and shorten the palm seam by half an inch. For a larger hand, add 2–4 rows and lengthen the palm seam slightly. Always check gauge first.
- Substitute yarn: A cotton-blend gives a crisp, matte finish; a soft acrylic gives a squishier, warmer mitt. Just match the worsted weight (category 4) and re-check your gauge swatch.
- Add a thumb edging in a contrast color: Work the optional sc round around the thumb opening in Color B for a fun pop of cream against the terracotta.