Sunset Waves Bottle Holder Bag Free Pattern
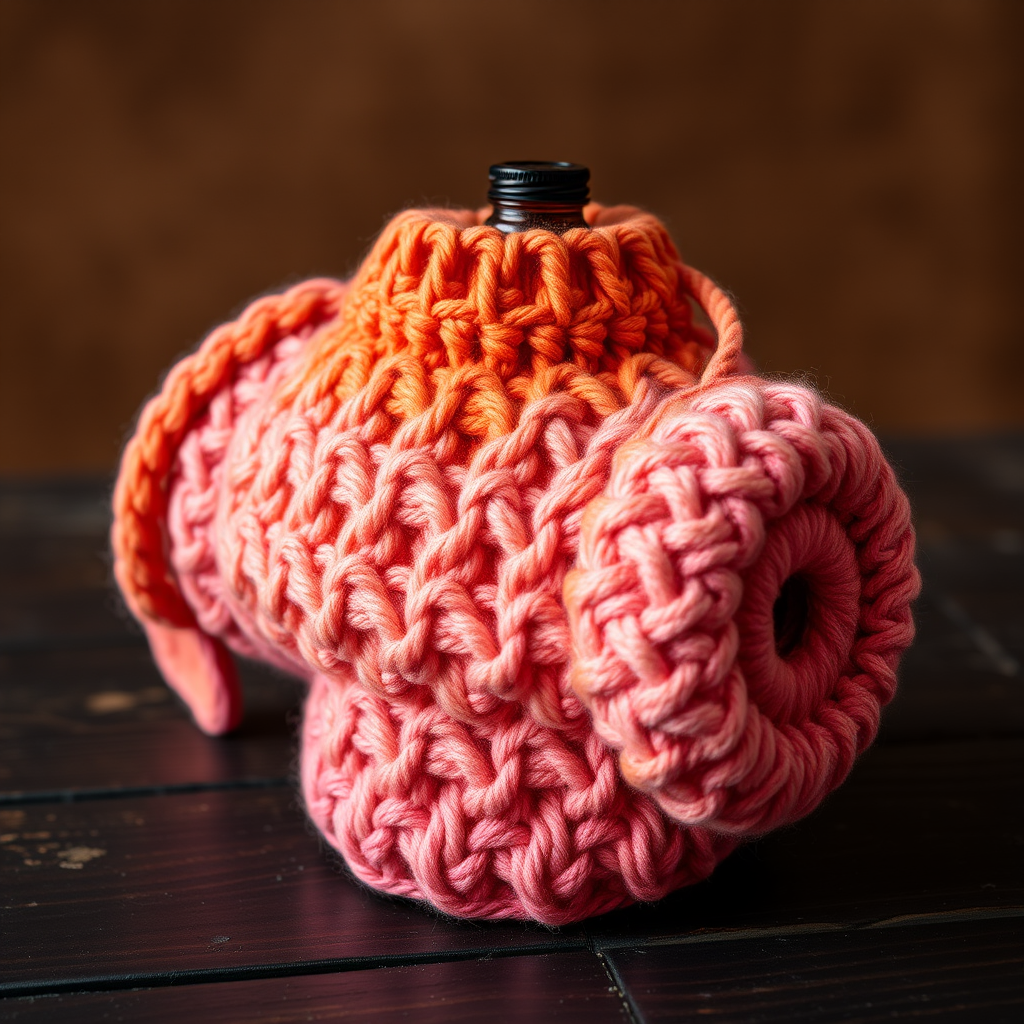
Sunset Waves Bottle Holder Bag Free Pattern
Introduction
Capture the serene beauty of a sunset with this knitted bottle holder bag, featuring intricate wave patterns and a cozy, textured finish. This delightful project is perfect for carrying your favorite beverage on a leisurely stroll or a day at the beach. With its gradient of sunset hues, this bag not only serves a practical purpose but also adds a touch of artistry to your outings. Let’s get started on creating your very own Sunset Waves Bottle Holder Bag!
Materials Needed
- Yarn: Worsted weight cotton yarn in sunset hues (deep orange to soft pink)
- Needles: US 7 (4.5mm) knitting needles
- Gauge: 18 stitches x 24 rows = 4 inches in stockinette stitch
- Scissors: For cutting yarn
- Tapestry needle: For weaving in ends
Step-by-Step Instructions
1. Cast On
Begin by casting on 48 stitches using your US 7 (4.5mm) knitting needles. Ensure your stitches are not too tight, as this will affect the overall flexibility of the bag.
2. Ribbing
Work in a 1x1 ribbing for the next 6 rows. This means you will knit 1 stitch, then purl 1 stitch, and repeat this pattern across the row. On the next row, continue the same knit-purl pattern. This creates a stretchy and neat top edge for your bag.
3. Begin Wave Pattern
Now, we will start the wave pattern:
- Row 1 (Right Side): Knit 2 stitches, then *yarn over (yo), knit 2 together (k2tog)*. Repeat from * to the last 2 stitches, then knit 2.
- Row 2 (Wrong Side): Purl all stitches.
Repeat these two rows until your work measures 10 inches from the cast-on edge. This creates the beautiful wave texture of the bag.
4. Shape the Base
To shape the base of the bag, follow these steps:
- Knit 2 together (k2tog) across the entire row.
- Purl the next row.
Continue repeating these two rows until you have 12 stitches remaining on your needle.
5. Close the Bag
Cut the yarn, leaving a long tail (about 12 inches). Thread this tail through the remaining 12 stitches on your needle and pull tight to close the top of the bag. Secure the closure by weaving the tail in and out of the stitches.
6. Sew the Side Seam
With the bag inside out, sew the side seam using a whip stitch or your preferred method to join the edges together. Make sure the seam is secure and the bag is cylindrical.
7. Attach the I-Cord Strap
To create the I-cord strap:
- Cast on 4 stitches.
- Work in I-cord by knitting all 4 stitches for 24 inches. To do this, knit the first row, then slide the stitches back to the left needle without turning your work, and knit again. Repeat until the cord reaches the desired length.
Once finished, bind off and cut the yarn, leaving a tail for attaching the strap.
8. Attach the Strap
Attach the I-cord strap to the top of the bag by sewing it securely on either side. Make sure it is evenly spaced and can support the weight of the bottle.
9. Weave in Ends
Finally, use your tapestry needle to weave in any loose ends from your yarn. This will give your bag a clean and professional finish.
Conclusion
Congratulations! You have successfully knitted your very own Sunset Waves Bottle Holder Bag. This cozy and stylish bag is perfect for carrying your favorite beverages while showcasing your knitting skills. Enjoy your new creation and happy knitting!


