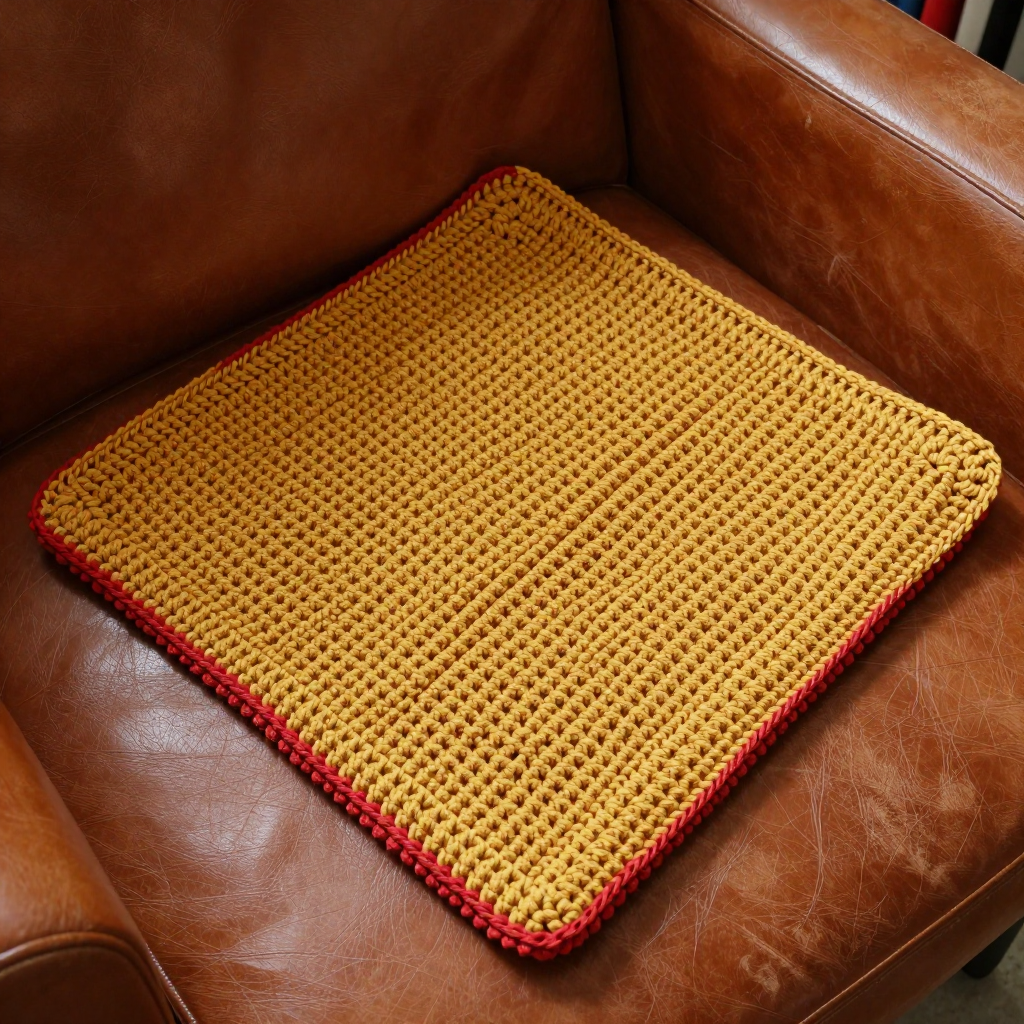
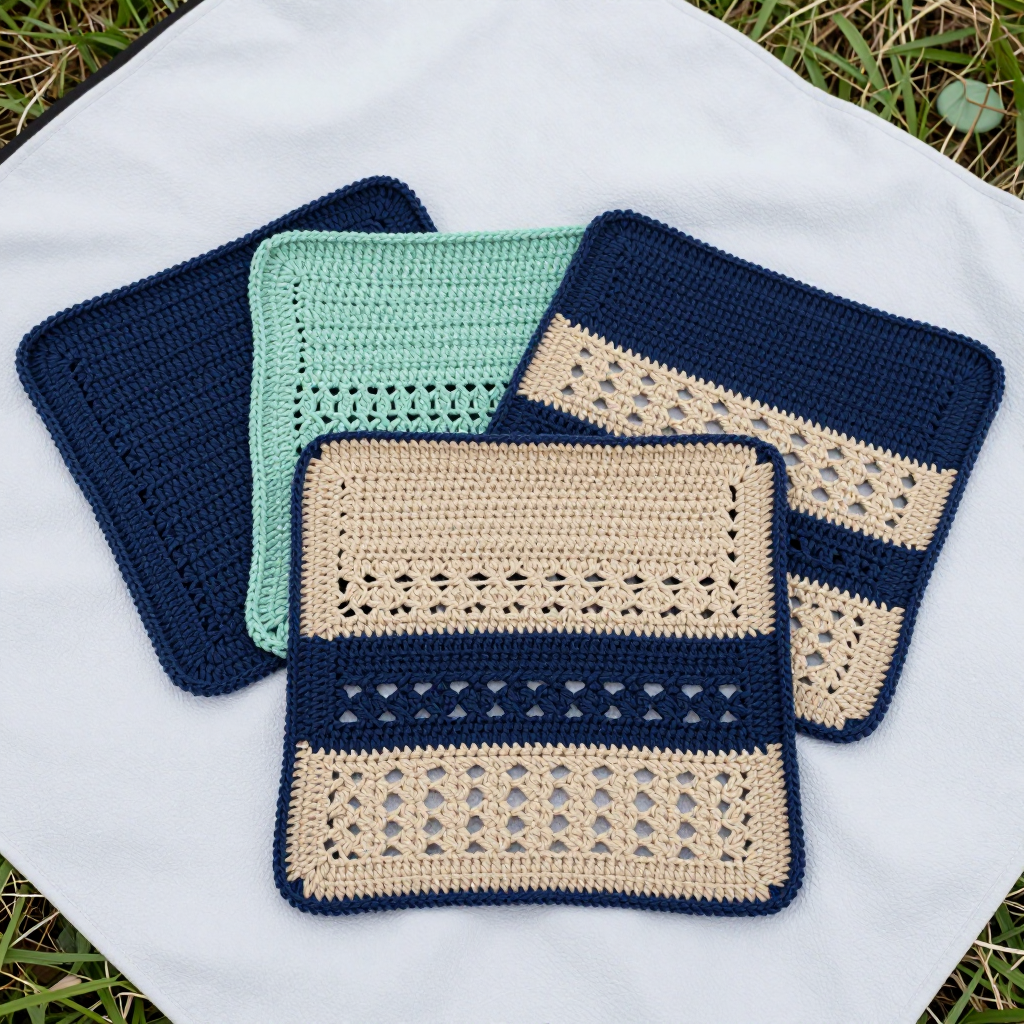
Stone Path Two-Panel Crochet Poncho Free Pattern
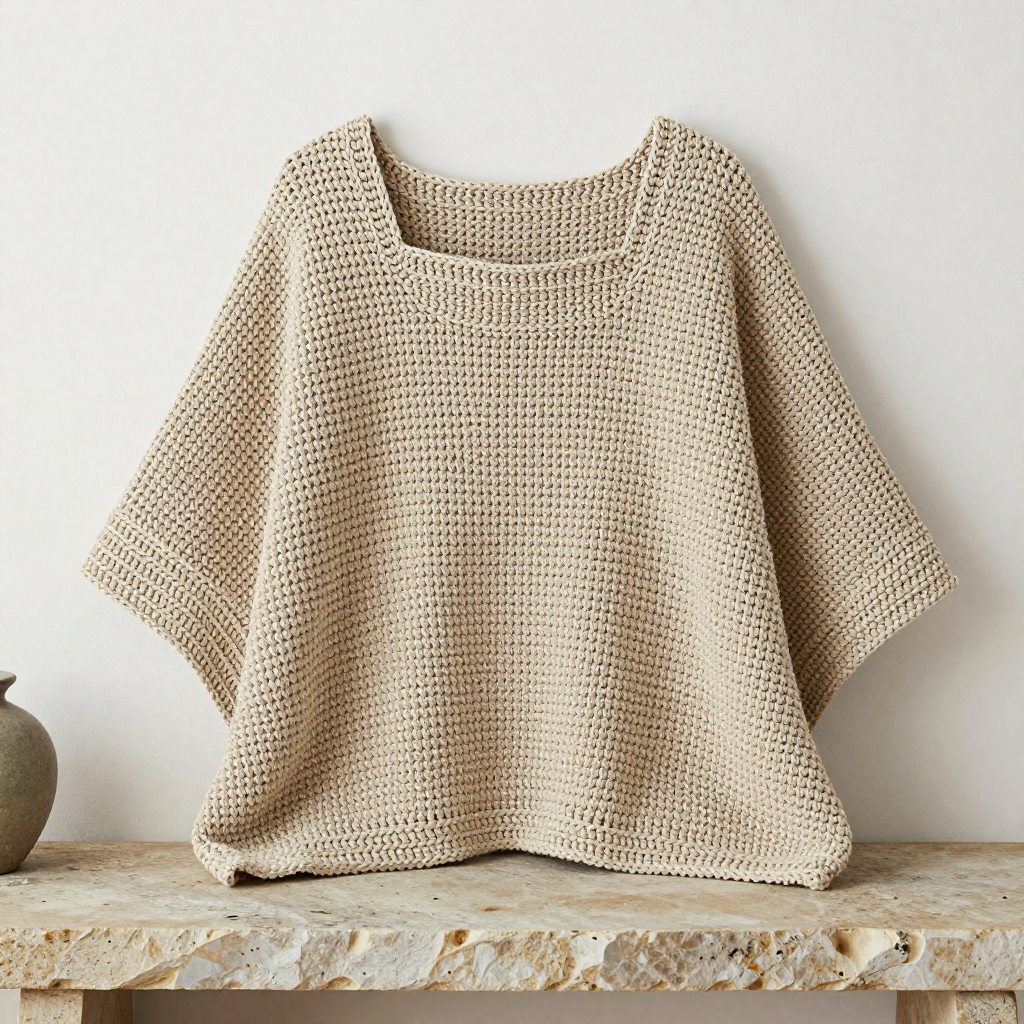
Stone Path Two-Panel Crochet Poncho — A Free Beginner Pattern
Introduction
If you have never held a crochet hook before, this is the perfect first garment for you. The Stone Path Poncho is made from just two identical flat rectangles — no shaping, no increasing, no decreasing, and no working in the round. You simply crochet one simple stitch back and forth until you have a rectangle, make a second one just like it, and sew them together at the shoulders. The finished piece is a calm, square-neck cape in soft undyed oatmeal cotton-linen, with a dense, even, slightly ribbed texture and neat single crochet borders at the neck and hem. It drapes like a quiet, minimalist layer over jeans and a tee, and it feels light, breathable, and gently structured — like a favorite linen shirt that happens to be a poncho.
Materials Needed
- Yarn: Worsted weight (category 4) cotton-linen blend or smooth cotton, undyed natural oatmeal color. Total: approximately 700–800 yards (640–730 m) / 350–400 g. Buy one extra ball if you are unsure — dye lots in undyed yarn are usually consistent, but it is better to have extra than to run short.
- Crochet hook: US I/9 (5.5 mm), or whatever size gives you the correct gauge. (US I/9 is the same as 5.5 mm — the "US" number and the "mm" number are two names for the same hook.)
- Stitch markers: at least 4 (or use small safety pins or scrap yarn loops).
- Tapestry needle: a large blunt needle with an eye big enough for worsted yarn, for seaming and weaving in ends.
- Scissors for cutting yarn.
- Measuring tape for checking gauge and measuring your rectangles.
- Optional: a spray bottle of water and rustproof pins for blocking.
Finished size: Width across shoulders (seam to seam): 25 inches (63.5 cm). Depth from shoulder to lower edge: 19 inches (48 cm). Neckline opening: approximately 11 inches (28 cm) wide square. Lower circumference: approximately 50 inches (127 cm). Each rectangle measures about 19 inches (48 cm) wide by 25 inches (63.5 cm) long.
Abbreviations and Beginner Glossary
- ch — chain. Make a loop with the yarn, put the hook through it, wrap yarn over the hook, and pull it through the loop. That is one chain. A row of chains is your starting "foundation."
- st / sts — stitch / stitches. One completed unit of crochet.
- hdc — half double crochet. Wrap the yarn over your hook once, insert the hook into the next stitch, wrap yarn over and pull up a loop (3 loops on hook), wrap yarn over again and pull through all 3 loops at once. One loop remains. This is the only stitch used in the main fabric.
- sc — single crochet. Insert hook into the next stitch, wrap yarn over and pull up a loop (2 loops on hook), wrap yarn over again and pull through both loops. One loop remains. This is used for all the borders.
- sl st — slip stitch. Insert hook into the stitch, wrap yarn over, and pull that loop straight through the loop on your hook. Used to join a round neatly.
- sk — skip. Do not work into that chain or stitch; move past it.
- tog — together (not used in this pattern, but you may see it elsewhere).
- turn — flip your work over so you can crochet back along the row you just made.
- fasten off — cut the yarn a few inches from the work, pull the tail all the way through the last loop, and tug gently to lock it.
- weave in ends — thread a yarn tail onto the tapestry needle and run it back and forth through the fabric so it disappears and cannot unravel.
- right side (RS) — the "public" face of the fabric that you want showing on the outside of the finished poncho.
- whip stitch — a simple seaming stitch: bring the needle up through both layers, over the edge, and back up again, in small even stitches.
- mattress stitch — a seaming stitch that goes back and forth between the two edges, creating an invisible join. Either whip stitch or mattress stitch works here.
- gauge — how many stitches and rows fit in 4 inches (10 cm). Explained fully below.
Gauge
14 sts and 8 rows = 4 inches (10 cm) in US half double crochet (hdc), unblocked.
Why gauge matters: Gauge is the "speed limit" of your fabric. If your stitches are bigger than the pattern's, your poncho will come out larger than 25 inches across; if they are smaller, it will come out too small to fit comfortably. Checking gauge first saves you from crocheting an entire garment that does not fit.
How to make a gauge swatch: With your 5.5 mm hook and your yarn, chain 24. Work hdc in the 3rd chain from the hook and in each chain across (22 hdc). Work 10 more rows of hdc (ch 2, hdc in each stitch across, turn). Lay the swatch flat without stretching it and measure a 4-inch (10 cm) section in the middle. Count the stitches across and the rows up. If you have more than 14 stitches in 4 inches, your stitches are too small — try a larger hook. If you have fewer, your stitches are too big — try a smaller hook. Change hook size and swatch again until you match.
Beginner Tips Before You Start
- Count your chains carefully at the very start. Chain 68 means 68 loops. Count them twice before you begin Row 1 — a miscount here is the most common beginner mistake.
- The ch 2 at the start of each hdc row counts as your first stitch. Do not work an hdc into the very first stitch below it, or your rectangle will grow wider every row. The ch 1 at the start of a sc row does not count as a stitch.
- Use stitch markers. Place one in the first stitch of a row and one in the last stitch so you always know where the row begins and ends. This prevents the "my rectangle is turning into a triangle" problem.
- Do not pull your yarn too tight. Tension should be relaxed and even. Tight stitches make a stiff, small fabric and make it hard to insert the hook.
- Work both rectangles with the same hook and the same relaxed tension so they match in size. Measure each one when finished; they should both be about 19 x 25 inches (48 x 63.5 cm).
- Keep your turning chain loose. A tight ch 2 makes the edges of your rectangle pucker and makes seaming harder later.
Step-by-Step Instructions
Part 1: The Rectangle (make 2 identical)
Each rectangle is worked sideways: the width of your row (66 stitches) becomes the depth of the poncho (19 inches), and the number of rows (38) becomes the shoulder-to-shoulder width (25 inches). At 8 rows per 4 inches, 38 rows = about 19 inches of row-width... and 66 stitches at 14 sts per 4 inches = about 19 inches of row length. The 38 rows at 8 rows per 4 inches give about 19 inches — so we work 50 rows total to reach 25 inches of length. Follow the row counts below exactly; they are written to match the gauge.
Set-up: Using US I/9 (5.5 mm) hook and oatmeal yarn, ch 68.
Row 1: Hdc in the 3rd ch from hook (the 2 skipped chains count as the first hdc), then hdc in each ch across. Turn. (66 hdc)
Row 2: Ch 2 (counts as first hdc), hdc in each st across. Turn. (66 hdc)
Rows 3–50: Repeat Row 2. (66 hdc)
That is 50 rows total. Each rectangle should measure approximately 19 inches (48 cm) wide by 25 inches (63.5 cm) long. Fasten off the first rectangle, leaving a 12-inch (30 cm) tail for seaming. Do not fasten off the second rectangle until the borders are complete (you can use its working yarn to join the neckline border).
Part 2: Blocking (optional but recommended)
Mist both rectangles lightly with water, pin them flat to the measurements above on a towel or blocking mat, and let them dry completely. This opens the stitch texture, evens the edges, and makes seaming much easier.
Part 3: Seaming the Shoulders
Lay both rectangles flat, right sides together, aligning all edges. The 25-inch (63.5 cm) edges are the shoulder edges.
Seam 1 (right shoulder): Starting at one short end, sew along the 25-inch edge for 7 inches (18 cm) using whip stitch or mattress stitch with your yarn tail and tapestry needle. Fasten off.
Seam 2 (left shoulder): Skip the center 11 inches (28 cm) for the neck opening. Sew the remaining 7 inches (18 cm) of the same edge. Fasten off.
This creates a square neck opening about 11 inches (28 cm) wide and leaves the long sides open below the shoulders for the cape drape.
Part 4: Neckline Border
With the right side facing, join oatmeal yarn at the right shoulder seam.
Round 1: Ch 1, work sc evenly around the entire neck opening — about 1 sc per stitch along the shoulder seams and 1 sc per row along the side edges. Join with a sl st to the first sc. (Approximately 88 sc)
Round 2: Ch 1, sc in each sc around. Join with a sl st to the first sc. Fasten off and weave in ends. (Approximately 88 sc)
Part 5: Lower Edge Border
With the right side facing, join oatmeal yarn at one lower corner.
Round 1: Ch 1, work sc evenly along the entire lower edge of the poncho, about 1 sc per stitch. Join with a sl st to the first sc. (Approximately 132 sc)
Round 2: Ch 1, sc in each sc around. Join with a sl st to the first sc. Fasten off and weave in ends. (Approximately 132 sc)
Part 6: Side Edge Border (optional)
With the right side facing, join oatmeal yarn at the bottom of one open side edge.
Row 1: Ch 1, work sc evenly up the side edge to the shoulder, about 1 sc per row. Turn.
Row 2: Ch 1, sc in each sc down the side edge. Fasten off and weave in ends.
Repeat for the opposite side edge.
Assembly and Finishing
Seaming: Thread your tapestry needle with the 12-inch tail. Hold the two rectangles right sides together. Bring the needle up through both layers about 1/4 inch from the edge, then over the edge and back up again, making small, even stitches about 1/4 inch apart. Keep your tension gentle — tight seaming puckers the shoulder line. Work 7 inches along the edge, then fasten off by running the needle through a few stitches on the wrong side and trimming.
Weaving in ends: Thread each tail onto the tapestry needle and run it back and forth through the inside of the fabric for about 2 inches, changing direction once so it cannot pull out. Trim close to the fabric.
Blocking and pressing: Lightly steam or mist the borders and seams and press flat with a pressing cloth (a thin cloth between the iron and the yarn so the cotton does not shine). Do not stretch the neckline — press it gently so it keeps its square shape.
Pro Tips and Variations
- Color changes: Work each rectangle in a different tone (for example, oatmeal and soft grey) for a subtle two-tone look, or add a contrast color for the neckline and lower borders only. Change color at the end of a row, leaving a 6-inch tail to weave in.
- Size adjustments: To make the poncho wider across the shoulders, add rows in multiples of 8 (each 8 rows adds about 4 inches / 10 cm). To make it longer, add chains at the start in multiples of 14 (each 14 chains adds about 4 inches / 10 cm of depth). Keep both rectangles identical.
- Yarn substitution: Any worsted weight (category 4) cotton or cotton blend works. Avoid fuzzy or slippery yarns for your first poncho — smooth cotton shows the stitch texture best and is easiest to seam. Always swatch a new yarn to confirm gauge.
- Shawl variation: To make a matching shawl instead of a poncho, work a single rectangle of 66 hdc by 50 rows (approximately 19 x 33 inches / 48 x 84 cm), then work a single crochet border around all four edges as described above. Wear it draped over the shoulders with the long edge across the back.