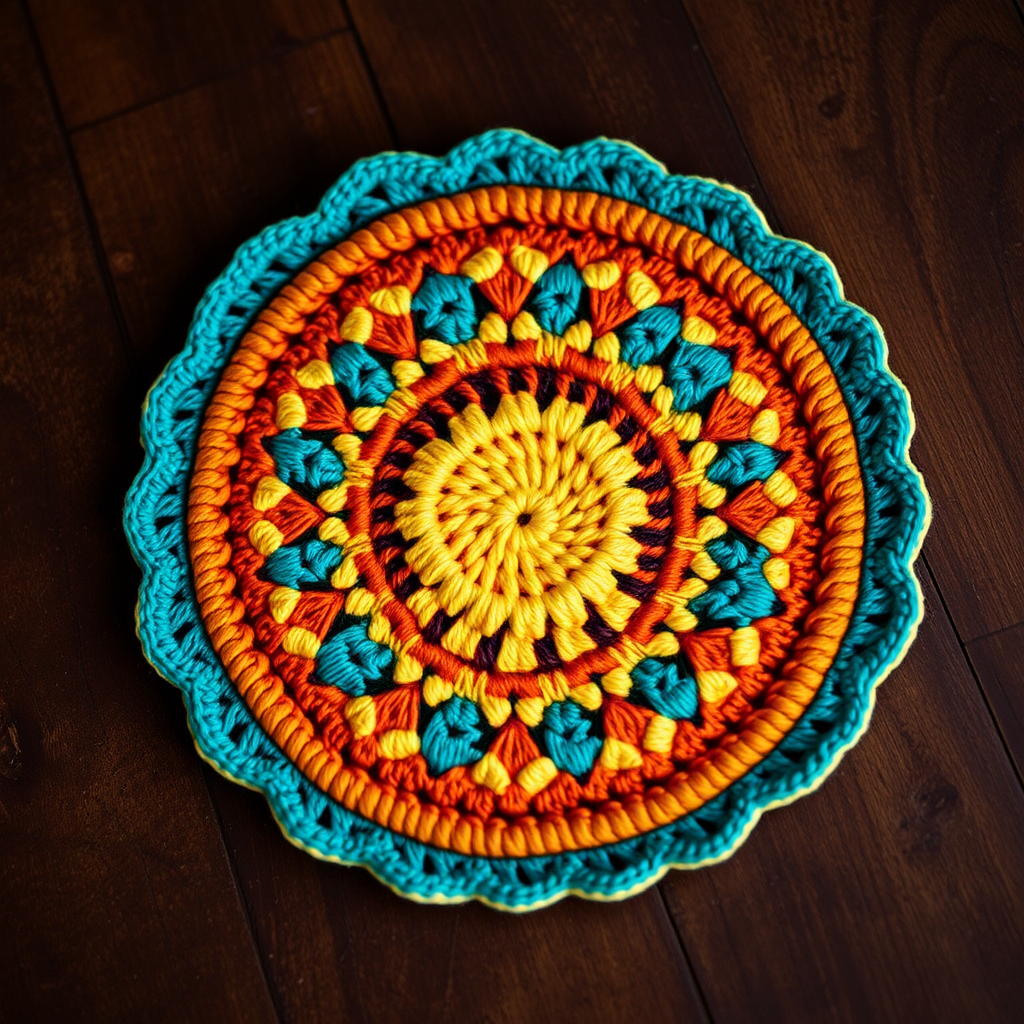
Harissa Two-Tone Folded Crochet Potholder Free Pattern
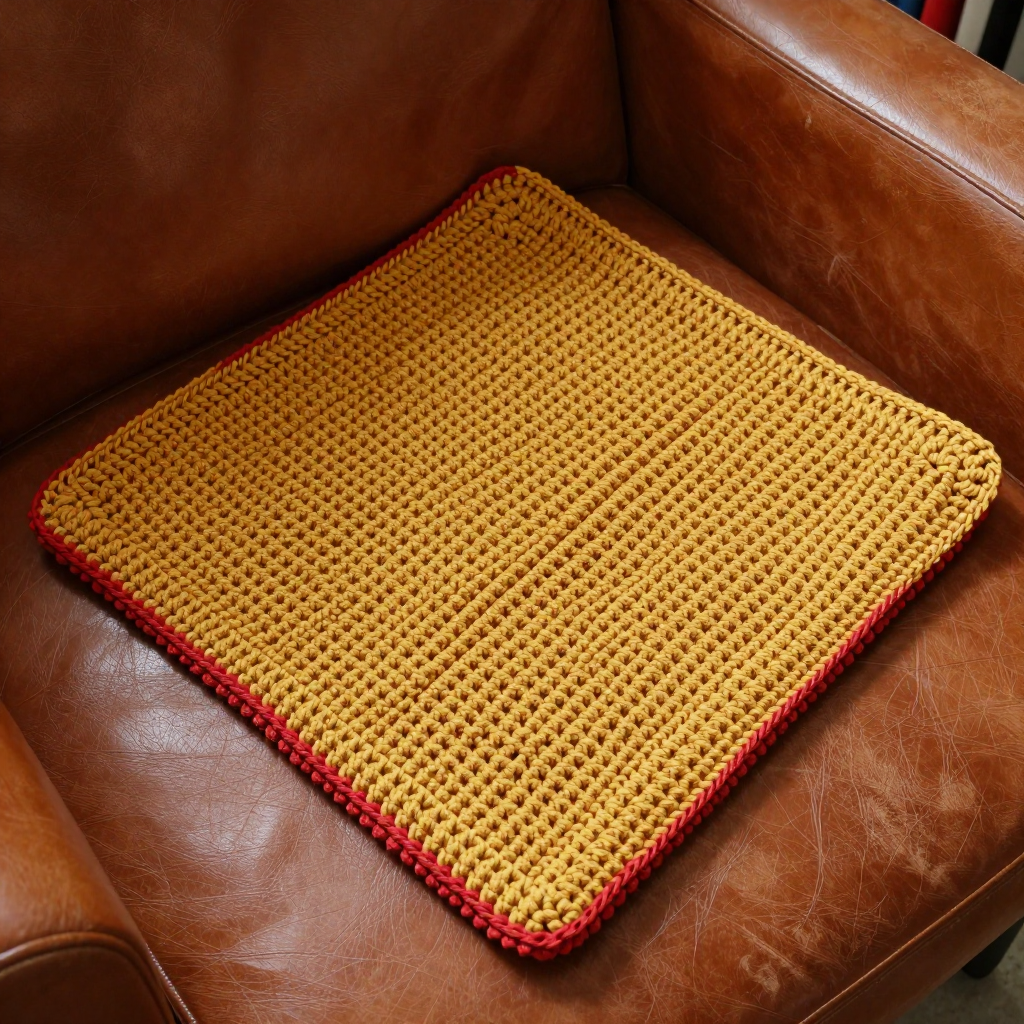
Harissa Two-Tone Folded Crochet Potholder: A Warm, Spicy First Project
If you have never held a crochet hook before, this is the perfect place to start. This potholder is made from just one simple stitch pattern, worked back and forth in flat rows, then folded and seamed into a thick, double-layer kitchen cloth. The finished piece is about 7 inches square, with one face in deep harissa red and the other in warm saffron gold, joined by visible whipstitched seams that give it a slightly raw, spice-market grunge look. The lemon peel stitch creates a dense, nubby surface of alternating single and double crochet bumps that feels sturdy and satisfying in your hands. You only need two colors of cotton yarn, one hook, and a little patience — no shaping, no complicated counting, and no prior experience required.
Materials Needed
- Yarn: Worsted weight (category 4) cotton yarn, approximately 120 yards total — 60 yards harissa red and 60 yards saffron gold. Cotton is best because it handles heat and does not melt like acrylic.
- Crochet hook: H/8 (5.0 mm).
- Stitch markers: At least 2, to mark your first and last stitch of each row.
- Tapestry needle: A blunt-tipped needle with a large eye, for seaming and weaving in ends.
- Scissors: Sharp craft scissors for cutting yarn.
- Measuring tape or ruler: For checking your gauge and finished size.
- Finished size: 7 inches wide x 7 inches tall after folding and seaming (each rectangle is 7 inches wide x 14 inches tall before folding).
Abbreviations and Beginner Glossary
- ch – chain: wrap the yarn over your hook and pull it through the loop on your hook. This creates one chain stitch.
- sc – single crochet: insert your hook into the stitch, yarn over, pull up a loop (2 loops on hook), yarn over again, pull through both loops. One loop remains.
- dc – double crochet: yarn over first, insert hook into the stitch, yarn over, pull up a loop (3 loops on hook), yarn over, pull through 2 loops, yarn over, pull through the last 2 loops.
- sl st – slip stitch: insert hook into the stitch, yarn over, and pull through both the stitch and the loop on your hook at the same time. Very flat and quick.
- st / sts – stitch / stitches: one completed loop or unit of crochet work.
- tog – together: used when joining two pieces.
- rep – repeat: do the same instruction again.
- FO – fasten off: cut the yarn leaving a tail, then pull the tail through the last loop and tighten to secure.
- RS / WS – right side / wrong side: the right side is the "pretty" face you want showing; the wrong side is the back.
- whipstitch – a simple seaming stitch: pass the needle through both layers from front to back over and over, like a spiral, to join edges.
- gauge – how many stitches and rows fit in a set measurement (here, 2 inches).
Gauge
7 stitches and 6 rows = 2 inches in lemon peel stitch.
Gauge matters because it tells you whether your potholder will come out the right size. If your stitches are too loose, the potholder will be bigger than 7 inches; if too tight, it will be smaller and harder to seam. To check your gauge, crochet a small practice square about 4 inches wide in lemon peel stitch, lay it flat, and measure 2 inches across the middle. Count how many stitches fit in those 2 inches. If you have more than 7, try a larger hook; if fewer, try a smaller hook. Always make a swatch before starting — it takes ten minutes and saves you from redoing the whole project.
Beginner Tips Before You Start
- Count every row. Lemon peel stitch keeps the same stitch count throughout, so if you ever have 24 or 26 stitches instead of 25, you dropped or added one. Fix it right away.
- Use stitch markers. Place one in the very first stitch and one in the very last stitch of each row. Beginners often miss the last stitch, which makes the rectangle narrow and slanted.
- Do not pull the yarn too tight. Keep your tension relaxed and even. Tight stitches make a stiff, curled fabric that is hard to seam.
- Keep the chain loose. Your starting chain of 26 should be relaxed enough that the hook slides in easily for Row 1.
- Work the turning chain correctly. The "ch 1" at the start of each row is not a stitch — do not crochet into it. Start your first sc in the first real stitch.
- Make both panels the same size. Lay each rectangle flat and measure it before seaming. They should both be about 7 inches wide and 14 inches tall.
Step-by-Step Instructions
The Lemon Peel Stitch (Read This First)
Lemon peel stitch is simply single crochet and double crochet alternating across the row, worked over an odd number of stitches. Every row is identical, which is why this pattern is so beginner-friendly.
Pattern Row: Ch 1, sc in first st, dc in next st, *sc in next st, dc in next st; repeat from * across, ending with sc in last st. Turn. (25 sts)
Repeat this row for every row of both panels. The stitch count never changes.
Harissa Red Panel (make 1)
Set-up: With harissa red, ch 26.
Row 1: Sc in 2nd ch from hook, dc in next ch, *sc in next ch, dc in next ch; repeat from * across, ending with sc in last ch. Turn. (25 sts)
Rows 2–21: Ch 1, sc in first st, dc in next st, *sc in next st, dc in next st; repeat from * across, ending with sc in last st. Turn. (25 sts)
Fasten off harissa red, leaving a 12-inch tail for seaming. You now have one rectangle about 7 inches wide and 14 inches tall.
Saffron Gold Panel (make 1)
Set-up: With saffron gold, ch 26.
Row 1: Sc in 2nd ch from hook, dc in next ch, *sc in next ch, dc in next ch; repeat from * across, ending with sc in last ch. Turn. (25 sts)
Rows 2–21: Ch 1, sc in first st, dc in next st, *sc in next st, dc in next st; repeat from * across, ending with sc in last st. Turn. (25 sts)
Fasten off saffron gold, leaving a 12-inch tail for seaming. This rectangle should match the red one in size.
Assembly
Step 1: Place the harissa red rectangle and the saffron gold rectangle together with wrong sides facing, aligning all edges. The right side of the red faces out on one side and the right side of the gold faces out on the other side.
Step 2: Thread a blunt tapestry needle with the harissa red tail. Starting at one bottom corner, whipstitch the two rectangles together along the bottom edge, up one side edge, and across the top edge, leaving the fourth side open. Use small, even stitches through both layers.
Step 3: Switch to the saffron gold tail and whipstitch the remaining open side closed. Weave in all ends securely.
Step 4: Turn the potholder right side out through the opening before the final side is closed, or simply seam all four sides and turn through a small gap left in one side, then close the gap with a few slip stitches using the matching yarn.
Optional Border
For a firmer edge, work a single round of sc in harissa red around the entire outer edge: join yarn at any corner, ch 1, work 1 sc in each stitch along the edge and 2 sc in each corner, then join with a sl st to the first sc. Fasten off and weave in ends.
Assembly and Finishing
Seaming: Whipstitching means passing your needle through both layers from front to back over and over in a spiral. Keep your stitches small (about 1/4 inch apart) and even so the seam lies flat and does not pucker. Pull the yarn snug but not tight — you want the two layers to sit together without gaps.
Weaving in ends: Thread each loose tail onto the tapestry needle and run it through the back of several stitches (about 2 inches), then reverse direction and run it back through a few more stitches to lock it. Trim close to the fabric.
Blocking: Gently steam-block the potholder to 7 inches x 7 inches. Hold a steam iron about 1 inch above the fabric (do not press down hard), let the steam relax the cotton, then pat the seams flat with your hands and let it dry completely. This makes the edges straight and the seams crisp.
Care: Hand wash cold, lay flat to dry.
Pro Tips and Variations
- Color changes: Swap the two colors for any spice-market palette — paprika orange and cumin brown, or mint green and cream. Keep both yarns the same weight so the panels match in size.
- Size adjustments: To make a larger potholder, add stitches in multiples of 2 plus 1 (for example, 31 stitches for about 9 inches wide) and add rows in pairs to keep the height even.
- Yarn substitution: Any worsted weight cotton works. Avoid acrylic for potholders because it can melt near heat. If you use a thinner cotton, go down a hook size and check your gauge again.
- Add a hanging loop: Before seaming the final side, crochet a small ch 10 loop in matching yarn at one corner and stitch it in place so you can hang the potholder on a hook.