Mauve Scallop Shell Jar Topper Free Pattern

Mauve Scallop Shell Jar Topper – Free Beginner Crochet Pattern
Introduction
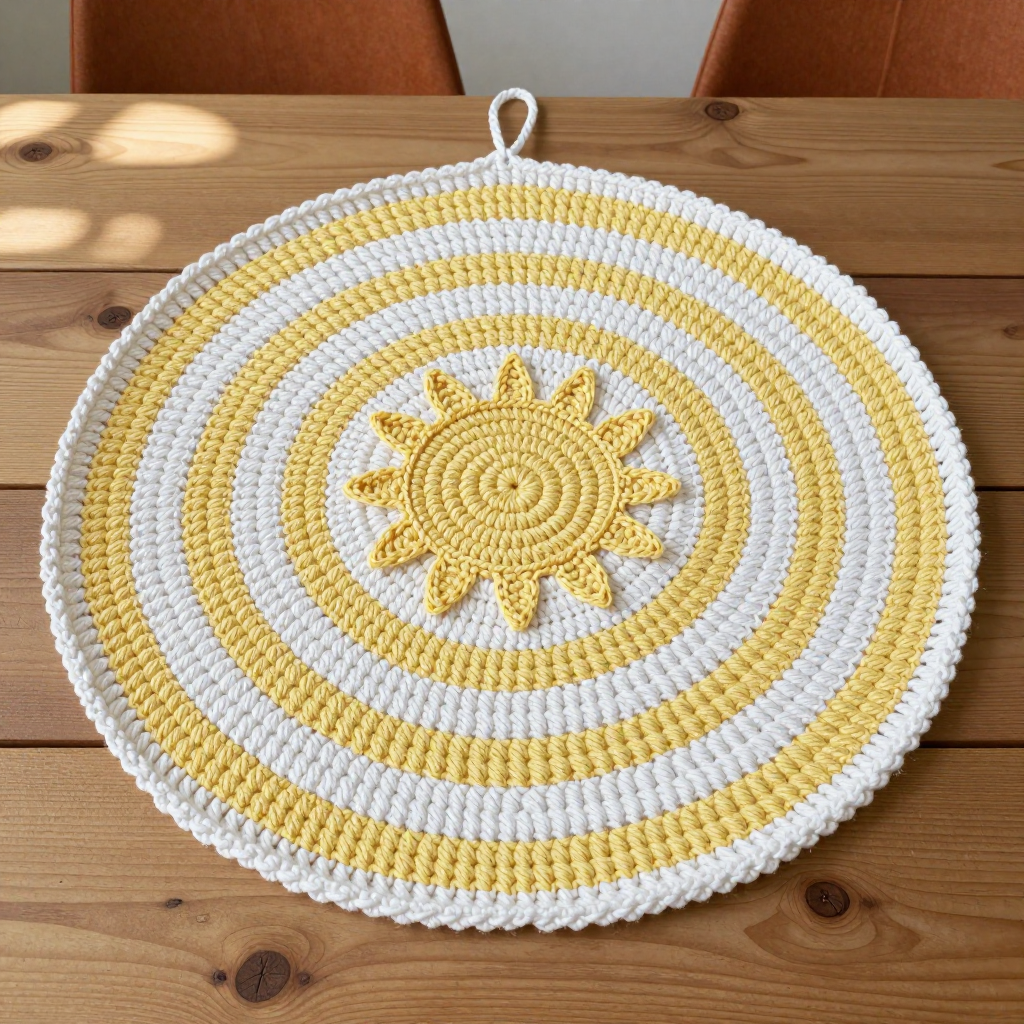
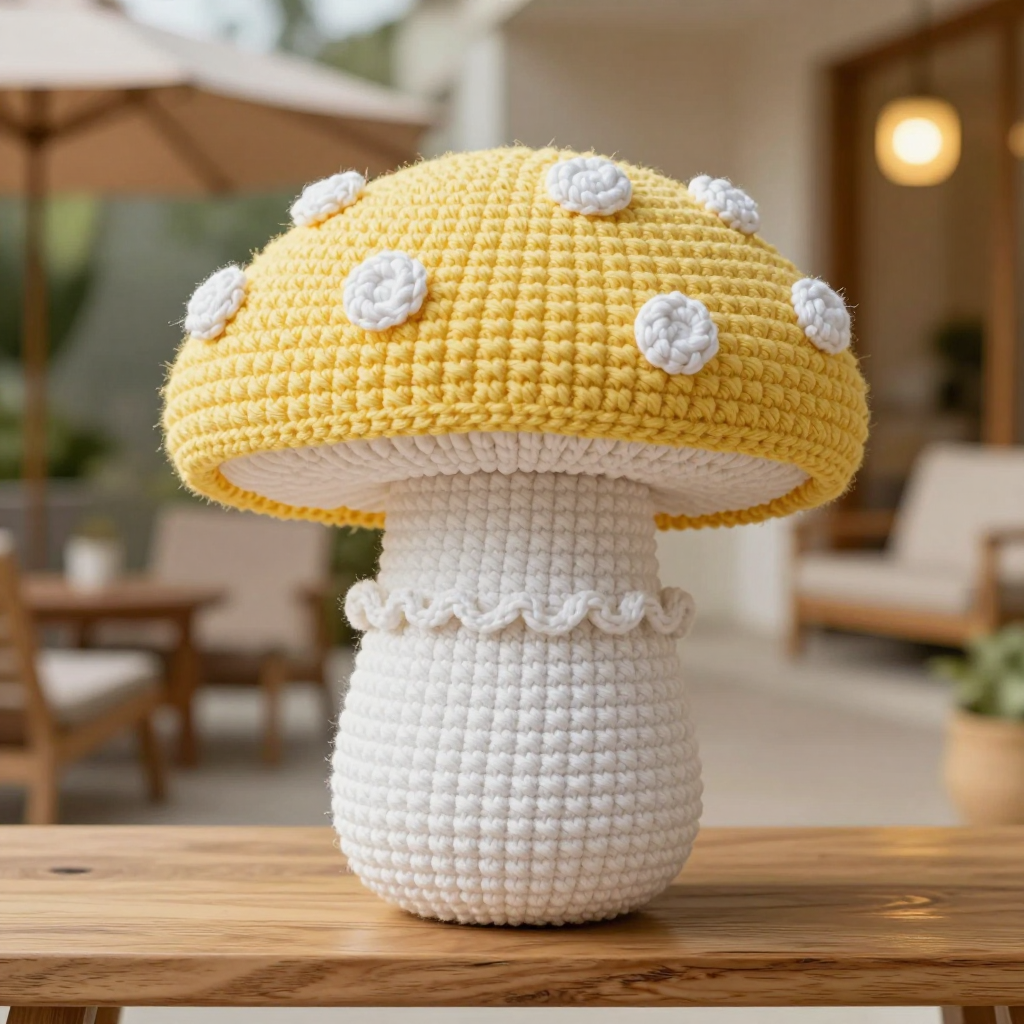
This little mauve scallop shell jar topper is the perfect first project for anyone who has just picked up a crochet hook. It is a flat, round cover that sits neatly over the mouth of a small glass jar — think jam jars, candle jars, or spice jars — and it finishes with a soft, wavy plum border that looks far more impressive than the effort it takes. The finished piece is a smooth, dense cotton circle in a gentle mauve, edged with twelve fan-shaped shells in deep plum, and it rests flat over the jar with the scallops just peeking past the rim. It feels matte and slightly crisp in the hand, like a well-loved kitchen linen, and it makes a thoughtful, handmade gift in under an hour. If you can make a loop and pull yarn through it, you can make this.
Materials Needed
- Yarn (main circle): DK / light worsted weight (category 3) cotton or cotton-blend yarn in mauve — approximately 35–45 yards (32–41 m).
- Yarn (border): Same weight cotton in deep plum — approximately 10–15 yards (9–14 m).
- Hook: G/6 (4.0 mm) crochet hook.
- Stitch marker: 1 removable stitch marker (or a scrap of contrasting yarn) to mark the first stitch of each round.
- Tapestry needle: A blunt-tipped needle with a large eye for weaving in ends.
- Scissors: Any small sharp pair for cutting yarn.
- Optional: A spray bottle of water and a towel for blocking.
- Finished size: Fits a standard 8-ounce (small) or pint (medium) glass jar with a 2.5–3 inch (6.5–7.5 cm) mouth. The flat circle measures about 4 inches (10 cm) in diameter before the border and about 4.75–5 inches (12–12.5 cm) across including the scallop border.
Abbreviations and Beginner Glossary
Every abbreviation used in this pattern is listed below. Read through this list once before you begin — you do not need to memorize it.
- ch – chain. Wrap the yarn over your hook and pull it through the loop already on your hook. That makes one chain stitch.
- sl st – slip stitch. Insert your hook into the stitch, wrap yarn over, and pull it through both the stitch and the loop on your hook at the same time. It joins things without adding height.
- sc – single crochet. Insert hook into stitch, wrap yarn over, pull up a loop (2 loops on hook), wrap yarn over again, pull through both loops. One loop remains.
- dc – double crochet. Wrap yarn over hook first, insert hook into stitch, wrap yarn over, pull up a loop (3 loops on hook), wrap yarn over, pull through 2 loops, wrap yarn over, pull through the last 2 loops. One loop remains.
- tr – treble crochet. Wrap yarn over hook twice, insert hook into stitch, pull up a loop (4 loops on hook), then pull through 2 loops three times. (Listed for reference; not used in this pattern.)
- st(s) – stitch or stitches.
- sp – space. The gap created by a chain (for example, a "ch-2 sp" is the little hole under two chain stitches).
- beg – beginning.
- rep – repeat. Do the section again as many times as instructed.
- * … ; – the asterisk marks the start of a repeat. Work the instructions after the asterisk, then repeat them as many times as the pattern says.
- Magic ring – an adjustable loop of yarn that you crochet into, then pull tight to close the center hole. If it feels tricky, you can instead chain 4 and join with a sl st into a ring, then work Round 1 into that ring.
- Shell – a group of stitches worked into one stitch: 3 dc, ch 2, 3 dc all in the same stitch.
- Beg shell – ch 3 (counts as the first dc), 2 dc in the same stitch, ch 2, 3 dc in the same stitch.
Gauge
16 double crochet stitches and 10 rounds = 4 inches (10 cm) in double crochet.
Gauge simply means how big your stitches come out. It matters because it decides whether your topper fits the jar: too loose and the circle grows too large and floppy; too tight and it will not reach past the rim. To check, crochet a small flat swatch of about 20 dc stitches worked back and forth for 12 rows, lay it flat, and measure the middle 4 inches with a ruler. Count the stitches across those 4 inches. If you have more than 16, your stitches are tight — try a hook one size larger. If you have fewer than 16, your stitches are loose — try a hook one size smaller. Do not skip this step; it takes five minutes and saves the whole project.
Beginner Tips Before You Start
- Use a stitch marker. Place it in the first stitch of each round. Because this pattern is worked in a spiral-like circle, it is very easy to lose track of where a round began.
- Do not pull the yarn too tight. Keep an even, relaxed tension. If your circle starts to cup upward like a bowl, your stitches are too tight — loosen your grip.
- Count after every round. The stitch count in parentheses at the end of each round is your checkpoint. If it is off, fix it before moving on.
- Keep the circle flat. Lay it on the table after each round. A flat circle should lie perfectly flat with no ripples and no bowl shape.
- Change color on the last slip stitch. When you switch to plum, pull the new color through the final loop of the joining slip stitch so the change is invisible.
- Work the border loosely. The scallop border needs a little breathing room to lie flat. If it ruffles, see the note in Round 8.
Step-by-Step Instructions
All stitches are in US terms. The main circle is worked in mauve for Rounds 1–7. Change to deep plum for Round 8, the scallop shell border. Each round is joined with a slip stitch, and the ch-3 at the start of each round counts as the first double crochet.
Main Circle (mauve)
Round 1: Make a magic ring. Ch 3 (counts as first dc here and throughout), work 11 dc into the ring. Join with a sl st to the top of the beg ch-3. (12 dc)
Round 2: Ch 3, 1 dc in the same st as the join, then 2 dc in each st around. Join with a sl st to the top of the beg ch-3. (24 dc)
Round 3: Ch 3, 1 dc in the same st as the join, 1 dc in the next st, *2 dc in the next st, 1 dc in the next st; rep from * around. Join with a sl st to the top of the beg ch-3. (36 dc)
Round 4: Ch 3, 1 dc in the same st as the join, 1 dc in each of the next 2 sts, *2 dc in the next st, 1 dc in each of the next 2 sts; rep from * around. Join with a sl st to the top of the beg ch-3. (48 dc)
Round 5: Ch 3, 1 dc in the same st as the join, 1 dc in each of the next 3 sts, *2 dc in the next st, 1 dc in each of the next 3 sts; rep from * around. Join with a sl st to the top of the beg ch-3. (60 dc)
Round 6: Ch 3, 1 dc in the same st as the join, 1 dc in each of the next 4 sts, *2 dc in the next st, 1 dc in each of the next 4 sts; rep from * around. Join with a sl st to the top of the beg ch-3. (72 dc)
Round 7: Ch 1, 1 sc in the same st as the join, then 1 sc in each st around. Join with a sl st to the first sc. (72 sc) This round creates a firm, flat edge and prepares the circle for the border. Do not fasten off yet — change to deep plum by pulling the new color through on the final sl st of this round.
Scallop Shell Border (deep plum)
Round 8: With deep plum, ch 1. Work 1 sc in the same st as the join. Skip 2 sts, then work a shell in the next st as follows: 3 dc, ch 2, 3 dc all in the same st. Skip 2 sts, 1 sc in the next st. *Skip 2 sts, work a shell (3 dc, ch 2, 3 dc) in the next st, skip 2 sts, 1 sc in the next st; rep from * around, ending with a shell in the last shell position and joining with a sl st to the first sc. (12 shells and 12 sc anchor stitches)
Note: If your stitch count is slightly different, simply skip 2 stitches between each shell and each sc anchor so the shells sit evenly and the circle stays flat. The border should not cup or ruffle. If it begins to ruffle, work the shells with 2 dc instead of 3 dc on each side of the ch-2 space.
Assembly and Finishing
Fasten off: Cut the plum yarn, leaving a 4-inch (10 cm) tail, and pull the tail all the way through the last loop to secure it.
Weave in ends: Thread each tail onto the tapestry needle. Turn the cover to the wrong side (the side with the little bumps and joins). Slide the needle under the backs of several stitches in one direction, then back through a few stitches in the other direction to lock it. Trim the yarn close to the fabric. Do this for every tail.
Blocking: Lightly mist the cover with water and press it flat with a warm iron over a cloth, or pin the circle to a dry towel and let it dry completely. Blocking opens up the scallops and makes the circle sit perfectly flat. The cover is meant to lie flat over the jar mouth with the scallop border extending slightly beyond the rim. Do not add a side wall or elastic — the topper is removable and simply rests on top of the jar.
Pro Tips and Variations
- Change the colorway: Swap mauve and plum for sage and cream, terracotta and mustard, or any two earthy neutrals. Keep the border one shade darker than the center for the same crisp contrast.
- Adjust the size: For a wider jar, work one extra increase round (Round 7 style, adding 1 dc between increases) before the sc round, which gives 84 dc, then work the border as written. For a smaller jar, stop after Round 6 (72 dc) and go straight to the sc round.
- Substitute yarn: Any DK or light worsted cotton or cotton blend works well. Avoid fluffy or slippery yarns, which make the flat circle harder to keep even.
- Add a hanging loop: Before fastening off the border, ch 12 and sl st back into the same stitch to make a small loop, so the topper can hang from a hook when not in use.