Little Cloud Granny Square Crochet Poncho Free Pattern

Little Cloud Granny Square Crochet Poncho — Free Beginner Pattern
Introduction
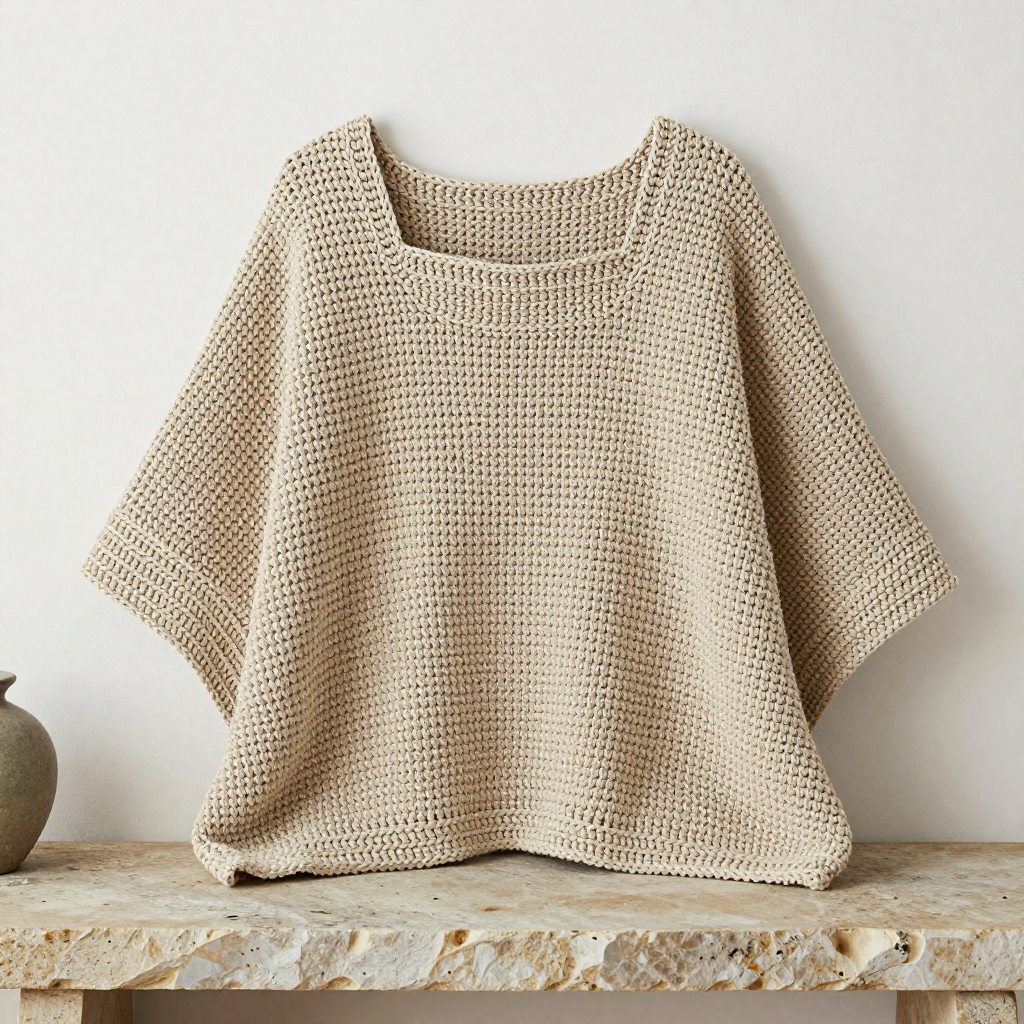
If you have never held a crochet hook before, this is the project I would hand you first. The Little Cloud Poncho is made from nine simple granny squares — the friendliest little building block in all of crochet — stitched together into a soft, drapey square-with-a-neck-hole shape. It is perfect for absolute beginners because you only ever learn four basic stitches, and you repeat the same three rounds over and over until it becomes muscle memory. Made in a linen-cotton blend in cotton candy pink and baby blue, with a white scalloped "cloud" trim along the hem, the finished poncho feels light and breezy on the shoulders and looks like something you bought at a boutique. Slip it over your head and you are done — no buttons, no zippers, no shaping to worry about.
Materials Needed
- Yarn: Worsted-weight (Category 4) linen-blend yarn, approx. 50% linen / 50% cotton, 180 yd (165 m) per 100 g skein.
- Color A (cotton candy pink): 2 skeins (approx. 300 yd / 275 m)
- Color B (baby blue): 2 skeins (approx. 300 yd / 275 m)
- Color C (soft white): 1 skein (approx. 90 yd / 82 m) — used for joining and all edging
- Crochet hook: US size H-8 (5.0 mm), or whatever size you need to match gauge
- Stitch markers: at least 8 (or use small safety pins, paper clips, or scrap yarn)
- Tapestry needle: a blunt-tipped needle with a large eye, for seaming and weaving in ends
- Scissors
- Measuring tape (for your gauge swatch and blocking)
- Blocking supplies: a spray bottle of water and rust-proof pins (or a blocking mat)
Finished size: approx. 30 in (76 cm) wide across the shoulders, point to point, and approx. 22 in (56 cm) long from neck edge to lower point. The neck opening is approx. 9 in (23 cm) across and stretches easily over the head. This is a one-size, relaxed-fit poncho.
Abbreviations and Beginner Glossary
Every pattern is written in shorthand. Here is every abbreviation used in this pattern, explained as if you have never crocheted before. All terms are US crochet terms.
- ch — chain: Yarn over (wrap the yarn around your hook) and pull it through the loop already on your hook. That makes one chain. Chains are the foundation you build on.
- sl st — slip stitch: Insert your hook into the stitch, yarn over, and pull the yarn through both the stitch and the loop on your hook in one motion. It makes an almost invisible joining stitch.
- sc — single crochet: Insert hook into stitch, yarn over, pull up a loop (2 loops on hook), yarn over again, pull through both loops. One loop remains. This is the shortest, tightest basic stitch.
- dc — double crochet: Yarn over first, insert hook into stitch, yarn over, pull up a loop (3 loops on hook), yarn over, pull through 2 loops, yarn over, pull through last 2 loops. One loop remains. This is a taller stitch and the one that builds granny squares.
- sp — space: The gap between stitch groups (for example, a "ch-2 corner sp" is the little hole made by two chains). You work into the space, not into a stitch.
- beg — beginning: Refers to the start of a round.
- rep — repeat: Do the same thing again the number of times stated.
- sts — stitches: The individual loops/units you make.
- round: One complete circuit of stitches worked in a circle.
- join with sl st: Finish a round by making a slip stitch into the top of the first stitch of that round, closing the circle.
- fasten off: Cut the yarn a few inches from your work, pull the tail all the way through the last loop, and tug gently to secure it.
- whipstitch: A simple seaming stitch — pass the needle through matching stitches on both pieces, over and over, like lacing shoes.
- shell: A group of several stitches (here, 5 dc) worked into one single stitch to make a fan shape.
Gauge
Gauge: One granny square (3 rounds) = 4 x 4 in (10 x 10 cm) after light blocking. Each additional round adds approx. 1 in (2.5 cm) to the square's side.
Why gauge matters: Gauge is how big your stitches come out. If your squares are bigger than 4 inches, your poncho will be bigger than the measurements above; if smaller, it will be smaller and the neck hole might be tight. Because this poncho is built from squares, gauge is easy to check — your first square is your swatch.
How to check it: Crochet one complete square (Rounds 1–3). Lay it flat, mist it lightly with water, and let it dry. Measure across the middle from side to side. If it measures 4 inches, perfect. If it is larger than 4¼ inches, switch to a smaller hook (US G-6 / 4.0 mm). If it is smaller than 3¾ inches, switch to a larger hook (US I-9 / 5.5 mm).
Beginner Tips Before You Start
- Make one practice square first. Your very first granny square will be your roughest. Make it, measure it, then start the real nine. Nobody's first square is perfect and it does not matter.
- Use a stitch marker in your first stitch of each round. When you chain 3 at the beginning of a round, that chain counts as a stitch. Pop a marker into the top of it so you know exactly where to join at the end. This is the number-one beginner confusion.
- Do not pull your yarn tight. Keep a relaxed, even tension. If your square curls up like a taco, you are pulling too hard — loosen up and let the yarn flow.
- Count your corner spaces out loud. Every round of a granny square has exactly 4 corners. If you have 3 or 5, something went wrong — it is much easier to fix right away than three rounds later.
- Keep your tails long. Leave a 6 in (15 cm) tail every time you fasten off. Short tails slip out and your hard work unravels.
- Work in good light and take breaks. Crochet is repetitive; your hands and eyes will thank you.
Step-by-Step Instructions
Part 1: The Granny Squares (make 9 total)
Make 5 squares in Color A (pink) and 4 squares in Color B (blue). Each square is worked in the round from a center ring and is 3 rounds, approx. 4 x 4 in (10 x 10 cm).
Round 1: With your chosen color, ch 4; join with sl st to the first ch to form a ring. Ch 3 (this counts as your first dc), work 2 dc into the ring, [ch 2, 3 dc into ring] 3 times, ch 2; join with sl st to the top of the beg ch-3. (12 dc, 4 ch-2 corner sps)
Round 2: Sl st into each of the next 2 dc, and sl st into the first ch-2 corner sp. Ch 3 (counts as first dc), 2 dc in the same corner sp, ch 2, 3 dc in the same corner sp (first corner made), *ch 1, (3 dc, ch 2, 3 dc) in the next ch-2 corner sp; rep from * around, ch 1; join with sl st to the top of the beg ch-3. (24 dc, 4 corner sps, 4 ch-1 side sps)
Round 3: Sl st into each of the next 2 dc, and sl st into the first corner sp. Ch 3, 2 dc in the same corner sp, ch 2, 3 dc in the same corner sp, *ch 1, 3 dc in the next ch-1 sp, ch 1, (3 dc, ch 2, 3 dc) in the next corner sp; rep from * around, ch 1, 3 dc in the last ch-1 sp, ch 1; join with sl st to the top of the beg ch-3. Fasten off, leaving a 6 in (15 cm) tail for joining. (36 dc, 4 corner sps, 8 ch-1 sps)
Repeat Rounds 1–3 eight more times to make 9 squares total: 5 pink and 4 blue.
Part 2: Layout
Arrange your 9 squares in a 3 x 3 grid, alternating colors in a checkerboard. The center of the grid is left empty — that empty space becomes the neck hole.
- Row 1 (top): Pink – Blue – Pink
- Row 2 (middle): Blue – [NECK HOLE — empty] – Blue
- Row 3 (bottom): Pink – Blue – Pink
This uses 8 squares around the opening. The 9th square (pink) is your decorative "little cloud" accent, joined at the center front below the neck hole in Assembly Step 3.
Part 3: Assembly (seaming the squares)
Step 1: Lay out the 8 squares around the empty center as shown above. Using Color C (white) and holding the squares with right sides facing each other (the pretty sides touching), whipstitch or sl st-join the squares together along all touching edges. Join the three squares of Row 1 to each other, then the three squares of Row 3 to each other, then join Row 1 to Row 2 and Row 2 to Row 3 along the horizontal seams. Do not join across the center opening.
Step 2: Join the side edges of the left and right columns to close the poncho into a tube, leaving the top center opening as the neck hole. Try it on: the neck hole should measure approx. 9 in (23 cm) across and slip easily over the head.
Step 3: Take the 9th square (pink) and join its top edge to the bottom edge of the center-front neck opening so it hangs as a decorative square at the center front, pointing down. This is the "little cloud" accent square.
Step 4: Weave in all ends securely on the wrong side (see Finishing).
Part 4: Neck Edge
Round 1: With Color C (white), join yarn at any stitch on the neck opening edge. Ch 1, work sc evenly around the entire neck opening (approx. 48 sc), join with sl st to the first sc. (approx. 48 sc)
Round 2: Ch 1, sc in each sc around; join with sl st to the first sc. Fasten off and weave in ends. (approx. 48 sc)
Part 5: Lower Edge and Cloud Scallop Trim
Round 1: With Color C (white), join yarn at the lower hem edge. Ch 1, work sc evenly around the entire lower edge (approx. 96 sc), join with sl st to the first sc. (approx. 96 sc)
Round 2 (scallops): Ch 1, *skip 2 sc, work 5 dc in the next sc (shell made), skip 2 sc, sl st in the next sc; rep from * around the entire lower edge. When you reach the hanging center-front square, continue the scallop pattern around its three free edges (both sides and the point). Join with sl st to the first sc. Fasten off.
Round 3 (optional cloud puffs): With Color C, join yarn at any scallop shell. Ch 1, *sc in each of the 5 dc of the shell, ch 1; rep from * around. Join with sl st. Fasten off and weave in all ends.
Assembly and Finishing
Seaming: Thread your tapestry needle with Color C and work whipstitch along each seam: bring the needle up through the matching corner space on both squares, then back down through the next matching stitch pair, over and over, keeping your stitches small and even. Do not pull tight — the seam should lie flat and stretch with the fabric. Work one seam at a time and check the right side as you go.
Weaving in ends: Thread each tail onto the tapestry needle and run it back and forth through the wrong side of the fabric for about 2 inches, changing direction once so it cannot work loose. Trim close to the fabric. Never knot your ends — knots work their way out and create lumps.
Blocking: Lightly mist the finished poncho with water until damp but not soaking. Lay it flat on a towel or blocking mat and pin it to the finished measurements — approx. 30 in (76 cm) wide and 22 in (56 cm) long — using rust-proof pins at each corner point and along the scallops. Let it dry completely flat, away from direct heat. Do not iron — heat will flatten the stitch texture and can melt the linen blend. Once dry, remove the pins and trim any loose tails.
To wear: Simply slip the neck opening over your head. No fasteners required.
Pro Tips and Variations
- Change the colorway: Swap pink and blue for any two colors you love — mint and cream, lavender and butter yellow, or a single color for all 9 squares with white joining for a classic look. Keep Color C white or cream for the crispest scallops.
- Make it bigger or smaller: Add a 4th round to every square (each extra round adds approx. 1 in / 2.5 cm per side) for a roomier fit, or add an extra row of squares for a longer poncho. To make it smaller, use a smaller hook and check your gauge square.
- Substitute yarn: Any worsted-weight (Category 4) yarn works — cotton, acrylic, or a cotton-acrylic blend. Just crochet one gauge square first, since different fibers stretch and drape differently. Linen and cotton give the lightest, most breathable summer feel.
- Dress up the trim: Work Round 3 of the scallop trim in a contrasting color, or add a tiny picot (ch 3, sl st in the same stitch) at the tip of each shell for extra cloud-like texture.