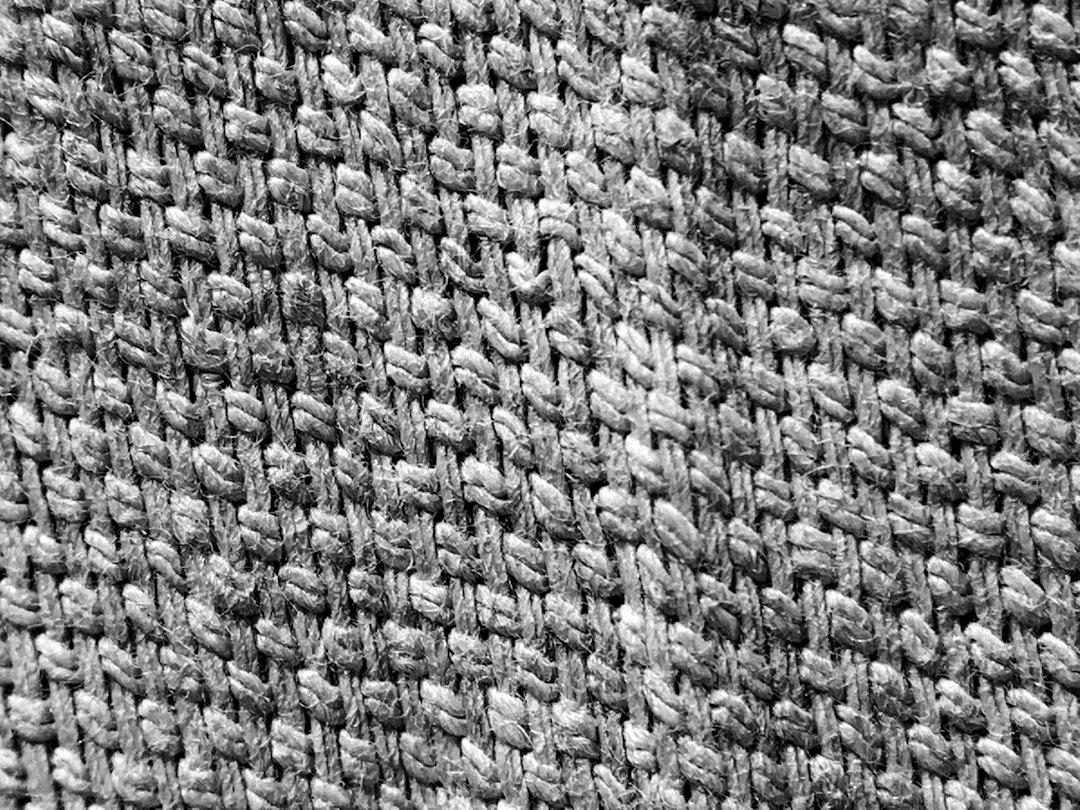
Seaside Serenity Scallop Spa Cloth Free Pattern – Textured Cotton Crochet
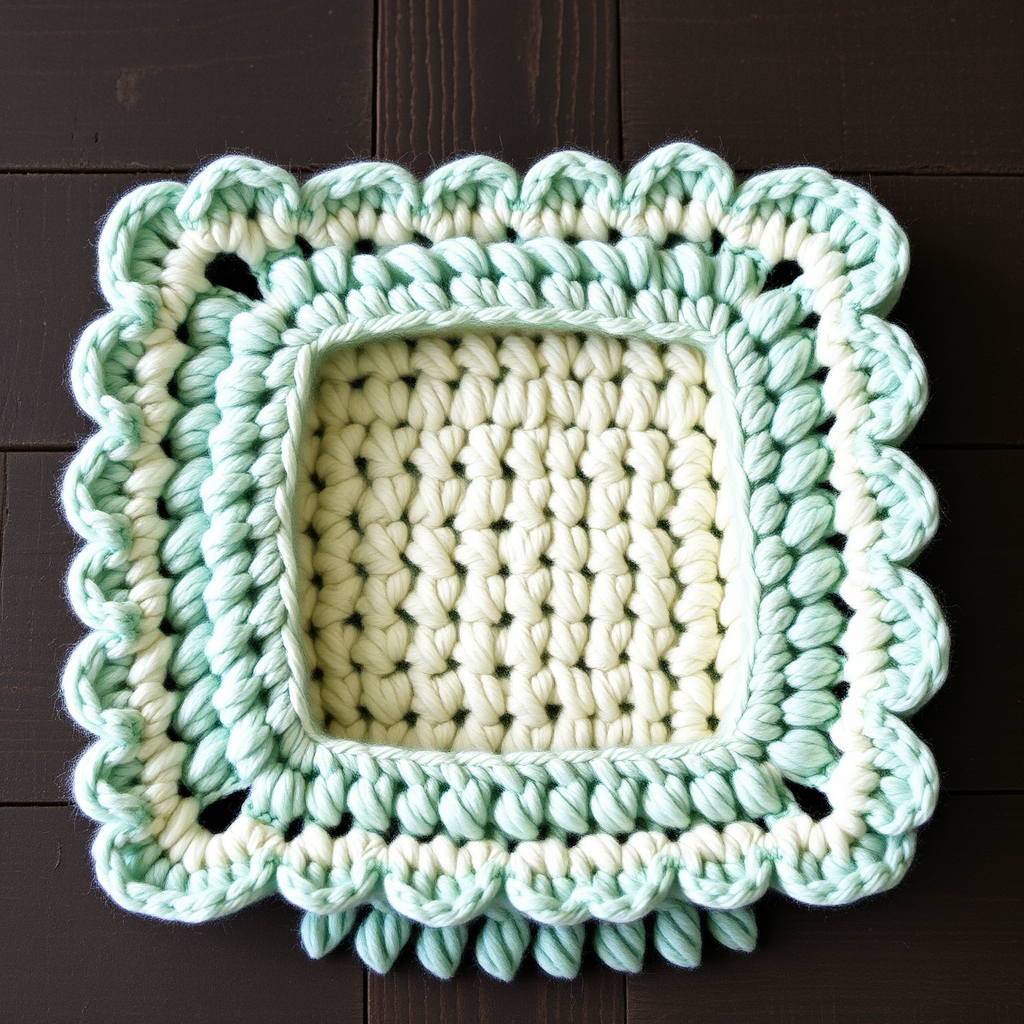
Seaside Serenity Scallop Spa Cloth: A Beginner-Friendly Crochet Pattern
Bring a touch of coastal calm to your daily routine with this beautifully textured scallop-edged spa cloth. The soft cotton yarn and gentle ridged pattern make it perfect for gentle exfoliation and luxurious self-care. Whether you're treating yourself or crafting a thoughtful handmade gift, this pattern is both relaxing to create and delightful to use. The subtle waffle-like texture and ocean-inspired scalloped border evoke the serenity of sea glass and gentle waves—a little piece of the shore for your bathroom or kitchen.
Materials Needed
Before you begin, gather the following supplies. This project is wonderfully portable and requires minimal materials, making it perfect for on-the-go crafting.
- Yarn: Lily Sugar'n Cream 100% Cotton Worsted Weight (or any worsted weight cotton yarn). You will need approximately 60g / 120 yards per cloth. Choose a soothing coastal palette like seafoam green, soft aqua, or creamy white to match the seaside theme.
- Crochet Hook: US Size G/6 (4.0mm) crochet hook.
- Other Tools: Yarn needle for weaving in ends, scissors, and a tape measure (optional, for checking gauge).
Gauge & Finished Size
- Gauge: 16 single crochet (sc) x 18 rows = 4" x 4" (10cm x 10cm) in pattern stitch (after blocking).
- Finished Size: Approximately 8" x 8" (20cm x 20cm) after blocking.
Step-by-Step Instructions
This pattern uses basic crochet stitches and a few special stitches that are easy to master. Follow along carefully, and you'll have a beautiful spa cloth in no time.
Special Stitches
- Sc2tog (single crochet two together): Insert hook in next stitch, yarn over, pull up a loop (2 loops on hook). Insert hook in next stitch, yarn over, pull up a loop (3 loops on hook). Yarn over, pull through all 3 loops on hook. This decreases your stitch count by one.
- Sc3tog (single crochet three together): Work as sc2tog but over three stitches. Insert hook in next stitch, yarn over, pull up loop (2 loops). Repeat in next two stitches (4 loops on hook). Yarn over, pull through all 4 loops on hook. This decreases by two stitches.
- Picot: Chain 3, slip stitch in the top of the single crochet just made (or in the 3rd chain from the hook). This creates a small decorative bump.
Foundation & Main Body
Foundation: Chain 36 loosely.
Row 1: Single crochet (sc) in the 2nd chain from the hook and in each chain across. Turn. (You will have 35 sc).
Row 2 (Pattern Row A): Chain 1, sc in the first stitch. *Skip 1 stitch, sc2tog over the next 2 stitches, chain 1, sc2tog over the next 2 stitches, skip 1 stitch, sc in the next stitch.* Repeat from * to * across. Turn. (You will have 7 groups of sc2tog pairs, with sc between them, and 1 sc at each end).
Row 3 (Pattern Row B): Chain 1, sc in the first stitch. *Sc in the next chain-1 space, sc in the next stitch, sc in the next stitch, sc in the next chain-1 space, sc in the next stitch.* Repeat from * to * across, ending with a sc in the last stitch. Turn. (You will have 35 sc).
Row 4: Repeat Row 2.
Row 5: Repeat Row 3.
Rows 6-25: Continue repeating Rows 2 and 3 alternately (i.e., Row 6 = Row 2, Row 7 = Row 3, etc.) until you have a total of 25 rows. The fabric will develop a beautiful vertical ridged texture.
Shaping the Top (Decrease Rows)
Now we will shape the top of the cloth to create a gentle curve before adding the edging.
Row 26 (Decrease Row): Chain 1, sc in the first stitch. *Sc2tog, sc in the next 2 stitches.* Repeat from * to * across, ending with sc2tog, sc in the last stitch. Turn. (You will have 26 stitches).
Row 27: Chain 1, sc in each stitch across. Turn. (26 sc).
Row 28 (Decrease Row): Chain 1, sc in the first stitch. *Sc2tog, sc in the next stitch.* Repeat from * to * across, ending with sc2tog. Turn. (You will have 18 stitches).
Row 29: Chain 1, sc in each stitch across. Turn. (18 sc).
Row 30 (Decrease Row): Chain 1, sc in the first stitch. *Sc2tog.* Repeat from * to * across, ending with sc in the last stitch. Turn. (You will have 10 stitches).
Row 31: Chain 1, sc in each stitch across. Turn. (10 sc).
Row 32 (Decrease Row): Chain 1, sc2tog across. (You will have 5 stitches). Do not turn.
Edging (Worked in the Round)
Now we will work a border around the entire cloth to neaten the edges and prepare for the scallop trim.
Do not fasten off. Chain 1, work 2 sc in the corner of the last row. Then, work sc evenly along the side edge (approximately 1 sc per row, so about 32 sc). Work 2 sc in the bottom corner. Then, sc in each foundation chain across (35 sc). Work 2 sc in the next corner. Sc evenly along the other side edge (32 sc). Work 2 sc in the corner, then sc in each stitch across the top (5 sc). Join with a slip stitch to the first sc. (You will have approximately 110 sc total).
Scallop Edging Round
This final round creates the beautiful, ocean-inspired scalloped border.
Chain 1. *Sc in the next stitch, skip 1 stitch, 5 double crochet (dc) in the next stitch, skip 1 stitch.* Repeat from * to * around the entire edge. Adjust slightly at the corners to keep the cloth flat (you may need to work 2 sc in the corner stitches as needed). Join with a slip stitch to the first sc. Fasten off and weave in all ends securely.
Finishing Touches
Block the cloth gently to even out the stitches and enhance the scallop shape. To block, wet the cloth with lukewarm water, gently squeeze out excess (do not wring), and lay flat on a towel. Shape it to the correct dimensions and allow it to dry completely. This step helps the texture shine and the scallops lay beautifully.
Your Seaside Serenity Scallop Spa Cloth is now complete! These make wonderful gifts for housewarmings, hostesses, or as a special treat for yourself. The soft cotton and textured ridges are perfect for gentle exfoliation, and the beautiful design adds a spa-like touch to any bathroom or kitchen.