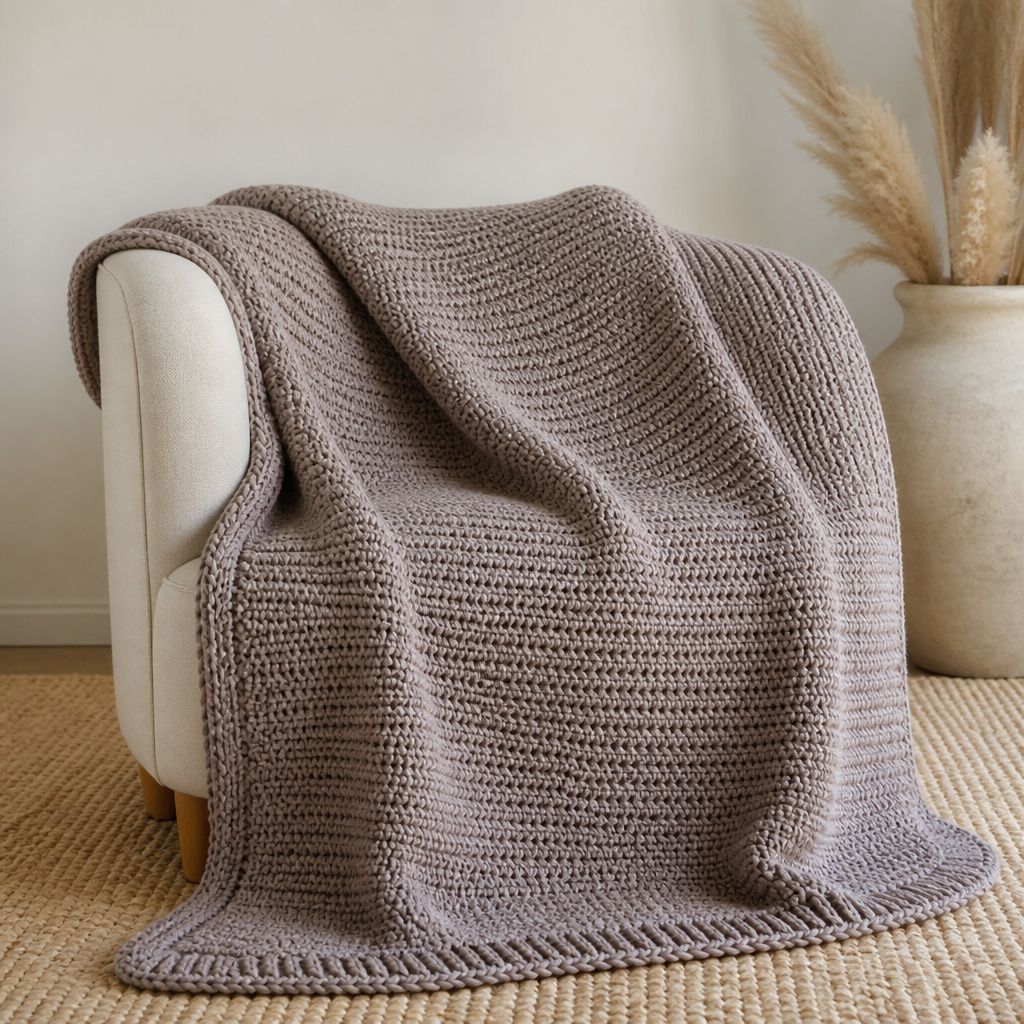
Seafoam Lattice Beach Cover Up Free Pattern – Crochet a Breezy Ocean Wrap

Seafoam Lattice Beach Cover Up Free Pattern – Crochet a Breezy Ocean Wrap
Dive into summer with this airy, open-stitch crochet cover up that drapes effortlessly over your swimsuit. The textured lattice pattern evokes sun-drenched waves and seaside breezes, making it the perfect layering piece for beach days and poolside lounging. This beginner-friendly pattern is worked top-down in one piece, then seamed at the sides, leaving openings for armholes. It features a simple V-neck and a flowing, A-line silhouette that flatters every body type.
Whether you're strolling along the shore or sipping a cool drink by the pool, this handmade cover up will keep you stylish and comfortable all summer long. The open lattice stitch allows for breathability while providing just enough coverage, and the soft seafoam green color is reminiscent of clear ocean waters. Best of all, this free pattern is simple enough for beginners yet produces a stunning, professional-looking result.
Materials Needed
Before you begin, gather the following supplies to ensure a smooth crochet experience:
- Yarn: Worsted weight cotton or cotton-blend yarn (e.g., Lion Brand 24/7 Cotton) in seafoam green, approximately 600-700 yards. Cotton yarn is ideal for beach wear as it is breathable, absorbent, and holds its shape well even when wet.
- Crochet Hook: 5.5 mm (I-9) crochet hook. This hook size works perfectly with worsted weight yarn to create the open, drapey fabric needed for a cover up.
- Other Tools: Yarn needle for weaving in ends, scissors, and stitch markers (optional but helpful for keeping track of sections).
Gauge: 14 dc x 8 rows = 4 inches in pattern stitch (after blocking). Be sure to check your gauge before starting to ensure your cover up fits as intended. If your gauge is off, adjust your hook size accordingly.
Step-by-Step Instructions
This cover up is worked top-down in one piece, then seamed at the sides, leaving openings for armholes. It features a simple V-neck and a flowing, A-line silhouette. Follow these detailed instructions carefully, and you'll have a beautiful beach cover up in no time.
Abbreviations
ch = chain, dc = double crochet, sc = single crochet, sk = skip, st = stitch, sp = space, sl st = slip stitch, rep = repeat, RS = right side, WS = wrong side.
Special Stitch – Lattice Stitch (worked over a multiple of 4 + 2)
This pattern uses a simple yet beautiful lattice stitch that creates a grid of diamond-shaped holes. Once you master this stitch, the rest of the pattern will flow easily.
Row 1 (RS): dc in 4th ch from hook, *ch 1, sk 1 ch, dc in next ch; rep from * across, turn.
Row 2: ch 3 (counts as dc), dc in next dc, *ch 1, sk ch-1 sp, dc in next dc; rep from * across, turn.
Rep Row 2 for pattern. The ch-3 at the beginning of each row counts as your first dc, so be sure to work your next dc into the second dc of the previous row.
Foundation
Ch 92 (or any multiple of 4 + 2 to fit your bust measurement, allowing for positive ease). For a looser, more oversized fit, you can add 4 stitches at a time. For a more fitted look, subtract 4 stitches. Remember that this cover up is meant to drape loosely over your swimsuit, so don't be afraid to go a bit larger.
Body of the Cover Up
Row 1 (RS): Work Lattice Stitch Row 1 across. (You will have 23 dc and 22 ch-1 sps)
Row 2: Work Lattice Stitch Row 2 across.
Continue in Lattice Stitch until piece measures 12 inches from foundation, ending with a WS row. This will form the main body of the cover up before you begin shaping the neckline.
Shape Neckline (V-neck)
Now we'll divide the work to create the V-neck opening. This section requires careful attention to ensure both fronts are symmetrical.
Next Row (RS): Work in pattern across first 30 sts (including ch-1 sps), ch 1, turn. Leave remaining sts unworked. These 30 stitches will form the right front of your cover up.
Right Front
Row 1 (WS): Work in pattern across 30 sts, turn.
Row 2 (RS): Work in pattern to last 2 sts, sk 1 st, dc in last st (decrease 1 st). Turn. This decrease creates the angle of the V-neck.
Rep Rows 1-2 until 18 sts remain. This will take approximately 12 decrease rows. Work even until armhole measures 8 inches from underarm, ending with a WS row. Fasten off.
Left Front
Return to unworked sts. With RS facing, join yarn at center neck edge (the side closest to the neckline). This is the opposite side from where you finished the right front.
Row 1 (RS): Work in pattern across 30 sts, turn.
Row 2 (WS): Work in pattern to last 2 sts, sk 1 st, dc in last st (decrease 1 st). Turn.
Rep Rows 1-2 until 18 sts remain. Work even until armhole measures 8 inches from underarm, ending with a WS row. Fasten off.
Back
Return to the remaining unworked sts (the center section). With RS facing, join yarn at the right side of the back section. This should be the side closest to where the right front was worked.
Row 1 (RS): Work in pattern across all back sts (32 sts), turn.
Work even in pattern until back measures same length as fronts (8 inches from underarm). Fasten off.
Seaming
With WS together, sew side seams from underarm to bottom edge, leaving 8 inches open at the top for armholes. Use a yarn needle and matching yarn to create a neat, invisible seam. Weave in all ends carefully to ensure your cover up is durable and long-lasting.
Edging
Adding a neat edging gives your cover up a professional finish and helps prevent stretching. Follow these steps for each edge.
Bottom Edge
Round 1: With RS facing, join yarn at bottom corner. Work sc evenly around entire bottom edge, working 3 sc in each corner. Join with sl st to first sc.
Round 2: Ch 1, sc in each sc around, join. Fasten off.
Neckline Edging
Round 1: With RS facing, join yarn at one shoulder seam. Work sc evenly around neckline, working 3 sc at the V point. This ensures the V-neck lays flat and doesn't pucker. Join.
Round 2: Ch 1, sc in each sc around, join. Fasten off.
Armhole Edging
Round 1: With RS facing, join yarn at underarm. Work sc evenly around armhole opening. Join.
Round 2: Ch 1, sc in each sc around, join. Fasten off.
Finishing
Block to measurements, gently stretching to open up the lattice pattern. Allow to dry completely. Blocking is essential for this pattern as it opens up the stitches and gives the cover up its beautiful drape. Lay flat on a towel, pin to the desired measurements, and let it air dry completely before wearing.
Your Seafoam Lattice Beach Cover Up is now complete! Slip it on over your favorite swimsuit and head to the beach in style. The open lattice stitch will keep you cool while providing just the right amount of coverage, and the soft seafoam green color will complement any summer tan. This pattern is perfect for gifting too – make one for a friend or loved one and share the joy of handmade summer fashion.
Happy crocheting, and enjoy your beautiful new beach essential! Remember, practice makes perfect – if this is your first cover up, don't be discouraged if it takes a little time. The result will be worth every stitch.