Meadow Breeze Lace Shawl Free Pattern – Crochet a Flowing Floral Wrap

Wrap Yourself in Spring: The Meadow Breeze Lace Shawl
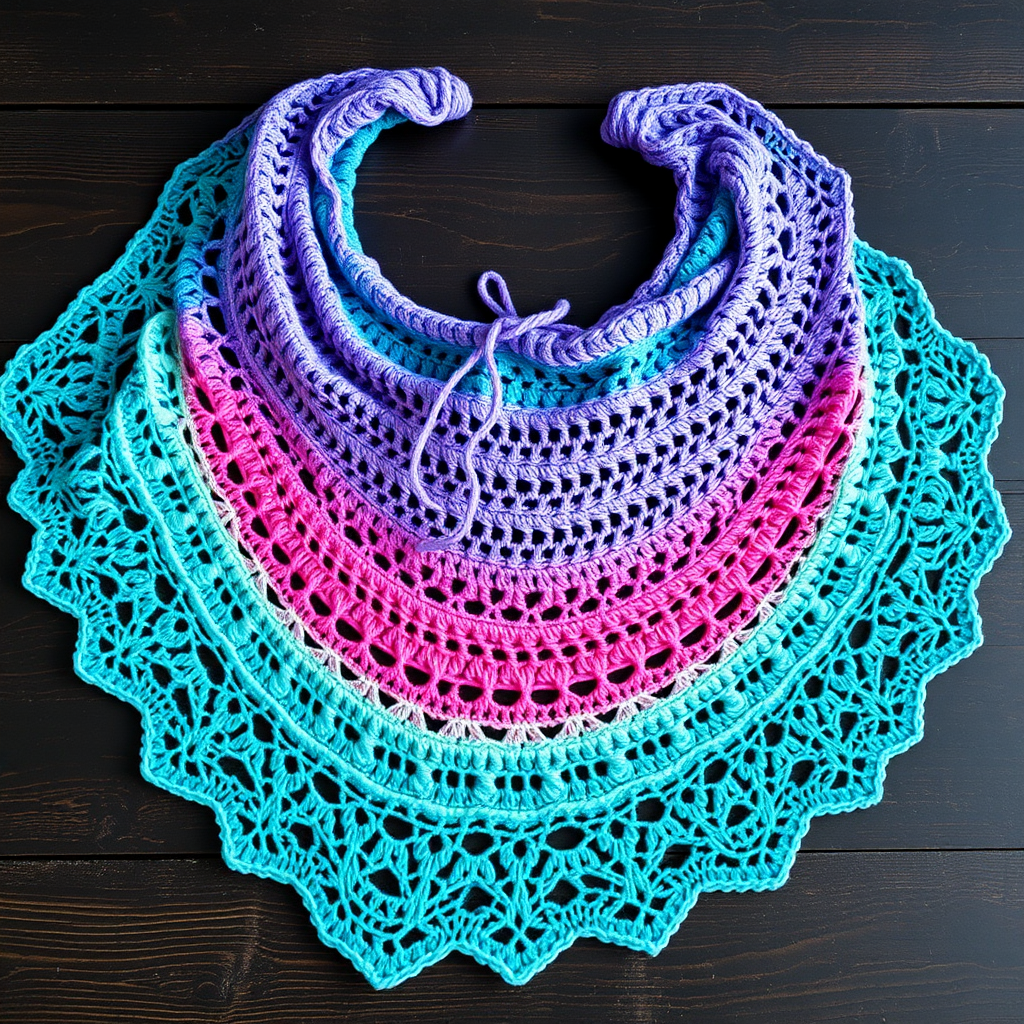
Imagine a garment that captures the gentle transition of a meadow at dawn—soft sage green melting into blush pink, finally settling into cream white. That's the magic of the Meadow Breeze Lace Shawl. This free crochet pattern is designed for those who love delicate, floral-inspired textures but want a project that's surprisingly achievable. The airy lace and flowing drape make it the perfect companion for breezy spring evenings or cool summer nights. Whether you're a seasoned crocheter or a confident beginner ready for a new challenge, this shawl is a rewarding project that results in a romantic, ethereal wrap you'll treasure.
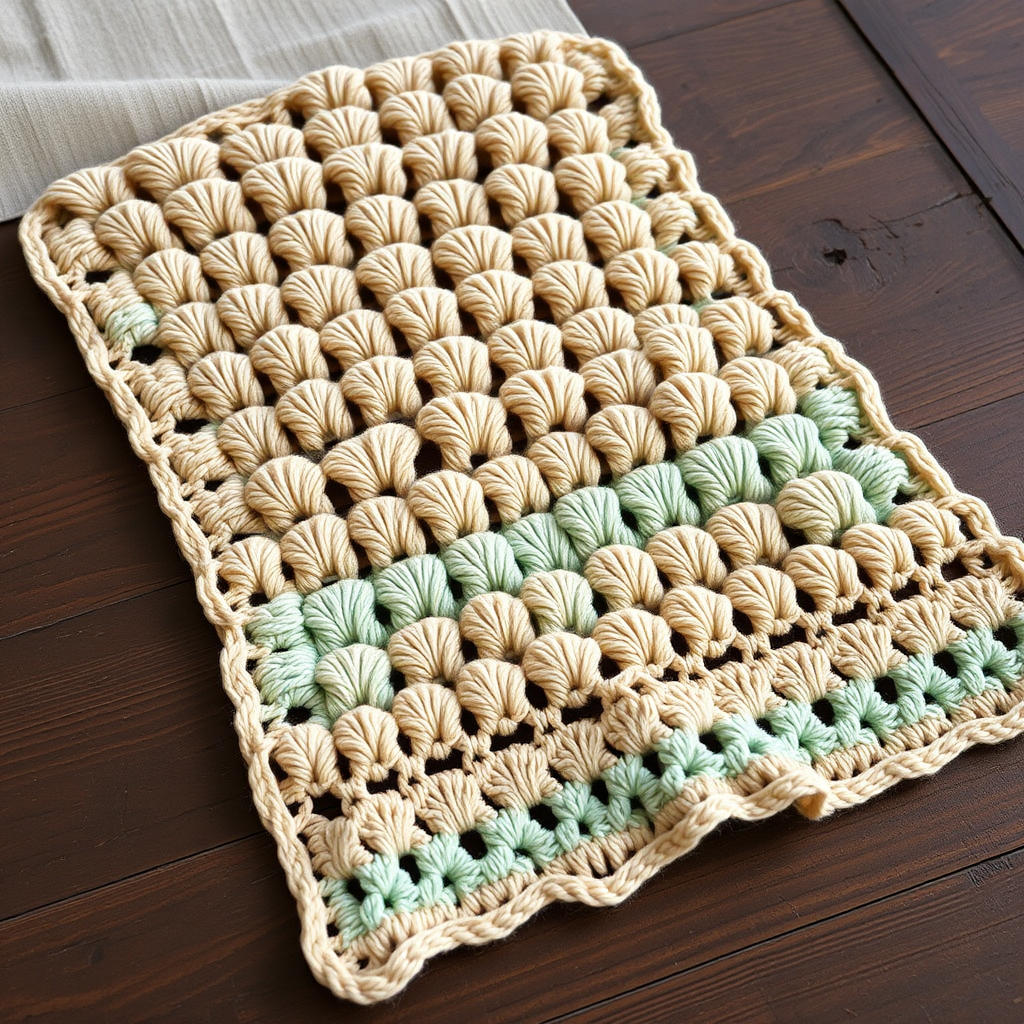
This pattern is worked from the top center down, gradually increasing to form a beautiful triangular shape. The repeating shell motif creates a floral-like texture that is both open and elegant. Let's gather our materials and begin this journey into a blooming meadow of yarn.
Materials Needed
Before you begin, ensure you have the following supplies. The quality of your yarn will greatly affect the drape and feel of your finished shawl.
- Yarn: Fingering weight yarn in 3 colors (approx 600g total):
- Color A: Soft Sage Green (for the top)
- Color B: Blush Pink (for the middle)
- Color C: Cream White (for the bottom and edging)
- Crochet Hook: 4.0 mm (G/6) crochet hook
- Other: Yarn needle for weaving in ends, scissors, and blocking pins (for the final step).
Gauge: 4 repeats of the shell pattern (approx 10 cm) x 8 rows = 10 cm x 10 cm. While gauge is important for size, this shawl is forgiving. A looser gauge will create a drapier fabric, while a tighter gauge will be more structured.
Step-by-Step Instructions
This pattern uses basic stitches: chain (ch), single crochet (sc), double crochet (dc), and treble crochet (tr). The shawl is worked from the top center down, increasing gradually to form a triangular shape. Follow these detailed instructions carefully, and you'll see your shawl take shape row by row.
Foundation & First Rows
Foundation: With Color A, ch 4, join with a sl st to form a ring.
Row 1: Ch 3 (counts as dc), 2 dc in ring, ch 2, 3 dc in ring, ch 1, turn. (You now have a small triangle with a ch-2 space at the center point.)
Row 2:
- Ch 3 (counts as dc), 2 dc in the first st (this is your edge increase).
- Ch 1, skip the next st.
- Work (3 dc, ch 2, 3 dc) in the ch-2 space from the previous row. This is your corner.
- Ch 1, skip the next st.
- Work 3 dc in the last st (the top of the ch-3 from the previous row).
- Ch 1, turn.
Row 3:
- Ch 3, 2 dc in the first st.
- Ch 1, skip next st, 3 dc in the next ch-1 space.
- Ch 1, skip next st, work (3 dc, ch 2, 3 dc) in the corner ch-2 space.
- Ch 1, skip next st, 3 dc in the next ch-1 space.
- Ch 1, skip next st, 3 dc in the last st.
- Ch 1, turn.
Continuing the Pattern
You will now repeat Row 3, adding one more shell (a 3 dc group) on each side of the corner every row. Here is the rhythm to follow:
- Edge: Always start with Ch 3, 2 dc in the first st. Always end with 3 dc in the last st.
- Body: Work ch 1, skip next st, 3 dc in the next ch-1 space. Repeat this across the row until you reach the corner.
- Corner: Always work (3 dc, ch 2, 3 dc) in the corner ch-2 space.
- Between shells: Always work ch 1 between each shell and at the edges.
Continue this pattern, increasing one shell on each side of the corner, until the shawl measures approximately 40 cm from the top center point. Don't worry if it seems to grow slowly at first—the increases will make it expand rapidly as you go.
Color Transitions
Once your shawl reaches the desired length, it's time to introduce the ombre effect. You'll be switching colors at the start of a new row.
- Switch to Color B: At the start of a new row, fasten off Color A and join Color B. Work 4 rows with Color B.
- Switch to Color C: At the start of the next row, fasten off Color B and join Color C. Work 4 rows with Color C.
- Back to Color B: Switch back to Color B and work 4 rows.
- Final Color A: Switch back to Color A and work the last 4 rows.
Tip: You can easily adjust the number of rows for each color block to create thicker or thinner stripes, or even create a more gradual gradient by alternating colors every 2 rows.
Edging
With the main body complete, we'll add a beautiful scalloped edge to finish the shawl. Fasten off Color A and join Color C at any point along the bottom edge.
- Scallop Pattern: *Work sc in the next ch-1 space, ch 3, 3 dc in the same space. Skip the next shell (the 3 dc group). Repeat from * across the entire bottom edge.
- Corners: When you reach the corner ch-2 spaces, work 5 dc in the corner space instead of 3 to create a more pronounced point.
- Finish: When you reach the end, join with a sl st to the first sc. Fasten off and weave in all loose ends with your yarn needle.
Blocking: The Final Touch
Blocking is essential for lace patterns—it opens up the stitches and gives the shawl its beautiful drape and definition.
- Soak the shawl in lukewarm water with a mild detergent for about 15-20 minutes.
- Gently squeeze out the excess water. Do not wring or twist.
- Lay the shawl flat on a clean towel and roll it up to remove more water.
- Place the shawl on a blocking mat or a dry towel. Pin out the points along the edges, especially the scalloped bottom and the top corners, to open up the lace pattern.
- Allow it to dry completely before unpinning.
Once dry, your Meadow Breeze Lace Shawl is ready to wear. Drape it over your shoulders for a touch of ethereal elegance. The soft color transitions and floral texture make it a timeless piece you'll reach for season after season. Happy crocheting!