Baby Layette Knitting Patterns
Hibiscus Blossom Baby Layette Set Free Pattern
Anonymous
•
July 18, 2026
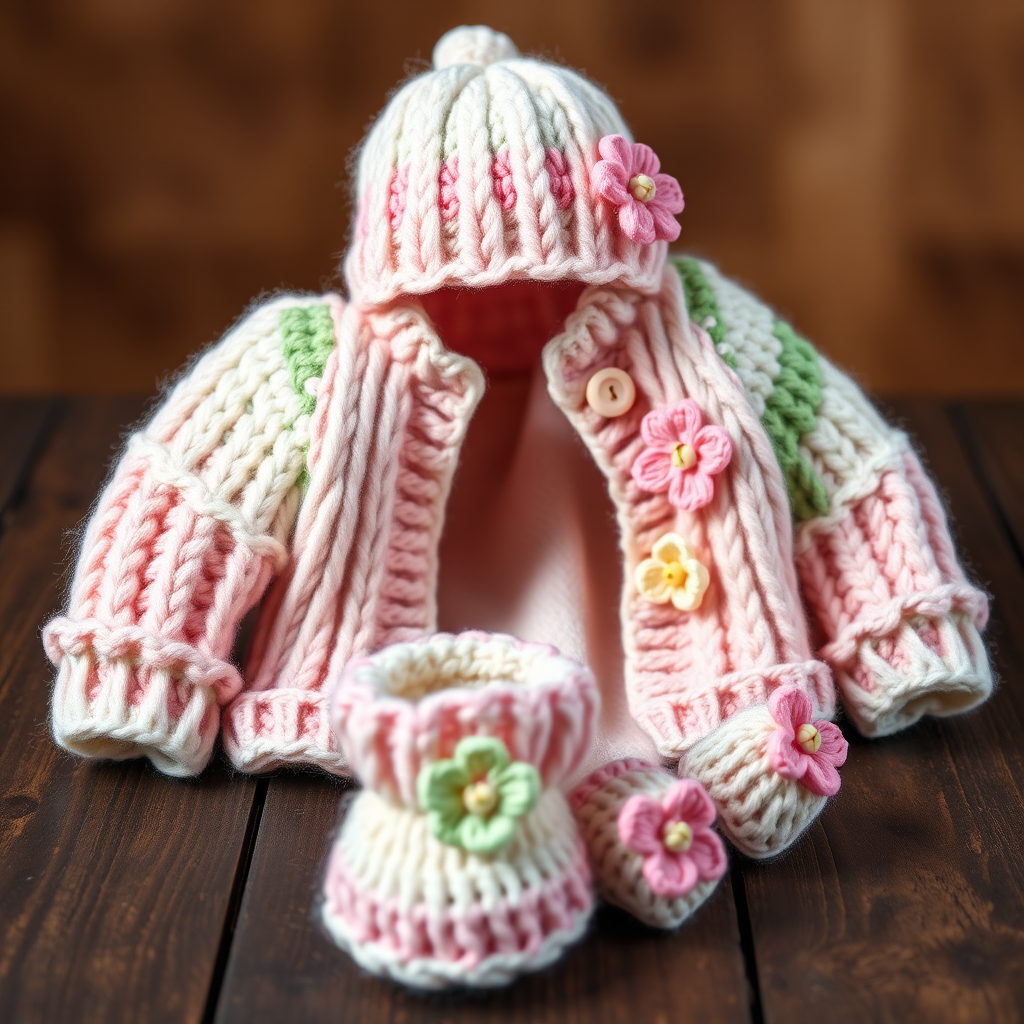
Hibiscus Blossom Baby Layette Set Free Pattern
Introduction
Wrap your little one in the warmth of a tropical garden with this Hibiscus Blossom Baby Layette Set. Featuring intricate floral motifs and soft pastel hues, this set is perfect for welcoming a new arrival. This pattern includes a cozy cardigan, a snug hat, and adorable booties, all designed to keep your baby comfortable and stylish.
Materials Needed
- DK weight cotton yarn in pastel pink, green, and white
- US 6 (4mm) knitting needles
- Yarn needle for weaving in ends
- Scissors
Step-by-Step Instructions
Cardigan
- Cast on 60 stitches using the pastel pink yarn.
- Work in garter stitch (knit every row) for 6 rows to create the bottom hem.
- Switch to stockinette stitch (knit one row, purl the next) and continue knitting until the piece measures 6 inches from the cast-on edge.
- To shape the armholes, bind off 3 stitches at the beginning of the next 2 rows.
- Continue in stockinette stitch until the armholes measure 4 inches from the bound-off edge.
- Bind off all stitches to finish the body of the cardigan.
- Pick up stitches along the front edges of the cardigan and knit 6 rows in garter stitch to create the button bands.
- Sew the shoulder seams together and attach the sleeves (you can knit sleeves separately if desired).
- Embroider hibiscus flowers using duplicate stitch in green and white yarn on the front panels of the cardigan.
Hat
- Cast on 64 stitches using the pastel pink yarn.
- Work in k2, p2 ribbing for 1 inch to create a stretchy brim.
- Switch to stockinette stitch and knit until the hat measures 5 inches from the cast-on edge.
- Begin crown shaping by knitting 6 stitches, then knitting 2 together (k2tog) around the row.
- Knit 1 row without any decreases.
- Continue decreasing every other row until 8 stitches remain on the needle.
- Cut the yarn, thread it through the remaining stitches, and pull tight to close the top of the hat.
- Embroider a small hibiscus flower on the side of the hat using the green and white yarn.
Booties
- Cast on 32 stitches using the pastel pink yarn.
- Work in garter stitch for 10 rows to create the base of the booties.
- Switch to stockinette stitch and knit until the foot measures 3 inches from the cast-on edge.
- Begin toe shaping by knitting 2 together (k2tog) across the row.
- Cut the yarn, thread it through the remaining stitches, and pull tight to close the toe of the booties.
- Sew the back seam of the booties together to finish the shape.
- Attach a small knitted hibiscus flower to the toe of each bootie for a charming detail.
With these detailed instructions, you can create a beautiful Hibiscus Blossom Baby Layette Set that will be cherished for years to come. Happy knitting!


