Heartfelt Honeycomb Cocoon Cardi Free Pattern – Knit a Cozy Valentine's Wrap

Heartfelt Honeycomb Cocoon Cardi Free Pattern – Knit a Cozy Valentine's Wrap
Wrap yourself in a cloud of love with this textured honeycomb cocoon cardigan, designed to feel like a warm hug on Valentine's Day. The rich blush and cream palette creates a romantic, modern look that's perfect for cozy evenings. This free knitting pattern is beginner-friendly, uses simple knit, purl, and slipped stitches, and results in a stunning, oversized wrap-style cardigan that falls just below the hips. Whether you're knitting for yourself or as a heartfelt handmade gift, this cocoon cardi is a labor of love you'll want to wear all season long.
Materials Needed
Before you begin, gather the following supplies. All materials are readily available at your local yarn shop or online.
- Yarn: Worsted weight yarn in blush pink (MC) and cream (CC). You'll need approximately 800g of the main color (blush) and 300g of the contrasting color (cream).
- Needles: US 9 (5.5mm) circular knitting needles with a 32-inch cable. The long cable is essential for holding the wide panels comfortably.
- Notions: Stitch markers (optional), tapestry needle for weaving in ends, and a measuring tape.
- Gauge: 16 stitches and 22 rows = 4 inches in honeycomb pattern. Always knit a gauge swatch to ensure your finished cardigan matches the intended size.
Step-by-Step Instructions
This cocoon cardi is knit flat in one piece from the bottom up, then seamed at the shoulders and sleeves. The honeycomb pattern is created with simple knits, purls, and slipped stitches. Follow along carefully, and you'll have a beautiful, textured wrap in no time.
Honeycomb Pattern (Multiple of 6 + 2)
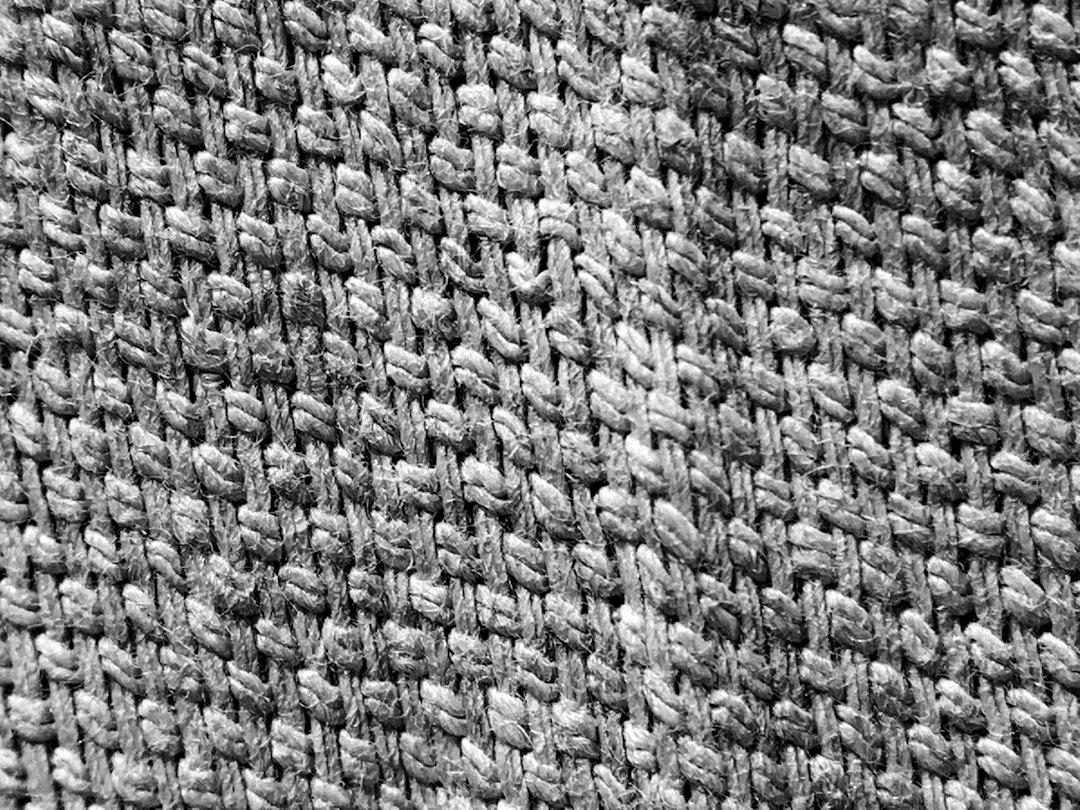
This is the core stitch pattern used throughout the cardigan. It creates a dimensional, honeycomb-like texture. Work the following 8 rows, then repeat them for the entire project.
- Row 1 (RS): *K2, P1, K1, P2; repeat from * to last 2 sts, K2.
- Row 2 (WS): *P2, K1, P1, K2; repeat from * to last 2 sts, P2.
- Row 3: *K1, P1, K2, P1, K1; repeat from * to last 2 sts, K2.
- Row 4: *P1, K1, P2, K1, P1; repeat from * to last 2 sts, P2.
- Row 5: *K2, P1, K1, P2; repeat from * to last 2 sts, K2.
- Row 6: *P2, K1, P1, K2; repeat from * to last 2 sts, P2.
- Row 7: *K1, P1, K2, P1, K1; repeat from * to last 2 sts, K2.
- Row 8: *P1, K1, P2, K1, P1; repeat from * to last 2 sts, P2.
Repeat Rows 1-8 for the entire pattern.
Back Panel
With your main color (MC) yarn, cast on 98 stitches. Work in the honeycomb pattern for 20 inches, ending with a wrong-side row. Bind off loosely. This panel forms the back of the cardigan.
Front Panels (Make 2)
With MC yarn, cast on 50 stitches for each front panel. Work in the honeycomb pattern for 20 inches, ending with a wrong-side row. Bind off loosely. These two panels will overlap at the front to create the cocoon wrap effect.
Sleeves (Make 2)
With MC yarn, cast on 44 stitches. Work in the honeycomb pattern, increasing 1 stitch at each end every 6 rows until you have 60 stitches. To increase, simply knit into the front and back of the first and last stitch on the increase rows. Continue straight (without increases) until the sleeve measures 18 inches from the cast-on edge. Bind off loosely.
Assembly
Now it's time to sew your pieces together. Use a tapestry needle and matching yarn for a seamless finish.
- Sew shoulder seams: Place the two front panels on top of the back panel, aligning the top edges. Sew 6 inches from each outer edge, leaving the center 12 inches open for the neckline. This creates the shoulder and neck opening.
- Set in sleeves: Sew the sleeves to the armhole openings, matching the center of the sleeve to the shoulder seam. The sleeves are designed to be wide and batwing-style, so they'll attach along the outer edges of the front and back panels.
- Sew side seams: From the underarm, sew down the side seams to the bottom edge of the cardigan. This closes the body and completes the cocoon shape.
Edging
With your contrasting color (CC) yarn, pick up and knit 1 stitch for every 2 rows along the entire front opening and bottom edge. This includes the front panels, the bottom of the back panel, and the neckline. Work in garter stitch (knit every row) for 4 rows. Bind off knitwise. This cream edging frames the cardigan beautifully and adds a crisp, romantic contrast.
Finishing
Weave in all loose ends with your tapestry needle. Block the cardigan gently to shape—this helps even out the honeycomb texture and ensures a professional finish. Optionally, add a decorative button and loop closure at the top of the front panels for a secure, polished look.
Your Heartfelt Honeycomb Cocoon Cardi is complete! Slip it on, grab a cup of tea, and enjoy the cozy, romantic warmth of your handmade creation. Happy knitting!