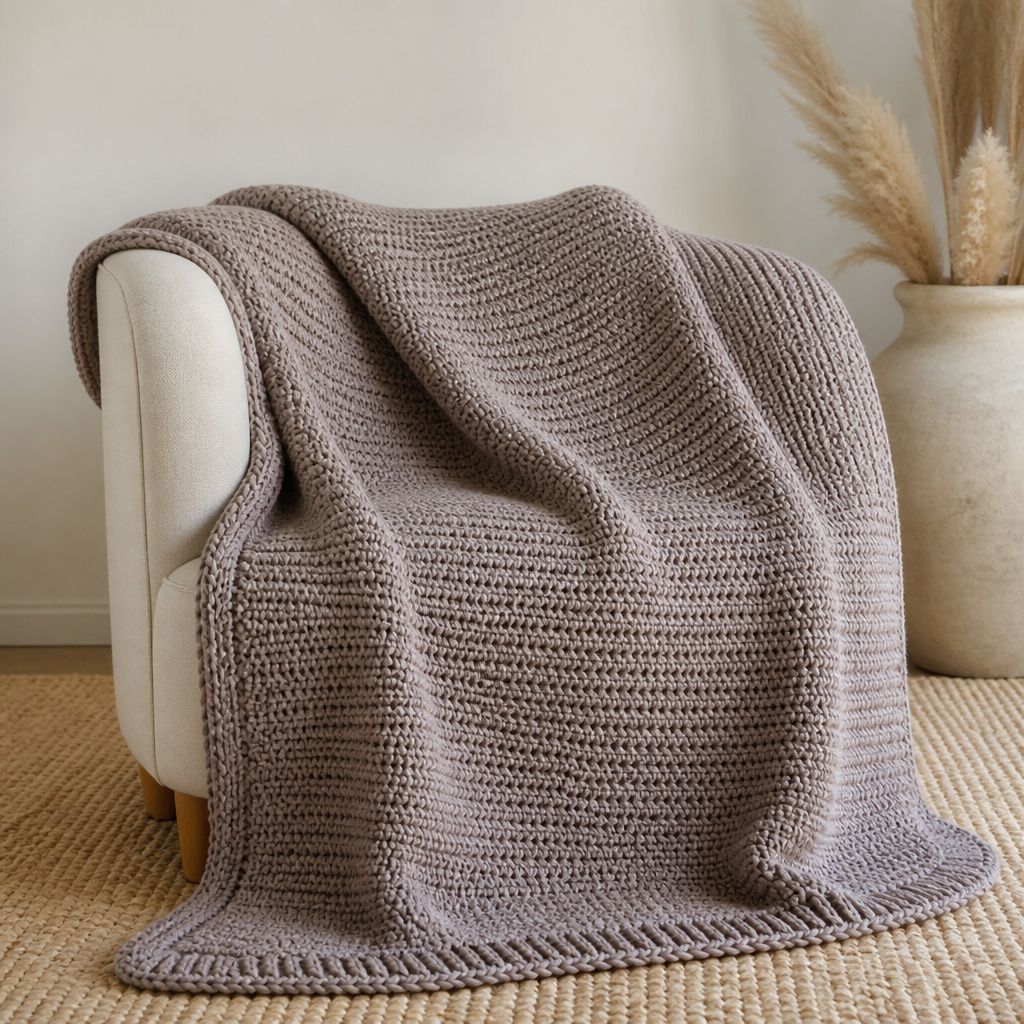
Harvest Moon Acorn Garland Free Crochet Pattern – Cozy Fall Mantel Decor

Harvest Moon Acorn Garland Free Crochet Pattern – Cozy Fall Mantel Decor
As the leaves begin to turn and the air carries that familiar crispness, there's nothing quite like adding a handcrafted touch to your Thanksgiving decor. This Harvest Moon Acorn Garland is the perfect weekend project for crocheters of all skill levels—even beginners will find it wonderfully approachable. Each plump, textured acorn is quick to work up, and when strung together in warm autumn hues, they create a woodland-inspired garland that brings rustic charm to any mantel, shelf, or doorway. Whether you're an experienced maker or just picking up a hook for the first time, this pattern will guide you through creating a piece that celebrates the season's cozy, harvest-time beauty.
What makes this garland so special is its versatility. You can mix and match colors to suit your existing decor, make as many acorns as you'd like, and even add small crocheted leaves for extra detail. The finished piece drapes elegantly, casting gentle shadows and evoking the warmth of a harvest table set with pumpkins and flickering candles. Let's dive into this delightful project that's sure to become a cherished part of your fall traditions.
Materials Needed
Before you begin, gather the following supplies. This project is wonderfully portable and requires minimal materials, making it perfect for crafting on the go or while enjoying a cozy evening at home.
Yarn
- Worsted weight cotton or acrylic yarn in warm brown, burnt orange, mustard yellow, and cream (approximately 50g of each color). Choose a soft, matte yarn for that cozy, inviting texture that makes the garland so appealing.
Hook and Notions
- 3.5mm (E) crochet hook – This size works beautifully with worsted weight yarn to create a tight, firm fabric.
- Yarn needle for weaving in ends and sewing pieces together
- Fiberfill stuffing for plumping up the acorn nuts
- Scissors
- Jute twine or sturdy yarn for stringing the garland (approximately 6 feet for a mantel-length garland)
Gauge
Gauge is not critical for this project; however, aim for a tight tension to prevent the stuffing from showing through. The finished acorn cap should measure approximately 2 inches in diameter. If your tension is looser, simply use a slightly smaller hook to achieve a firm fabric.
Step-by-Step Instructions
This garland consists of multiple acorn pieces (cap and nut) that are crocheted separately, stuffed, and then joined with a chain. The pattern below is for one complete acorn. Repeat for each acorn, varying colors as you like to create a beautiful, cohesive garland.
Acorn Nut (Make 1 per Acorn)
Round 1: With your chosen nut color (e.g., warm brown), make a magic ring. Work 6 single crochet (sc) into the ring. Pull the ring closed tightly. (6 stitches)
Round 2: Work 2 sc in each stitch around. (12 stitches)
Round 3: *Sc in the next stitch, 2 sc in the next stitch* – repeat from * to * around. (18 stitches)
Round 4: *Sc in the next 2 stitches, 2 sc in the next stitch* – repeat from * to * around. (24 stitches)
Rounds 5-7: Sc in each stitch around. (24 stitches) – This creates the smooth, slightly oval body of the acorn nut.
Round 8: *Sc in the next 2 stitches, sc2tog (single crochet 2 together)* – repeat from * to * around. (18 stitches)
Round 9: *Sc in the next stitch, sc2tog* – repeat from * to * around. (12 stitches)
Stuff the nut firmly with fiberfill. Make sure to fill it evenly, pushing the stuffing into the rounded bottom to create that plump, satisfying shape.
Round 10: Sc2tog around. (6 stitches)
Fasten off, leaving a long tail (approximately 12 inches). Thread the tail through a yarn needle and weave it through the front loops of the remaining 6 stitches. Pull tight to close the opening, and secure with a knot. Do not cut the tail yet – you'll use it later to sew the cap onto the nut.
Acorn Cap (Make 1 per Acorn)
Round 1: With your chosen cap color (e.g., burnt orange or mustard yellow), make a magic ring. Work 6 sc into the ring. Pull closed. (6 stitches)
Round 2: 2 sc in each stitch around. (12 stitches)
Round 3: *Sc in the next stitch, 2 sc in the next stitch* – repeat from * to * around. (18 stitches)
Round 4: *Sc in the next 2 stitches, 2 sc in the next stitch* – repeat from * to * around. (24 stitches)
Round 5: Working in back loops only, sc in each stitch around. (24 stitches) – This creates a subtle, ribbed rim that gives the cap its textured, slightly flared appearance.
Round 6: Sc in each stitch around. (24 stitches)
Fasten off, leaving a long tail (approximately 12 inches) for sewing.
Assembly
Step 1: Place the cap over the top of the nut (the end where you closed the nut). The cap should fit snugly, covering the top portion of the nut like a real acorn cap. If it feels too loose, you can add a few extra sc stitches in the last round to tighten it.
Step 2: Using the tail from the cap, thread it through a yarn needle. Sew the cap to the nut with a few whip stitches around the edge, going through both the cap and the nut fabric. Make sure the stitches are secure but not too tight, as you want the cap to sit naturally. Weave in the end.
Step 3: Using the tail from the nut (if still available) or a new piece of yarn, create a small loop at the top of the cap for hanging. Simply chain 8-10 stitches and slip stitch back to the cap, then secure. This loop will be used to string the garland. Weave in any remaining ends.
Garland Stringing
Step 1: Once you have made all your acorns (aim for 8-12 for a mantel-length garland), cut a long piece of jute twine or sturdy yarn – approximately 6 feet for a standard mantel. Thread a yarn needle with the string.
Step 2: Pass the needle through the loop on top of each acorn, spacing them evenly along the string. Aim for about 4-6 inches between each acorn, depending on your preference and the length of your garland.
Step 3: For extra detail, you can add small crocheted oak leaves between the acorns or tie simple knots in the twine between each acorn to keep them in place. This also adds a lovely rustic touch.
Step 4: Hang the garland across a mantel, shelf, or doorway. Drape it elegantly, allowing it to cascade slightly for that cozy, inviting look. Step back and enjoy your handmade Thanksgiving decor!
Pro Tips for Perfect Acorns
- Keep tension consistent: A tight, even tension is key to preventing stuffing from showing through. If your stitches feel loose, try going down a hook size.
- Mix and match colors: Don't be afraid to experiment with different color combinations. Deep rust, forest green, and cream create a beautiful woodland palette, while brighter oranges and yellows evoke a classic harvest feel.
- Make it your own: Add small crocheted leaves in cream and olive green to nestle between the acorns for extra charm. You can also add a touch of cinnamon or nutmeg scent to the stuffing for a sensory experience.
- Storage: When the season is over, store your garland in a breathable container to keep it fresh for next year. These acorns are durable and will last for many Thanksgivings to come.
This Harvest Moon Acorn Garland is more than just a craft project – it's a way to bring warmth and handmade love into your home. Each stitch carries intention, and every acorn tells a story of cozy autumn evenings and grateful gatherings. Whether you're crafting for yourself or gifting to a fellow yarn lover, this pattern is sure to delight. Happy crocheting, and may your home be filled with the rustic charm of the harvest season!