Garden Gem Brussels Sprout Hat Free Pattern – Knit a Whimsical Veggie Topper

Garden Gem Brussels Sprout Hat Free Pattern – Knit a Whimsical Veggie Topper
Turn your kitchen garden into a cozy fashion statement with this delightfully quirky Brussels sprout hat. Knitted in lush greens with a textured leaf crown, it's the perfect conversation starter for veggie lovers and whimsical wearers alike. Whether you're looking for a unique handmade gift or a fun addition to your own winter wardrobe, this pattern delivers charm and warmth in every stitch. The earthy palette of deep forest green, bright lime, and warm brown creates a fresh, organic look that stands out in any crowd.
Materials Needed
Before you begin, gather the following supplies to ensure a smooth knitting experience:
- Yarn: Worsted weight yarn in two shades of green – main color (deep forest green) for the hat body, contrast color (bright lime green) for the leaves, and a small amount of brown yarn for the stem.
- Needles: US 7 (4.5 mm) 16-inch circular knitting needle for the hat body, and double-pointed needles (DPNs) for crown shaping and the stem.
- Notions: Stitch markers, tapestry needle for weaving in ends and assembly, and scissors.
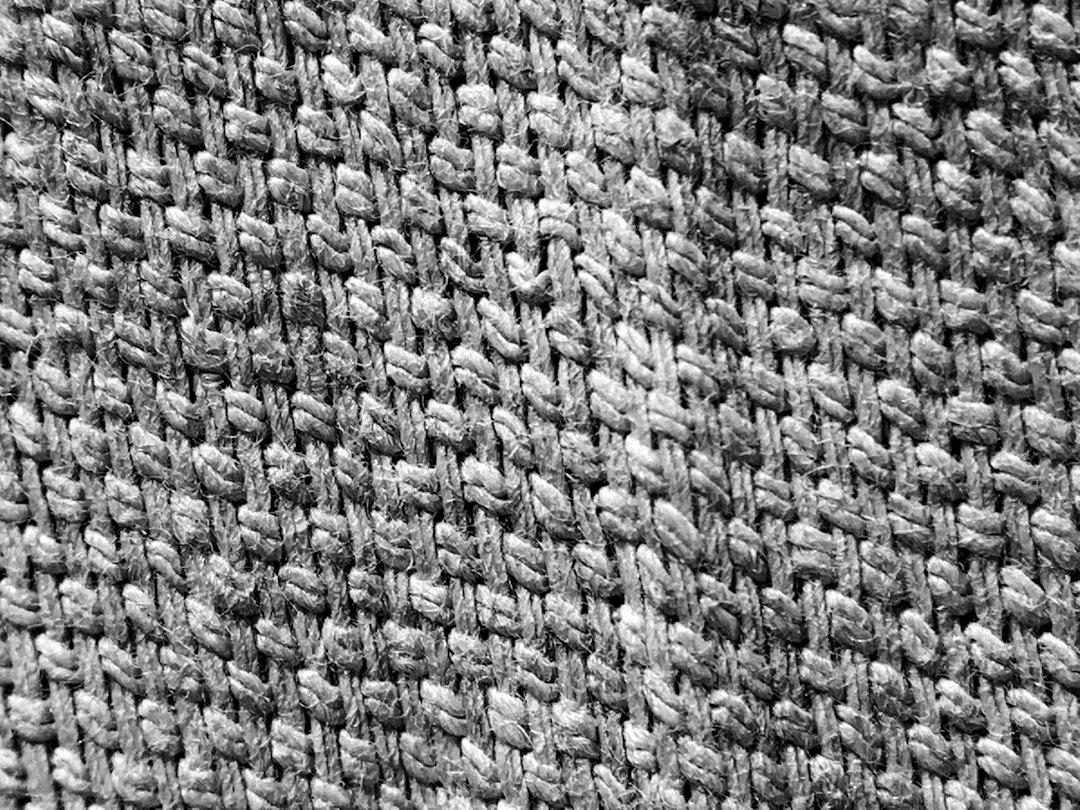
- Gauge: 20 stitches and 26 rows = 4 inches in stockinette stitch. Always check your gauge to ensure the correct fit.
Step-by-Step Instructions
This pattern is broken into three main parts: the hat body, the leaf crown, and the stem. Follow each section carefully, and you'll have a delightful Brussels sprout hat in no time.
Hat Body (Worked in the Round)
- Cast On: With the main color (deep forest green), cast on 88 stitches onto your circular needle. Join in the round, being careful not to twist your stitches. Place a stitch marker at the beginning of the round to track your progress.
- Ribbed Brim: Work in K2, P2 ribbing for 1.5 inches (about 8 rounds). This creates a snug, stretchy brim that will keep the hat securely on your head.
- Stockinette Body: Switch to stockinette stitch (knit every round) and work even for 5 inches from the cast-on edge. This gives the hat its smooth, classic beanie shape.
- Crown Decreases: Begin shaping the crown with the following decrease pattern:
- Round 1: *K9, k2tog* repeat around (80 stitches remain).
- Round 2: Knit all stitches.
- Round 3: *K8, k2tog* repeat around (72 stitches remain).
- Round 4: Knit all stitches.
- Continue decreasing in this pattern, knitting one fewer stitch between decreases each decrease round, with a plain knit round in between, until 16 stitches remain.
- Finish: Cut the yarn, leaving a 12-inch tail. Thread the tail through the remaining 16 stitches using a tapestry needle, pull tight to close the hole, and secure the yarn on the inside of the hat.
Leaf Crown (Worked Flat, Then Attached)
These leaves mimic the textured, curling top of a real Brussels sprout. You'll make 5 leaves total.
- Cast On: With the contrast color (bright lime green), cast on 10 stitches.
- Row 1 (Right Side): Knit all stitches.
- Row 2: K1, M1 (make one), knit to the last stitch, M1, K1 (12 stitches).
- Repeat Rows 1-2 until you have 20 stitches on your needle. This creates the widening base of the leaf.
- Decrease Row: K1, k2tog, knit to the last 3 stitches, k2tog, K1 (18 stitches).
- Next Row: Purl all stitches.
- Repeat the last two rows (decrease row, then purl row) until 4 stitches remain.
- Bind Off: Bind off all stitches. This creates a leaf shape that curls naturally.
- Repeat to make a total of 5 leaves.
Stem (Worked in the Round)
- Cast On: With the brown yarn, cast on 6 stitches onto double-pointed needles. Join in the round, placing a marker at the beginning.
- Knit: Work in stockinette stitch (knit every round) for 2 inches. This forms a small, sturdy stem.
- Finish: Cut the yarn, thread it through the stitches, pull tight, and secure. This completes the stem.
Assembly
- Attach the Leaves: Sew the leaves around the top of the hat, overlapping them slightly, with the points facing upward to mimic a Brussels sprout's leafy top. Use a tapestry needle and the yarn tails from the leaves for a seamless finish.
- Attach the Stem: Position the stem at the center top of the hat, tucking it among the leaves. Sew it securely in place.
- Weave in Ends: Weave in all loose ends on the inside of the hat to keep the exterior clean and polished.
- Optional Detail: For extra realism, add a few small knit bobbles using the contrast color and scatter them on the hat body to resemble the tiny bumps on a real Brussels sprout. To make a bobble: K1, P1, K1, P1, K1 into the same stitch, turn, purl 5, turn, knit 5, then pass the 2nd, 3rd, 4th, and 5th stitches over the 1st stitch to secure.
Once assembled, your Garden Gem Brussels Sprout Hat is ready to wear or gift! The playful leaf crown and realistic stem make it a standout piece that's sure to bring smiles. Enjoy your cozy, whimsical creation!