Frosted Pinecone Ornament Cover Free Pattern – Crochet a Woodland Winter Charm
Frosted Pinecone Ornament Cover Free Pattern – Crochet a Woodland Winter Charm
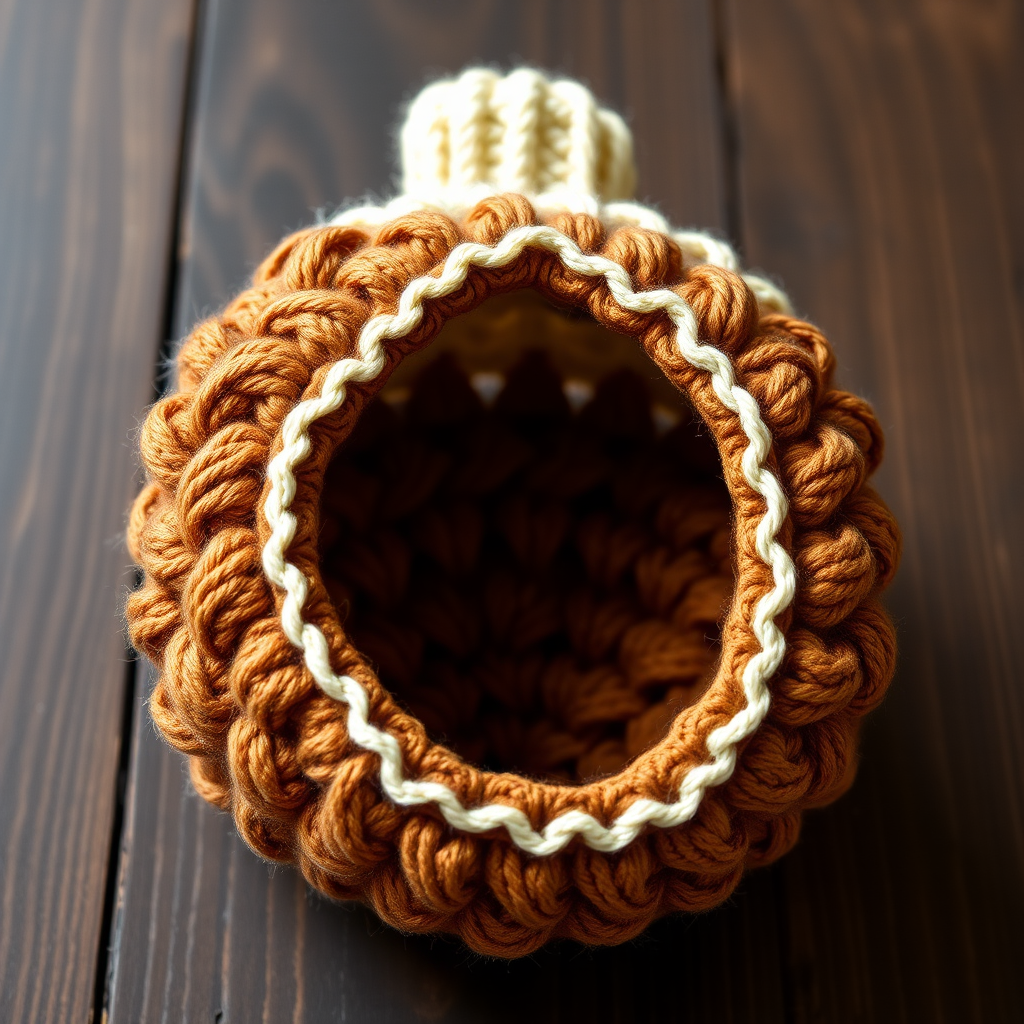
Wrap your holiday tree in cozy woodland magic with these textured crochet covers that mimic the layered scales of a pinecone. Each cover is a quick, satisfying project that transforms plain baubles into heirloom-worthy decorations. This free pattern is perfect for beginners and experienced crocheters alike, using simple single crochet stitches and back-loop-only techniques to create a stunning dimensional effect. The warm brown base transitions to a frosted cream tip, evoking the look of a snow-dusted pinecone nestled among your holiday greenery.
Materials Needed
Before you begin, gather the following supplies:
- Yarn: Worsted weight yarn in two shades – warm brown (MC) and cream/white (CC), approximately 20g of each. A soft acrylic or wool blend works beautifully for this project.
- Crochet Hook: 3.5mm (E) crochet hook, or size needed to achieve gauge.
- Stitch Marker: To track your rounds (a scrap of contrasting yarn works too).
- Yarn Needle: For weaving in ends and closing the top.
- Ornament: A standard 2.5-inch (6.5 cm) round ornament ball – glass, plastic, or foam all work well.
- Optional: A small loop of yarn or ribbon for hanging.
Gauge: 4 sc x 4 rows = 1 inch. Gauge is not critical for this project, but aim for a snug fit over your 2.5-inch ornament. If your cover is too loose, try a smaller hook; if too tight, go up a size.
Step-by-Step Instructions
This pattern creates a cover for a standard 2.5-inch (6.5 cm) round ornament. Work in continuous rounds unless stated otherwise. Use a stitch marker to track the beginning of each round – this is essential for keeping your stitch count accurate.
Rounds 1-3: The Base
Round 1: With MC (warm brown), make a magic ring. Work 6 single crochet (sc) into the ring. Pull the tail to close the ring tightly. (6 stitches)
Round 2: Work 2 sc in each stitch around. (12 stitches)
Round 3: *Sc in the next stitch, 2 sc in the next stitch* – repeat from * to * around. (18 stitches)
Rounds 4-6: Building the Sides
Round 4: *Sc in the next 2 stitches, 2 sc in the next stitch* – repeat around. (24 stitches)
Round 5: *Sc in the next 3 stitches, 2 sc in the next stitch* – repeat around. (30 stitches)
Round 6: Sc in each stitch around. (30 stitches) This completes the flat base that will cover the bottom of your ornament.
Rounds 7-12: Creating the Pinecone Scale Texture
This is where the magic happens! Working in back loops only creates the raised, layered ridges that mimic pinecone scales. The front loops are left unworked, which forms the dimensional texture.
Round 7: With MC, working in back loops only: *sc in the next 4 stitches, 2 sc in the next stitch* – repeat around. (36 stitches)
Round 8: Working in back loops only, sc in each stitch around. (36 stitches)
Round 9: Working in back loops only: *sc in the next 5 stitches, 2 sc in the next stitch* – repeat around. (42 stitches)
Round 10: Working in back loops only, sc in each stitch around. (42 stitches)
Round 11: Working in back loops only: *sc in the next 6 stitches, 2 sc in the next stitch* – repeat around. (48 stitches)
Round 12: Working in back loops only, sc in each stitch around. (48 stitches)
Tip: Keep your tension consistent. The back-loop-only stitches should be snug but not tight, allowing the cover to stretch slightly over the ornament.
Rounds 13-15: Shaping the Top with Frosted Cream
Now switch to CC (cream/white) to create the frosted tip of your pinecone. You'll now work in both loops to begin shaping the top.
Round 13: With CC, working in both loops: *sc in the next 6 stitches, sc2tog (single crochet 2 together)* – repeat around. (42 stitches)
Round 14: *Sc in the next 5 stitches, sc2tog* – repeat around. (36 stitches)
Round 15: *Sc in the next 4 stitches, sc2tog* – repeat around. (30 stitches)
Note: To sc2tog, insert your hook into the next stitch, yarn over and pull up a loop, insert into the following stitch, yarn over and pull up a loop (3 loops on hook), yarn over and pull through all 3 loops. This decreases your stitch count by one.
Finishing: Inserting the Ornament and Closing
Now it's time to place your ornament inside the cover. The opening should be at the top, with the cover fitting snugly over the ball. Gently stretch the cover over your ornament – the back-loop texture will stretch to accommodate the shape.
Round 16: *Sc in the next 3 stitches, sc2tog* – repeat around. (24 stitches)
Round 17: *Sc in the next 2 stitches, sc2tog* – repeat around. (18 stitches)
Round 18: *Sc in the next stitch, sc2tog* – repeat around. (12 stitches)
Round 19: Sc2tog around. (6 stitches)
Fasten off, leaving a long tail (at least 12 inches). Thread the tail through a yarn needle, then weave it through the remaining 6 stitches. Pull tight to cinch the top closed. Weave in all loose ends securely.
Optional: Adding a Hanging Loop
Before closing the top completely (after Round 18, before Round 19), insert a small loop of yarn or ribbon through the center of the opening. Position the loop so it extends outward, then continue with Round 19 and the cinching stitches. The closing stitches will secure the loop in place, allowing your ornament to hang naturally on the tree.
Final Thoughts
Your Frosted Pinecone Ornament Cover is complete! These charming covers make wonderful handmade gifts, thoughtful hostess presents, or a delightful addition to your own holiday decor. The textured pattern is addictive to crochet – don't be surprised if you find yourself making a whole set. Mix up the color combinations to match your tree's theme: try deep red with white for a candy-cane vibe, or forest green with gold for a classic look. Happy crocheting, and may your holidays be filled with cozy handmade warmth!