Free Pattern: Dragon Tail Pumpkin Cocoon Crochet for Newborns

A Cozy Little Dragon for Your Littlest Pumpkin
If you have never held a crochet hook before, this Dragon Tail Pumpkin Cocoon is a wonderful place to begin. It is a soft, snuggly newborn photo prop that looks far more complicated than it actually is: a simple tube of baby blue cotton, a stuffed pink tail, and one tiny sage green pumpkin leaf. The finished cocoon is about 12 inches around and 16 inches long, with a dense, gently ribbed texture that looks knitted but is made with one easy Tunisian stitch. It feels smooth, matte, and rustic, like something pulled from a farmhouse basket on a crisp autumn morning. This project is perfect for brand-new crocheters, for anyone making a first baby gift, and for photographers who want a handmade pumpkin-season prop.
Materials Needed
- Yarn (body): Sport weight cotton yarn (CYC 2 / fine), approximately 250 yards of baby blue.
- Yarn (tail): Sport weight cotton yarn, approximately 60 yards of cotton candy pink.
- Yarn (leaf): A small amount (about 10 yards) of sage green sport weight cotton.
- Main hook: 5.0 mm Tunisian crochet hook with a cable at least 24 in / 60 cm long (US size H-8).
- Small hook: 3.5 mm regular crochet hook (US size E-4) for the tail and leaf.
- Stitch marker (one, to mark the first stitch of each round).
- Tapestry needle (a large blunt needle with a big eye for sewing and weaving in ends).
- Scissors.
- Polyester fiberfill (stuffing) for the tail, about a handful.
- Finished size: Approximately 12 in / 30 cm circumference x 16 in / 41 cm long.
Abbreviations and Beginner Glossary
- ch – chain. Make a loop of yarn on your hook, wrap yarn over the hook, and pull it through the loop. That is one chain.
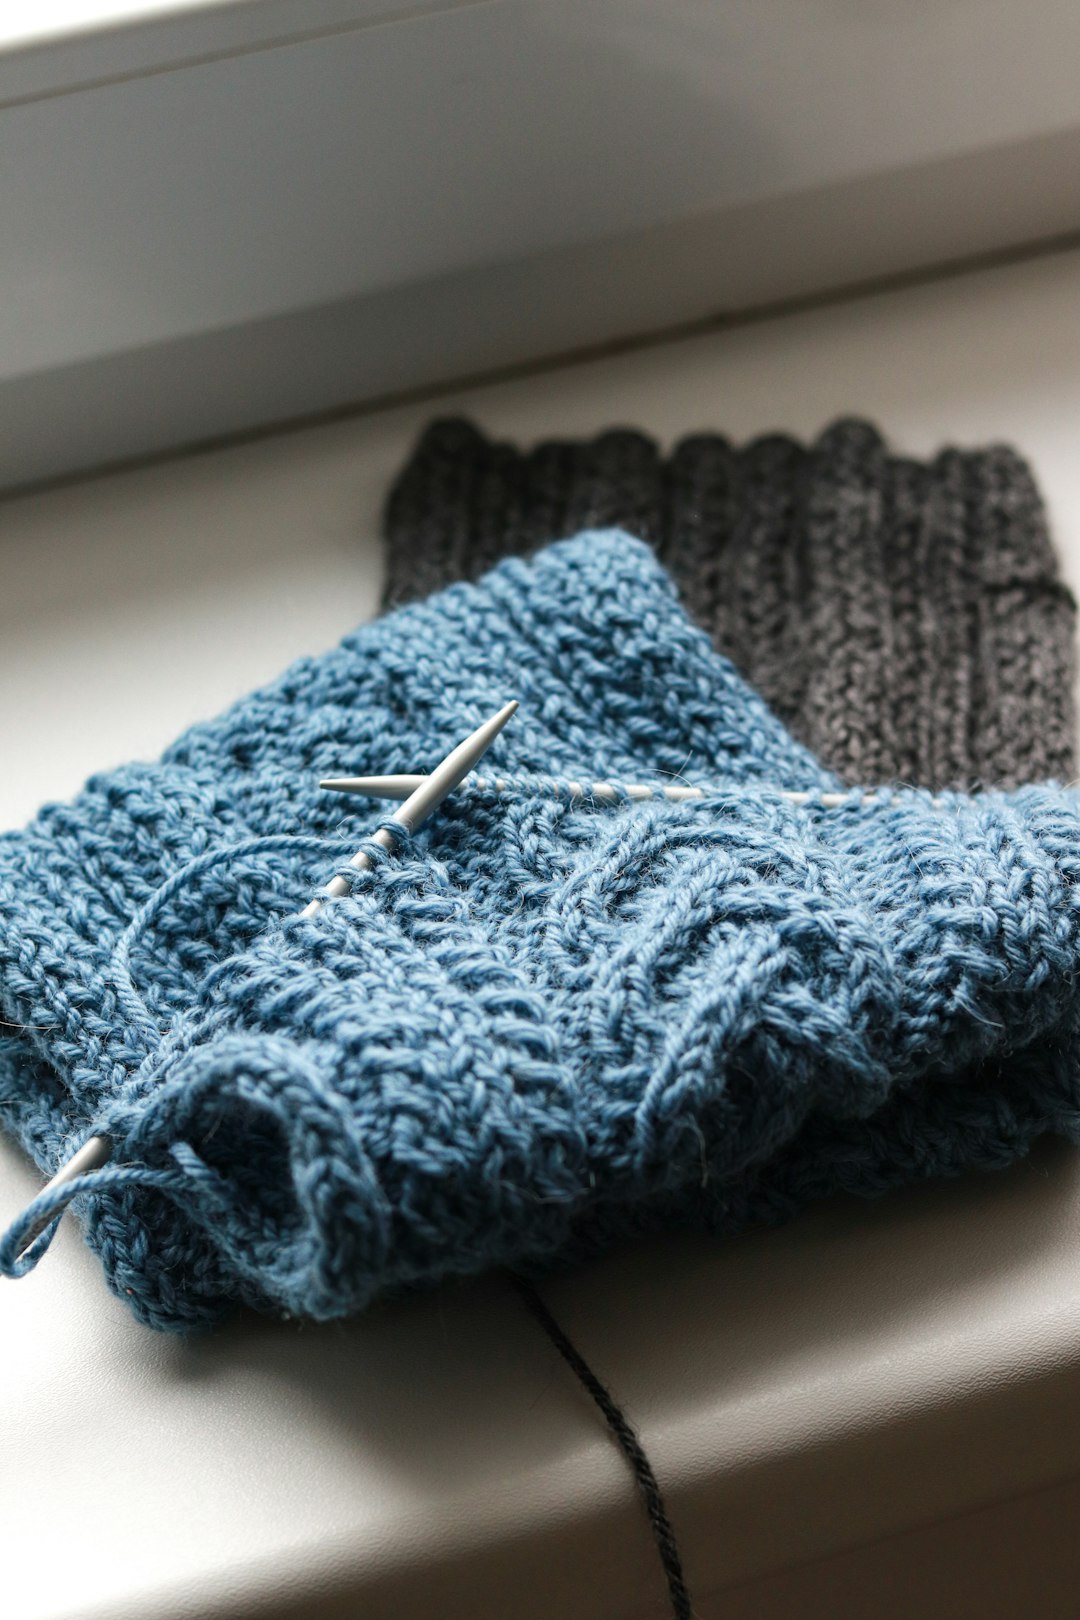
- Tks – Tunisian knit stitch. Insert your hook between the front and back vertical bars of the next stitch, wrap yarn over, and pull up a loop. This is what gives the cocoon its knitted look.
- Tss – Tunisian simple stitch. Insert your hook under the single front vertical bar of the next stitch, wrap yarn over, and pull up a loop.
- ret – return pass. Wrap yarn over and pull through 1 loop, then repeat [wrap yarn over, pull through 2 loops] across until only 1 loop remains on the hook.
- sc – single crochet. Insert hook into stitch, pull up a loop, wrap yarn over, pull through both loops on the hook.
- sc2tog – single crochet 2 together (a decrease). Insert hook into the first stitch and pull up a loop, insert hook into the next stitch and pull up a loop, wrap yarn over, pull through all 3 loops on the hook. Two stitches become one.
- sl st – slip stitch. Insert hook into stitch, wrap yarn over, and pull through both the stitch and the loop on your hook at the same time.
- st(s) – stitch or stitches.
- 2 sc in next st – work two single crochets into the same stitch (an increase).
- Magic ring – a loop of yarn you wrap around your fingers, work stitches into, then pull closed so there is no hole in the center.
- Forward pass – the first half of a Tunisian row, where you pick up loops onto the hook.
- Fasten off – cut the yarn, pull the tail through the last loop, and tighten.
Gauge
16 sts x 14 rows = 4 in / 10 cm in Tunisian knit stitch (Tks) with the 5.0 mm hook.
Gauge means how many stitches and rows fit into a square of fabric. It matters because it controls the finished size: if your stitches are looser than mine, your cocoon will come out too big, and if they are tighter, it will be too small. To check, chain 24, work a forward and return pass, then work about 16 rows of Tks. Lay the swatch flat, place a ruler across the middle, and count the stitches in 4 inches. If you have more than 16, go up a hook size; if you have fewer, go down. Do not skip this step — it takes ten minutes and saves the whole project.
Beginner Tips Before You Start
- Keep your loops loose. Tunisian crochet tightens up easily. If your loops are hard to pull up, you are pulling the yarn too tight — relax your hand.
- Count your loops on the hook. You should always have 48 loops at the end of every forward pass. If you have 47 or 49, you dropped or added a stitch.
- Use the cable. The long cable holds all 48 loops comfortably. Never force loops onto the hook itself.
- Mark your first stitch on the tail so you never lose track of where each round begins.
- Stuff the tail firmly but not rock-hard — it should hold a gentle curve, not feel like a stone.
- Work in good light. The vertical bars of Tunisian stitch are small, and good light makes them easy to see.
Step-by-Step Instructions
Body (worked flat in Tunisian knit stitch, then seamed into a tube)
Foundation row: With the 5.0 mm Tunisian hook and baby blue, ch 48. Forward pass: insert hook in 2nd ch from hook, pull up a loop in each ch across (48 loops on hook). Return pass: yarn over, pull through 1 loop, then [yarn over, pull through 2 loops] across until 1 loop remains. (48 sts)
Row 1 (forward): Tks in each st across to the last st, Tss in the last st. Return pass as established. (48 sts)
Rows 2–56: Repeat Row 1. (48 sts) The piece measures approximately 16 in / 41 cm from the foundation row. Fasten off, leaving a 20 in / 50 cm tail.
Seaming the Body
Fold the body in half with right sides together so the two short edges meet. Using the 5.0 mm hook and baby blue yarn, sl st the short edges together to form a tube, working through both loops of each edge stitch. Turn the tube right side out. Weave in the ends.
Dragon Tail (worked in the round with the 3.5 mm hook, cotton candy pink)
The tail is a tapered stuffed cone attached to the bottom back of the cocoon.
Round 1: Magic ring, 6 sc into the ring. (6 sts)
Round 2: 2 sc in each st around. (12 sts)
Round 3: [Sc in next st, 2 sc in next st] around. (18 sts)
Rounds 4–6: Sc in each st around. (18 sts)
Round 7: [Sc in next 4 sts, sc2tog] around. (15 sts)
Rounds 8–9: Sc in each st around. (15 sts)
Round 10: [Sc in next 3 sts, sc2tog] around. (12 sts)
Rounds 11–12: Sc in each st around. (12 sts)
Round 13: [Sc in next 2 sts, sc2tog] around. (9 sts)
Rounds 14–15: Sc in each st around. (9 sts)
Round 16: [Sc in next st, sc2tog] around. (6 sts)
Round 17: Sc in each st around. (6 sts)
Stuff firmly with fiberfill, shaping the tail into a gentle curve. Do not stuff the final 1 in / 2.5 cm.
Round 18: Sc2tog around. (3 sts) Fasten off, leaving a 12 in / 30 cm tail. Thread the tail through the remaining 3 sts and pull closed.
Attaching the Tail
Position the wide end of the tail at the bottom back edge of the cocoon, centered on the seam. Pin it in place. Using the 3.5 mm hook and pink yarn, sc the tail base to the cocoon edge through both layers, working 12 sc evenly around the base. Fasten off and weave in the ends.
Pumpkin Leaf Appliqué (worked flat with the 3.5 mm hook, sage green)
Row 1: Ch 7. Sc in 2nd ch from hook and in each ch across. (6 sts)
Row 2: Ch 1, turn. Sc in first 2 sts, 2 sc in next st, sc in next 2 sts, 2 sc in last st. (8 sts)
Row 3: Ch 1, turn. Sc in each st across. (8 sts)
Row 4: Ch 1, turn. Sc2tog, sc in next 4 sts, sc2tog. (6 sts)
Row 5: Ch 1, turn. Sc2tog, sc in next 2 sts, sc2tog. (4 sts)
Row 6: Ch 1, turn. Sc2tog twice. (2 sts) Fasten off.
Stem: Join sage green to the top center of the leaf, ch 4, sl st in 2nd ch from hook and in each ch across, then sl st to the leaf. Fasten off and weave in the ends.
Assembly and Finishing
Sew on the leaf: Thread the tapestry needle with sage green yarn. Place the pumpkin leaf on the top front edge of the cocoon, slightly off-center, and sew it down with small, even stitches around its base. Do not sew through the front of the cocoon to the back — catch only the front layer.
Weave in the ends: Thread each loose tail onto the tapestry needle and run it through the back of several stitches (about 1 inch), then trim close to the fabric. Never knot your ends; weaving hides them neatly.
Block lightly: Mist the cocoon with cool water, smooth it flat, and let it air-dry on a towel. Avoid the stuffed tail — do not soak it or pin it, or the fiberfill will clump.
Pro Tips and Variations
- Change the colors: Swap baby blue for cream or mustard for a classic pumpkin look, or use a variegated yarn for a mottled, heirloom feel.
- Adjust the size: To make the cocoon longer or shorter, add or remove rows in multiples of 14 (each 14 rows adds about 4 in / 10 cm). To change the width, add or remove foundation chains in multiples of 4.
- Substitute yarn: Any sport weight cotton works. Avoid acrylic if the cocoon will be used for photos, since cotton has a softer, more matte finish.
- Add a second leaf or a small crocheted vine for extra farmhouse charm — just keep the additions light so the cocoon stays soft.