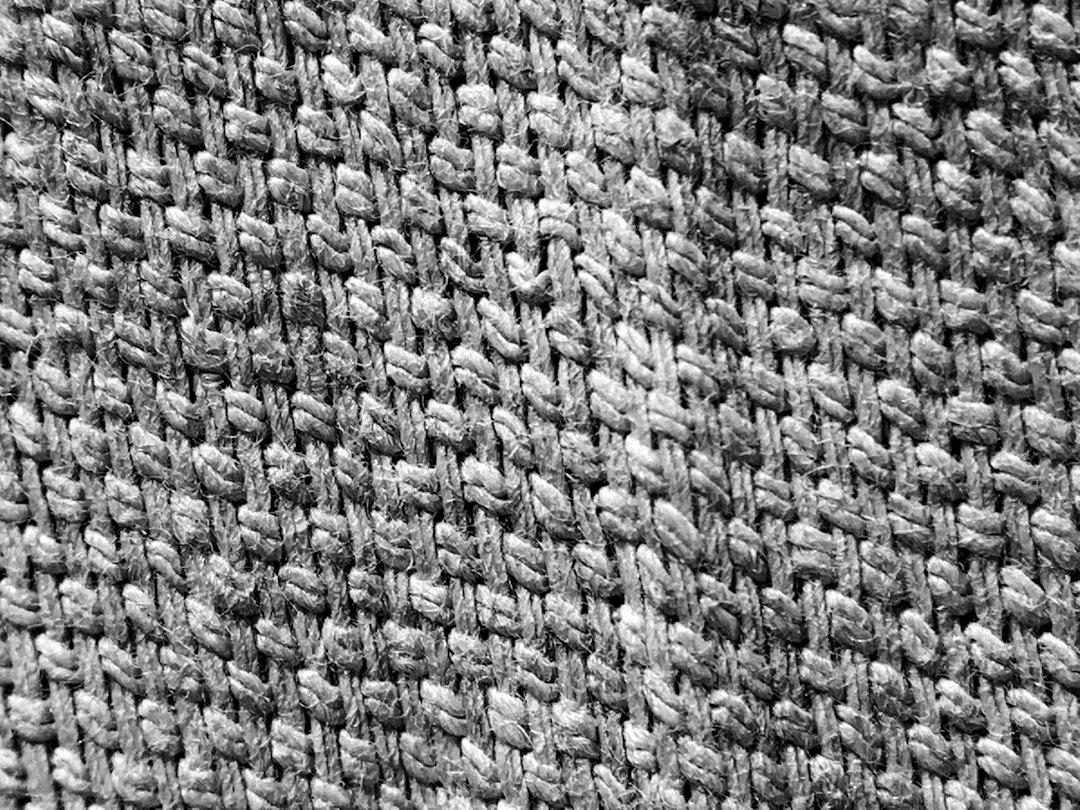
Desert Bloom Market Bag Free Pattern – Knit a Textured Bohemian Tote

Desert Bloom Market Bag: A Free Knitting Pattern for a Textured Bohemian Tote
There's something deeply satisfying about knitting a bag that's both beautiful and functional. The Desert Bloom Market Bag is exactly that—an earthy, textured tote that combines a woven leather-look base with a delicate lace upper. Whether you're heading to the farmers' market, the beach, or just want a stylish everyday carryall, this pattern delivers. The combination of chunky cotton yarn and a unique stitch pattern creates a bag that's sturdy enough for groceries yet elegant enough to be a statement piece. Best of all, it's a free pattern designed with beginners in mind, so you can confidently create this bohemian masterpiece at home.
This pattern uses three warm, earthy colors—Sand, Terracotta, and Olive—that evoke desert landscapes and sunset hues. The result is a roomy, slouchy tote with a playful fringe along the bottom and sturdy I-cord handles. Let's dive into the materials you'll need and the step-by-step instructions to bring this beauty to life.
Materials Needed
Before you begin, gather the following supplies. All items are readily available at craft stores or online.
Yarn
- Lion Brand 24/7 Cotton (or any worsted weight cotton yarn) in 3 colors:
- Color A (Sand) – approximately 150g
- Color B (Terracotta) – approximately 100g
- Color C (Olive) – approximately 50g
- Total yarn needed: approximately 300g
Needles & Hooks
- US 7 (4.5mm) knitting needles – for the main body and handles
- US G/6 (4.0mm) crochet hook – for the edging and fringe attachment
Other Supplies
- Tapestry needle (for seaming and weaving in ends)
- Scissors
- Stitch markers (optional, but helpful)
Gauge
20 stitches x 28 rows = 4 inches in stockinette stitch (knit flat). Be sure to check your gauge before starting to ensure your bag comes out the right size. If your gauge is off, adjust your needle size accordingly.
Step-by-Step Instructions
Follow these detailed instructions carefully, and you'll have a beautiful market bag in no time. The bag is worked flat in pieces and then seamed together, making it easy to manage even for beginners.
Bag Body (Worked Flat, Then Seamed)
Base
- With Color A (Sand), cast on 40 stitches using your US 7 needles.
- Work in garter stitch (knit every row) for 10 rows. This creates a sturdy, textured base that mimics a woven leather look.
- Switch to stockinette stitch (knit on the right side, purl on the wrong side) and work even for 20 rows. This section forms the solid lower body of the bag.
Lace Pattern
Now we'll add the delicate lace upper. This pattern creates beautiful openwork diamonds that give the bag its bohemian charm. Work the following rows:
- Row 1 (RS): K2, *yo, k2tog, k4; repeat from * to last 2 sts, k2.
- Row 2 (and all WS rows): Purl all stitches.
- Row 3: K4, *yo, k2tog, k4; repeat from * to end.
- Row 5: K2, *k2tog, yo, k4; repeat from * to last 2 sts, k2.
- Row 7: K4, *k2tog, yo, k4; repeat from * to end.
- Row 8: Purl.
- Repeat rows 1-8 for a total of 16 rows (2 full repeats of the pattern).
Tip: The yarn overs (yo) create the holes in the lace, and the knit-two-togethers (k2tog) keep the stitch count consistent. If you're new to lace knitting, take your time and count your stitches after each row to ensure accuracy.
Upper Band
- Switch to Color B (Terracotta) and work in stockinette stitch for 10 rows. This rich band adds a beautiful color transition.
- Switch to Color C (Olive) and work in garter stitch for 6 rows. The garter stitch here creates a nice, sturdy top edge.
- Bind off loosely. Tip: To avoid a tight edge, use a larger needle or bind off with a yarn-over method.
Finishing the Bag Body
- Fold the knitted piece in half with right sides together, matching the cast-on edge to the bind-off edge.
- Using a tapestry needle and a length of Color A yarn, sew the side seams using mattress stitch. This creates an invisible seam that's strong and neat.
- Turn the bag right side out. You should now have a roomy tote shape.
Handles (Make 2)
- With Color A (Sand), cast on 8 stitches.
- Work in I-cord for 20 inches (or your desired handle length). To make an I-cord: Knit across the 8 stitches, then slide the stitches to the other end of the needle without turning the work. Pull the yarn across the back and knit again. Repeat until you reach the desired length. This creates a round, sturdy cord.
- Bind off, leaving a long tail (at least 12 inches) for sewing.
- Repeat to make a second handle.
Attaching the Handles
- Position each handle on the inside of the bag, about 3 inches from each side seam. Make sure the handles are evenly spaced and not twisted.
- Using the long tail from the bind-off, sew the handle securely to the inside of the bag. Use a whip stitch or backstitch, going through both the handle and the bag fabric several times for strength. Weave in the ends.
Fringe (Optional but Fun)
Add a playful fringe to the bottom edge of your bag for extra bohemian flair.
- Cut 12-inch strands of colors A, B, and C. You'll need about 20-25 strands total, depending on how full you want the fringe.
- Using your crochet hook, attach the fringe along the bottom edge of the bag. To do this: Fold a strand in half, insert the hook through the edge of the bag, pull the loop through, then pull the ends through the loop and tighten.
- Alternate colors as you go, spacing the fringe every 1 inch along the bottom.
Edging
Finish the top opening with a reinforced crochet edge for a polished look.
- With your US G/6 (4.0mm) crochet hook and Color C (Olive), work a round of single crochet around the entire top opening of the bag.
- To do this: Insert your hook into the edge, yarn over, pull up a loop, yarn over, and pull through both loops on the hook. Repeat all the way around, working evenly.
- When you reach the starting point, slip stitch to join and cut the yarn. Weave in the end.
Final Thoughts
And there you have it—your very own Desert Bloom Market Bag! This project is perfect for knitters looking to expand their skills with lace work, color changes, and finishing techniques. The result is a stunning, practical tote that you'll be proud to carry anywhere.
Remember, knitting is a journey, not a race. Take your time, enjoy the process, and don't be afraid to make it your own. Feel free to experiment with different color combinations or add extra fringe for a more dramatic look. Happy knitting!