Cascading Berry Stitch Zip Wristlet Free Pattern – Textured Crochet Coin Purse

Cascading Berry Stitch Zip Wristlet Free Pattern – Textured Crochet Coin Purse
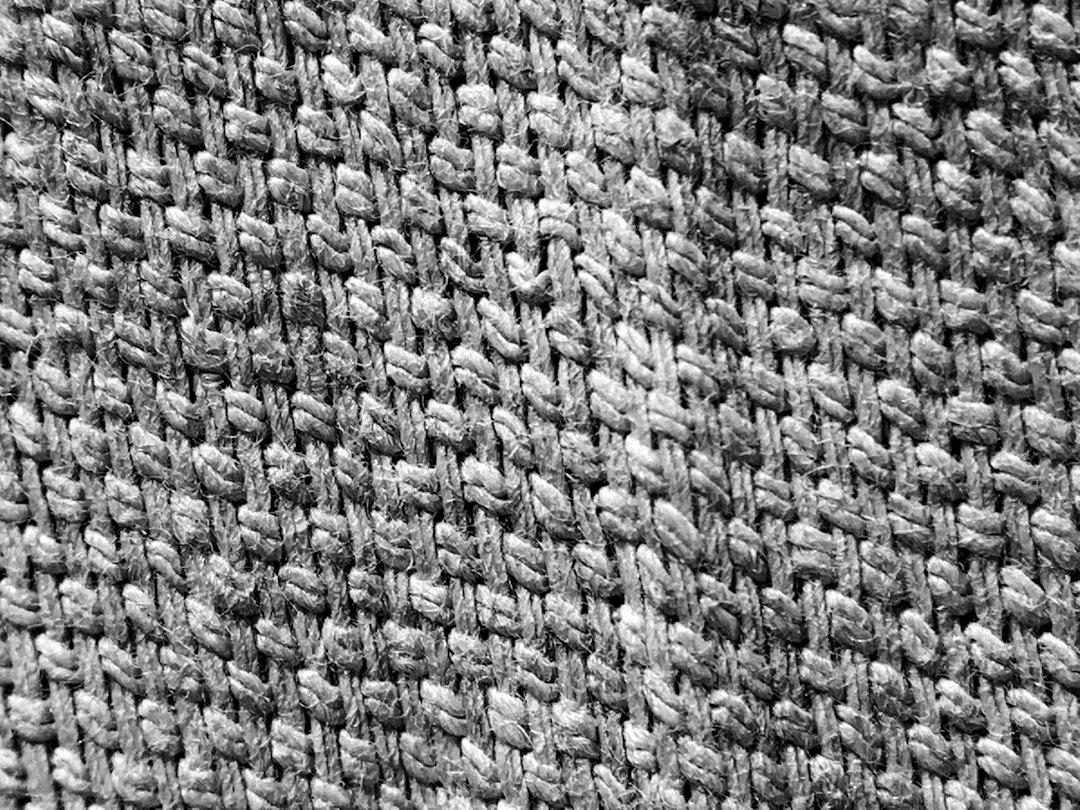
Carry your coins and cards in this plush, berry-textured wristlet that feels like a cozy handful of autumn. The clever zip closure and soft strap make it a charming everyday essential. This free crochet pattern is perfect for beginners who want to practice texture work while creating a practical, beautiful accessory. The deep burgundy and cream color combination evokes warm fall vibes, and the popcorn stitch texture adds a delightful tactile quality that makes this little purse a joy to use and gift.
Materials Needed
Before you begin, gather the following supplies. This project is portable and quick to complete, making it an excellent weekend craft.
- Yarn: Worsted weight cotton or cotton-blend yarn in two colors:
- Main Color (MC) – deep burgundy (approximately 100 yards)
- Contrast Color (CC) – cream or soft blush (approximately 20 yards)
- Crochet Hook: US Size G/6 (4.0 mm) crochet hook
- Zipper: One 5-inch (12.5 cm) zipper in silver or matching color
- Tapestry needle for weaving ends and sewing zipper
- Scissors
- Stitch markers (optional but helpful)
Gauge
16 sc x 18 rows = 4 inches (10 cm) in single crochet. Always check your gauge to ensure the finished size matches the pattern. If your gauge is off, adjust your hook size accordingly.
Finished Size
Approximately 5 inches wide x 4 inches tall (excluding strap). The strap measures about 12 inches (30 cm) long.
Abbreviations
- ch – chain
- sc – single crochet
- dc – double crochet
- sl st – slip stitch
- st(s) – stitch(es)
- rnd – round
- MC – main color
- CC – contrast color
Special Stitch – Popcorn Stitch
Work 4 double crochet (dc) into the same stitch. Drop the loop from your hook. Insert your hook from front to back into the top of the first dc of the group. Grab the dropped loop and pull it through. This creates a raised, berry-like bobble. Chain 1 to secure if needed (though this pattern does not require the chain).
Step-by-Step Instructions
Front Panel (make 1 with MC)
The front panel features the beautiful popcorn stitch texture that gives this wristlet its berry-like appearance.
Row 1: Ch 21, sc in 2nd ch from hook and in each ch across. (20 sc)
Row 2: Ch 1, turn. Sc in each st across. (20 sc)
Row 3: Ch 1, turn. Sc in first st, *popcorn in next st, sc in next st* repeat from * to * across. (10 popcorn sts, 10 sc)
Row 4: Ch 1, turn. Sc in each st across. (20 sc)
Rows 5-12: Repeat rows 3-4 four more times. You will have a total of 5 rows of popcorn stitches, alternating with plain sc rows.
Row 13: Ch 1, turn. Sc in each st across. (20 sc) – This is the top edge. Fasten off and weave in the end.
Pro Tip: When working the popcorn stitch, keep your tension consistent. The popcorn should be plump and raised, not tight and flat. If your popcorn feels too tight, try using a slightly larger hook just for that stitch, or work the 4 dc more loosely.
Back Panel (make 1 with MC)
The back panel is a simple rectangle of single crochet, providing a smooth contrast to the textured front.
Row 1: Ch 21, sc in 2nd ch from hook and in each ch across. (20 sc)
Rows 2-12: Ch 1, turn. Sc in each st across. (20 sc) – Work a total of 12 rows.
Fasten off and weave in the end.
Assembly
Now it's time to join the two panels together to form the body of the wristlet.
Step 1: Place the front and back panels together with wrong sides facing. This means the popcorn texture will be on the outside, and the smooth back will also show its right side. The seam will be visible on the outside, which adds to the handmade charm.
Step 2: Using MC and your crochet hook, attach yarn at the bottom left corner. Work a round of single crochet through both layers along the bottom and up both side edges, leaving the top open. Work approximately 20 sc along the bottom edge and 12 sc up each side. Join with a sl st to the first sc. Fasten off and weave in the end.
Pro Tip: To keep the corners neat, work 2 sc in each corner stitch. This will prevent the fabric from puckering and give the wristlet a nice, rounded shape.
Top Edge Finishing
Now we'll add a clean, contrasting border to the top opening where the zipper will be inserted.
Rnd 1: With CC, attach yarn at the top left corner. Sc in each st across the front top edge (20 sc), then sc in each st across the back top edge (20 sc). Join with a sl st to the first sc. (40 sc)
Rnd 2: Ch 1, sc in each st around. Join with a sl st to the first sc. Fasten off and weave in the end.
Zipper Insertion
This step requires a bit of patience, but the result is a professional-looking finish.
Step 1: Open the zipper. Place it along the top opening of the wristlet, with the zipper pull on the outside and the zipper teeth aligned with the edge of the fabric.
Step 2: Using a tapestry needle and matching thread or yarn (CC works well), whip stitch the zipper tape to the inside of the wristlet. Fold the fabric slightly over the zipper teeth so that the teeth are hidden when the zipper is closed.
Step 3: Stitch carefully along both sides of the zipper tape, ensuring the fabric is evenly distributed. Close the zipper to check that it opens and closes smoothly. If it catches, adjust the fabric and re-stitch as needed.
Pro Tip: For a cleaner look, you can use a sewing machine to attach the zipper before assembling the panels. However, hand-stitching gives you more control and is perfectly suitable for this small project.
Strap
The strap is simple and sturdy, perfect for slipping over your wrist.
Row 1: With MC, ch 61 (or desired length for wristlet strap, about 12 inches). Sc in 2nd ch from hook and in each ch across. (60 sc)
Row 2: Ch 1, turn. Sc in each st across. (60 sc)
Fasten off, leaving a long tail for sewing.
Attaching the Strap: Position the strap ends at the side seams of the wristlet, near the top edge. Using the long tail and a tapestry needle, sew the strap securely to the inside of the wristlet. Make sure the strap is centered and lies flat. Weave in all ends.
Finishing Touches
Weave in any remaining ends with your tapestry needle. If desired, lightly block the wristlet to even out the stitches and enhance the texture. To block, simply mist with water and lay flat to dry, shaping as needed.
Your Cascading Berry Stitch Zip Wristlet is now complete! This charming accessory is perfect for holding coins, cards, lip balm, or any small essentials. The plush texture and warm colors make it a delightful gift for friends and family, or a lovely treat for yourself.
Care Instructions: Hand wash in cool water with mild detergent. Lay flat to dry. Do not tumble dry. Reshape while damp.
Enjoy your handmade creation, and don't forget to share your finished wristlet with the crochet community! Happy crocheting!