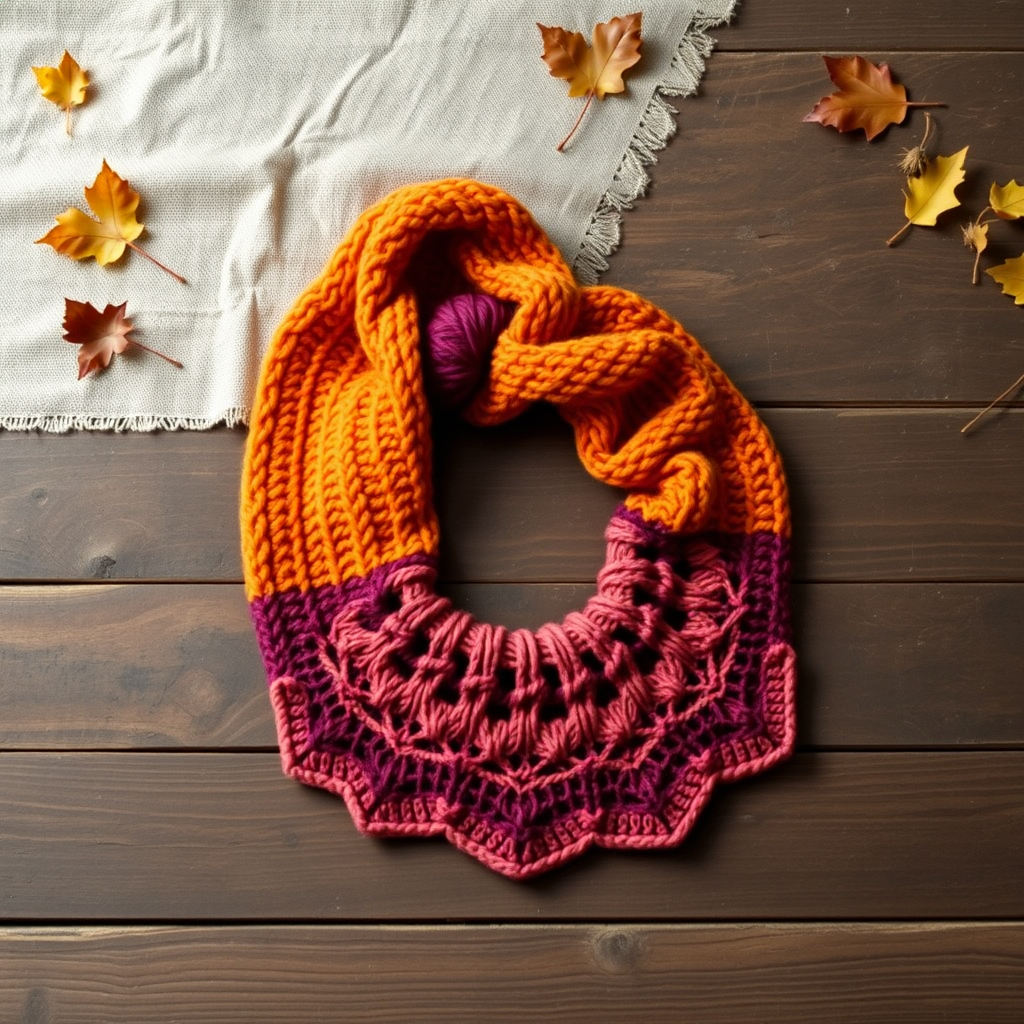
Aurora Bloom Lace Shawl Free Knitting Pattern

Aurora Bloom Lace Shawl: A Free Knitting Pattern for a Mesmerizing Crescent
Wrap yourself in the ethereal beauty of the Aurora Bloom Lace Shawl, a crescent-shaped knit that mimics the dancing colors of the northern lights. This pattern combines delicate lace motifs with a soft gradient yarn for a truly mesmerizing accessory. Whether you're an experienced knitter looking for a new challenge or a confident beginner ready to dive into lacework, this shawl is a rewarding project that produces a stunning, wearable piece of art. The organic, leaf-like lace pattern cascades down the body, finished with a romantic scalloped edge that catches the light beautifully.
This free knitting pattern is designed to be accessible, with clear instructions and detailed explanations. The shawl is worked from the top center down, increasing on each side of the center spine, creating a graceful crescent shape that drapes elegantly over the shoulders. The gradient yarn does all the color work for you, transitioning from deep indigo through teal and seafoam green to soft lavender, evoking the aurora borealis in all its glory.
Materials Needed
Before you begin, gather the following materials to ensure a smooth knitting experience:
- Yarn: Fingering weight yarn in a gradient colorway (e.g., Malabrigo Sock in 'Arco Iris') - 800 yards. The gradient effect is essential to the shawl's beauty, but you can also use a solid or semi-solid colorway if you prefer.
- Needles: US 5 (3.75 mm) circular knitting needle with a 32-inch cable. The long cable is necessary to accommodate the increasing number of stitches as the shawl grows.
- Notions: Stitch markers (at least 4), tapestry needle for weaving in ends, blocking mats and pins for finishing.
- Gauge: 20 stitches and 28 rows = 4 inches in stockinette stitch (blocked). Gauge is important for achieving the correct size and drape, so take a moment to knit a swatch before starting.
Step-by-Step Instructions
This shawl is worked from the top center down, increasing on each side of the center spine. Follow these instructions carefully, and you'll create a beautiful lace shawl that you'll treasure for years to come.
Abbreviations
- k = knit
- p = purl
- yo = yarn over
- k2tog = knit two together (right-leaning decrease)
- ssk = slip, slip, knit (left-leaning decrease)
- pm = place marker
- sm = slip marker
- RS = right side
- WS = wrong side
Setup
Cast on 3 stitches. Knit 6 rows (garter stitch). This creates a small tab that will form the top center of the shawl. Now, pick up and knit 3 stitches along the side edge of the tab, then 3 stitches from the cast-on edge. You should now have 9 stitches on your needle. This is the foundation for the shawl's increases.
Foundation Rows
Row 1 (RS): k3, yo, pm, k1, yo, pm, k1 (center), yo, pm, k1, yo, pm, k3. (13 stitches)
Explanation: The first and last 3 stitches are always knit (garter edge). The yarn overs create the increases on each side of the center spine and along the edges. Place markers to separate the edge stitches, the side sections, and the center stitch.
Row 2 (WS): k3, p to last 3 sts, k3. (All even rows are worked this way unless otherwise noted.)
Explanation: The wrong side rows are simple: knit the first 3 and last 3 stitches (garter edge), and purl everything in between. This creates a stockinette background for the lace pattern.
Row 3 (RS): k3, yo, sm, k1, yo, k1, yo, sm, k1, yo, k1, yo, sm, k1, yo, k3. (17 stitches)
Explanation: This row increases the stitch count by 4 (one on each edge and one on each side of the center). The yarn overs are placed strategically to create the shaping.
Row 5 (RS): k3, yo, sm, k1, yo, k2, yo, k1, yo, k2, yo, sm, k1, yo, k2, yo, k1, yo, k2, yo, sm, k1, yo, k3. (21 stitches)
Explanation: Continue increasing in the same pattern. Notice how the yarn overs are placed around the knit stitches to create a balanced increase on each side of the center.
Begin Lace Pattern (after Row 5)
Now that the foundation is established, you'll begin the lace pattern. The lace motif is a repeating pattern of yarn overs and decreases that create an organic, leaf-like design. The pattern repeats on each side of the center spine.
Row 7 (RS): k3, yo, sm, *k1, yo, k2tog, k1, ssk, yo, k1*, repeat from * to * once more, yo, sm, k1, yo, repeat from * to * twice, yo, sm, k1, yo, k3.
Explanation: The asterisks (*) indicate a repeat. On each side of the center, you'll work the lace pattern twice. The yarn overs and decreases (k2tog and ssk) create the lace holes and shape the leaf motif.
Row 9 (RS): k3, yo, sm, *k2, yo, k2tog, ssk, yo, k2*, repeat from * to * once more, yo, sm, k1, yo, repeat from * to * twice, yo, sm, k1, yo, k3.
Explanation: Notice how the knit stitches at the beginning and end of each repeat increase by 1 every 2 rows. This is what creates the expanding leaf shape.
Row 11 (RS): k3, yo, sm, *k3, yo, k2tog, ssk, yo, k3*, repeat from * to * once more, yo, sm, k1, yo, repeat from * to * twice, yo, sm, k1, yo, k3.
Explanation: Continue the pattern, adding one more knit stitch to the beginning and end of each repeat.
Row 13 (RS): k3, yo, sm, *k4, yo, k2tog, ssk, yo, k4*, repeat from * to * once more, yo, sm, k1, yo, repeat from * to * twice, yo, sm, k1, yo, k3.
Explanation: The pattern is now well-established. The center of each repeat has the decreases (k2tog, ssk) flanked by yarn overs, with increasing knit stitches on either side.
Continue in this manner, increasing the number of knit stitches at the beginning and end of each repeat by 1 every 2 rows. Work until the shawl measures approximately 24 inches from the center spine, ending with a WS row. This will create a beautiful, flowing crescent shape.
Edging
The edging adds a delicate, scalloped finish to the shawl. It's a simple pattern of yarn overs and knit-two-togethers that creates a lovely picot-like edge.
Next RS row: k3, yo, sm, *k1, yo, k2tog, repeat from * to * until 1 st before marker, k1, yo, sm, k1, yo, repeat from * to * until 1 st before marker, k1, yo, sm, k1, yo, k3.
Explanation: This row creates a series of eyelets along the edge. The yarn over followed by a k2tog creates a small hole, and the pattern repeats across the row.
Next WS row: k3, p to last 3 sts, k3.
Explanation: This is a standard wrong side row, maintaining the garter edge.
Repeat these two rows 3 more times. This will create a total of 4 eyelet rows, giving the edging a nice, airy feel.
Bind Off Loosely
A loose bind-off is crucial for a lace shawl to ensure the edge remains stretchy and doesn't pucker. Use the following method:
k2, *slip both stitches back to left needle, k2tog through back loop, k1, repeat from * until all stitches are bound off.
Explanation: This is a stretchy bind-off that creates a nice, flexible edge. It's perfect for lace projects where you want the edge to drape beautifully. Cut yarn and weave in ends with a tapestry needle.
Blocking
Blocking is the most important step in finishing a lace shawl. It opens up the lace pattern and gives the shawl its final shape and drape.
Soak shawl in lukewarm water with mild soap, gently squeeze out excess water (do not wring), and pin to shape on a blocking mat. Stretch the lace points outward to open up the pattern. Allow to dry completely.
Explanation: Blocking transforms the shawl from a wrinkled mass of stitches into a beautiful, lacy accessory. The yarn overs and decreases will open up, revealing the intricate leaf pattern. Take your time with this step—it's worth it!
Tips for Success
- Use stitch markers: They are essential for keeping track of the center spine and the edge stitches. Don't skip them!
- Count your stitches: After each RS row, count your stitches to ensure you haven't missed any yarn overs or decreases. This will save you from having to rip back later.
- Block generously: Don't be afraid to stretch the shawl during blocking. Lace is meant to be open and airy, and aggressive blocking will enhance the pattern.
- Choose your yarn wisely: The gradient yarn is what makes this shawl truly special. If you use a solid color, the lace pattern will still be beautiful, but the aurora effect will be lost.
We hope you enjoy knitting the Aurora Bloom Lace Shawl! This pattern is perfect for special occasions, gifts, or simply treating yourself to a luxurious handmade accessory. The combination of delicate lace and stunning gradient yarn creates a piece that's both elegant and cozy. Happy knitting!