Whimsical Woodland Elf Hat Free Pattern – Knit a Cozy Pointed Cap

Whimsical Woodland Elf Hat Free Pattern – Knit a Cozy Pointed Cap
Bring a touch of woodland magic to your winter wardrobe with this charming pointed elf hat! Featuring a soft, textured ribbed band and a playful pom-pom, this cozy accessory is perfect for holiday gatherings, winter walks, or simply adding a whimsical flair to your everyday style. Whether you're knitting for yourself or as a handmade gift, this free pattern is beginner-friendly and produces a delightfully classic pointed cap that's both functional and fun.
Materials Needed
Before you begin, gather the following supplies to ensure a smooth knitting experience:
- Yarn: Worsted weight yarn in two colors:
- Main Color (MC) – Forest Green (approx. 150-200 yards for adult size)
- Contrast Color (CC) – Cream (for pom-pom, approx. 10-15 yards)
- Needles: US 7 (4.5 mm) 16-inch circular knitting needle and double-pointed needles (or size needed to obtain gauge)
- Notions: Stitch marker, tapestry needle for weaving in ends, scissors
- Optional: Pom-pom maker (or cardboard template) for a perfectly fluffy pom-pom
Gauge: 20 stitches and 26 rows = 4 inches in stockinette stitch (knit every round). Always check your gauge to ensure the correct fit!
Step-by-Step Instructions
This pattern includes sizes for Adult (Child). Follow the numbers in parentheses for the child size. Finished measurements: Circumference: 20 (18) inches, Height: 12 (10) inches excluding pom-pom.
Abbreviations
- k = knit
- p = purl
- k2tog = knit two together (decrease)
- pm = place marker
- MC = Main Color
- CC = Contrast Color
Ribbed Band
- With MC, cast on 100 (90) stitches using the long-tail cast-on method. Join in the round, being careful not to twist your stitches. Place a marker to indicate the beginning of the round.
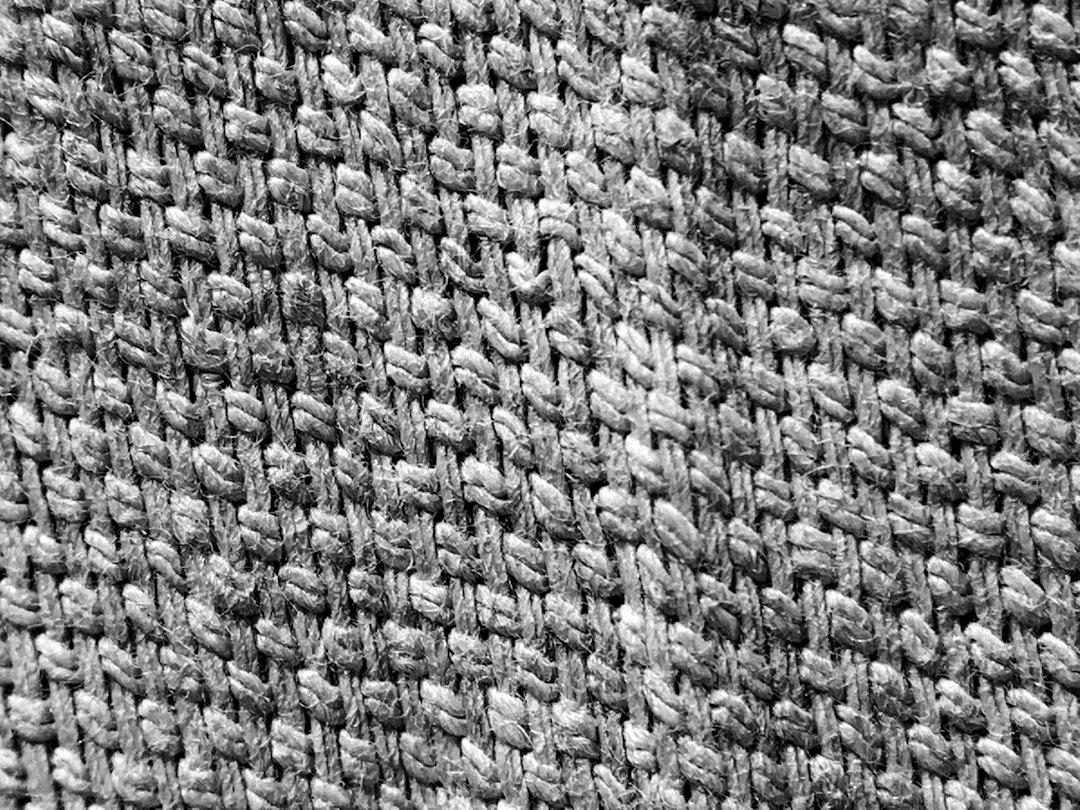
- Work in k1, p1 ribbing for 2 (1.5) inches. This creates a stretchy, snug band that will keep the hat securely on your head.
Hat Body
- Switch to stockinette stitch (knit every round). Work even (without increases or decreases) until the hat measures 6 (5) inches from the cast-on edge. This forms the smooth, classic body of the elf hat.
Shaping the Point
Now we'll begin decreasing to create the iconic pointed tip. Each decrease round is followed by a plain knit round to maintain a smooth taper.
- Decrease Round 1: *K8 (7), k2tog*; repeat from * to end of round. (90 (80) stitches remain)
- Knit 1 round even.
- Decrease Round 2: *K7 (6), k2tog*; repeat from * to end. (80 (70) stitches)
- Knit 1 round even.
- Decrease Round 3: *K6 (5), k2tog*; repeat from * to end. (70 (60) stitches)
- Knit 1 round even.
- Decrease Round 4: *K5 (4), k2tog*; repeat from * to end. (60 (50) stitches)
- Knit 1 round even.
- Decrease Round 5: *K4 (3), k2tog*; repeat from * to end. (50 (40) stitches)
- Knit 1 round even.
- Decrease Round 6: *K3 (2), k2tog*; repeat from * to end. (40 (30) stitches)
- Knit 1 round even.
- Decrease Round 7: *K2 (1), k2tog*; repeat from * to end. (30 (20) stitches)
- Knit 1 round even.
- Decrease Round 8: *K1, k2tog*; repeat from * to end. (20 (10) stitches)
- Knit 1 round even.
- Decrease Round 9: *K2tog*; repeat from * to end. (10 (5) stitches)
Tip: As the stitch count decreases, switch from the circular needle to double-pointed needles when the circular needle becomes too long for the number of stitches.
- Cut the yarn, leaving a long tail (about 8-10 inches). Thread the tail through a tapestry needle, then pass it through the remaining stitches on your knitting needle. Slide the stitches off the needle, pull the tail tight to gather the top of the hat, and secure with a knot.
Pom-pom
- Using CC (Cream), make a 3-inch pom-pom. You can use a pom-pom maker or a simple cardboard template. Wrap the yarn generously around the template, tie tightly in the middle, and trim the loops to create a fluffy sphere.
- Attach the pom-pom securely to the tip of the hat using the yarn tails from the pom-pom. Tie a firm knot and weave in the ends.
Finishing
- Weave in all loose ends using a tapestry needle. Be sure to secure them well so they don't unravel with wear.
- Block gently if desired. To block, lightly wet the hat, shape it, and let it dry flat. This helps even out the stitches and gives a professional finish.
Your Whimsical Woodland Elf Hat is complete! Slip it on and enjoy the cozy, magical charm it brings. Whether you're channeling your inner elf or simply staying warm in style, this handmade hat is sure to become a favorite winter accessory. Happy knitting!