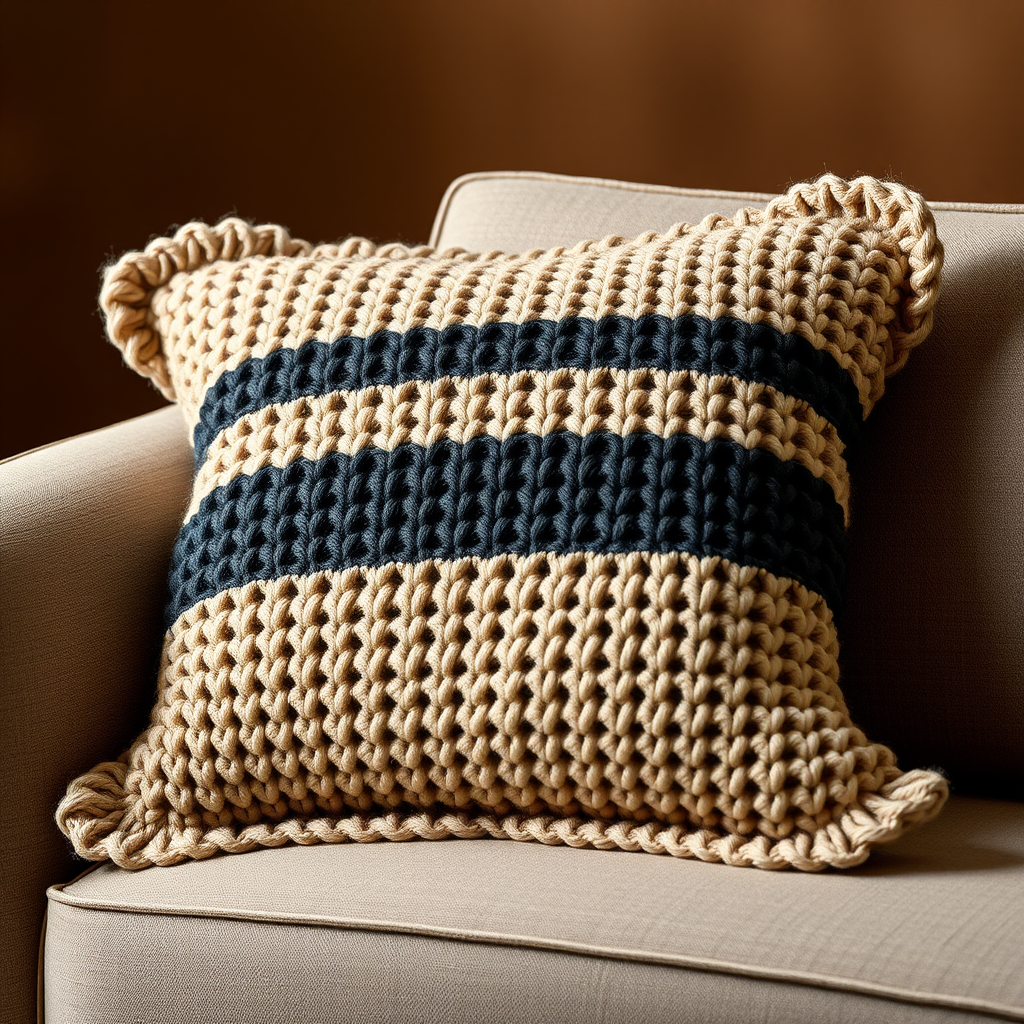
The Woven Willow Wall Pocket: A Free Knitting Pattern for a Textured, Boho Plant Holder

Bring Boho Charm to Your Walls with the Woven Willow Wall Pocket
Looking for a quick, satisfying knitting project that instantly elevates your home decor? The Woven Willow Wall Pocket is the perfect blend of cozy texture and modern boho style. This free pattern guides you through creating a soft, textured plant holder that cradles a small pot or a bundle of dried flowers. With its earthy color palette and simple stitch patterns, this wall hanging adds warmth and organic beauty to any room. Best of all, it's beginner-friendly and works up quickly using basic knit and purl stitches.
Materials Needed
Before you begin, gather the following supplies. Using the exact yarn weight and needle size ensures your finished pocket matches the intended dimensions and drape.
- Yarn: Worsted weight cotton or cotton-blend yarn (approx. 200 yards total). Shown in two colors:
- Color A (Warm Sand) – 120 yards
- Color B (Sage Green) – 80 yards
- Needles: US 7 (4.5 mm) knitting needles
- Notions: Tapestry needle for seaming and weaving ends, stitch markers (optional)
- Gauge: 18 stitches and 24 rows = 4 inches in stockinette stitch (blocked). Always check your gauge to ensure correct sizing.
Step-by-Step Instructions
This pattern creates two flat rectangles that are seamed together to form a pouch. The top edge remains open for inserting a plant pot. Read through all instructions before starting.
Abbreviations
- CO: cast on
- K: knit
- P: purl
- St(s): stitch(es)
- Rep: repeat
- RS: right side
- WS: wrong side
Pocket Front (worked from bottom up)
- With Color A, CO 30 sts.
- Row 1 (RS): K2, *P2, K2; rep from * to end.
- Row 2 (WS): P2, *K2, P2; rep from * to end.
- Rep Rows 1-2 until piece measures 6 inches from cast-on edge, ending with a WS row.
- Switch to Color B.
- Row 1 (RS): Knit all sts.
- Row 2 (WS): Purl all sts.
- Rep Rows 1-2 for 2 inches (this creates the stockinette section).
- Switch back to Color A.
- Rep Rows 1-2 of the ribbing pattern for 1 inch.
- Bind off loosely in pattern (knit the knits and purl the purls as you bind off).
Pocket Back (worked from top down)
- With Color A, CO 30 sts.
- Row 1 (RS): K2, *P2, K2; rep from * to end.
- Row 2 (WS): P2, *K2, P2; rep from * to end.
- Rep Rows 1-2 for 1 inch.
- Switch to Color B.
- Work in stockinette stitch (K on RS, P on WS) for 2 inches.
- Switch to Color A.
- Work in ribbing pattern (Rows 1-2) for 6 inches.
- Bind off loosely in pattern.
Finishing
- Block both pieces to the same dimensions (approximately 9 inches wide by 9 inches tall). Wet block or steam block according to your yarn's care instructions. This step is crucial for a professional finish and ensures the sides align perfectly.
- Assemble the pocket: Place the Pocket Front and Pocket Back together with RS facing out (the wrong sides will be inside the pocket). The ribbed sections should align at the bottom. The top edge will have the 1-inch ribbing from the front and the 1-inch ribbing from the back.
- Seam the sides and bottom: Using Color A and a tapestry needle, seam the sides and bottom together using a mattress stitch. Leave the top edge open. Take care to match the stitch patterns for a neat join.
- Create hanging loops: Cut two 12-inch lengths of Color A yarn. For each loop, fold the strand in half and twist it to create a cord. Thread the folded end through the top corner of the pocket (through both layers) and pull the tails through the loop to secure. Repeat for the other corner.
- Weave in all ends securely using the tapestry needle. Trim any excess yarn.
- Finish: Insert a small plant pot (2-3 inches in diameter) or a bundle of dried flowers. The pocket will gently cradle the pot, creating a beautiful, slouchy silhouette.
Your Woven Willow Wall Pocket is now ready to hang! Enjoy the warm, textured boho accent you've created with your own hands.