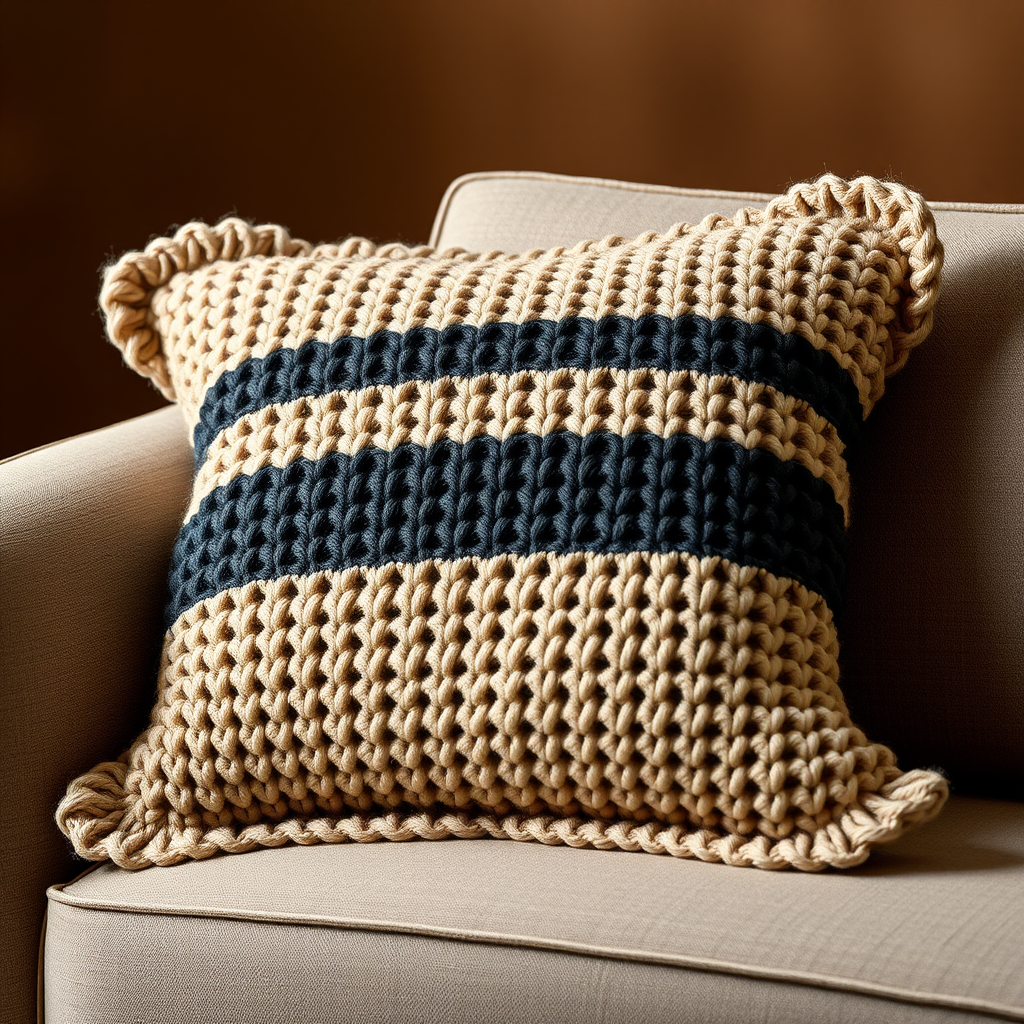
Love Wiggles Trivet Free Knitting Pattern – Cozy Heart Coasters

Love Wiggles Trivet Free Knitting Pattern – Cozy Heart Coasters
Looking for a quick, charming, and practical knitting project that makes a perfect handmade gift? The Love Wiggles Trivet is your answer! This delightful pattern creates a squishy, heart-shaped trivet with a playful wavy edge that adds texture and warmth to any kitchen or dining table. Using chunky yarn and simple stitches, even beginners can whip up this cozy home decor piece in just a few hours. Whether you choose to stuff it for a plush, puffy look or keep it flat for a sleek trivet, this pattern is as versatile as it is adorable. Let's dive in and create something beautiful for your home or a loved one!
Materials Needed
Before you begin, gather the following supplies. This project is designed to be beginner-friendly, so you won't need any fancy equipment—just the basics!
- Yarn: Chunky weight yarn (approx. 100g per trivet) in two contrasting colors. The sample uses a warm coral pink for the main body and a soft cream for the wavy edge. Feel free to mix and match to suit your decor!
- Knitting Needles: US 10.5 (6.5 mm) knitting needles. If you prefer circular needles for the wavy edge, a 16-inch circular needle in the same size works perfectly.
- Stitch Holders: Two stitch holders or spare needles to hold stitches while shaping the heart lobes.
- Tapestry Needle: For weaving in ends and sewing the two heart pieces together.
- Polyester Fiberfill (optional): If you want a plush, stuffed trivet, you'll need a small amount of stuffing.
- Scissors: For cutting yarn.
Gauge & Finished Size
Gauge: 14 stitches and 20 rows = 4 inches in stockinette stitch (knit one row, purl one row).
Finished Size: Approximately 8 inches wide and 7 inches tall per heart piece. When sewn together, the trivet will be about 8 inches wide and 7 inches tall, with a lovely squishy thickness.
Step-by-Step Instructions
This pattern is worked flat in rows, then the two heart pieces are sewn together. The wavy edge is added last. Let's break it down into manageable steps.
Abbreviations
- CO: Cast on
- K: Knit
- P: Purl
- K2tog: Knit two stitches together (decrease)
- Kfb: Knit into the front and back of the same stitch (increase)
- St(s): Stitch(es)
- BO: Bind off
- RS: Right side
- WS: Wrong side
Heart Base (Make 2 Pieces – One in Each Color)
Start by creating the main heart shape. You'll make two identical pieces, one in each color. The pattern starts at the bottom point of the heart and increases outward to form the wide top.
Row 1 (RS): CO 3 sts.
Row 2 (WS): K all.
Row 3: Kfb, K1, Kfb (5 sts).
Row 4: K all.
Row 5: Kfb, K3, Kfb (7 sts).
Row 6: K all.
Row 7: Kfb, K5, Kfb (9 sts).
Row 8: K all.
Row 9: Kfb, K7, Kfb (11 sts).
Row 10: K all.
Row 11: Kfb, K9, Kfb (13 sts).
Row 12: K all.
Row 13: Kfb, K11, Kfb (15 sts).
Row 14: K all.
Row 15: Kfb, K13, Kfb (17 sts).
Row 16: K all.
Row 17: Kfb, K15, Kfb (19 sts).
Row 18: K all.
Row 19: Kfb, K17, Kfb (21 sts).
Row 20: K all.
You should now have 21 stitches on your needle. The piece will look like a triangle with a rounded bottom—this is the base of your heart.
Shape the Top Lobes
Now we'll split the work to create the two rounded lobes of the heart. You'll work the left lobe first, then return to the right lobe.
Left Lobe
Row 21 (RS): K1, K2tog, K6, K2tog, K1 (9 sts for left lobe). Turn work, leaving the remaining 10 sts on a holder or spare needle.
Note: The "remaining 10 sts" are the ones you haven't worked yet. They will form the right lobe later.
Row 22 (WS): P all.
Row 23: K1, K2tog, K3, K2tog (7 sts).
Row 24: P all.
Row 25: K1, K2tog, K1, K2tog (5 sts).
Row 26: P all.
Row 27: K1, K2tog, K2tog (3 sts).
Row 28: P all.
Row 29: K1, K2tog (2 sts).
Row 30: P2tog, BO remaining st. Fasten off.
Right Lobe
Return to the 10 sts on your holder. With the RS facing, join your yarn at the center (the stitch closest to the left lobe). You'll start at the inner edge of the heart.
Row 21 (RS): K1, K2tog, K6, K2tog, K1 (9 sts).
Row 22 (WS): P all.
Row 23: K1, K2tog, K3, K2tog (7 sts).
Row 24: P all.
Row 25: K1, K2tog, K1, K2tog (5 sts).
Row 26: P all.
Row 27: K1, K2tog, K2tog (3 sts).
Row 28: P all.
Row 29: K1, K2tog (2 sts).
Row 30: P2tog, BO remaining st. Fasten off.
Repeat the entire Heart Base and Lobe shaping process to create a second heart piece in your contrasting color. You should now have two identical heart shapes.
Wavy Edge (Optional but Recommended)
This is what gives the trivet its signature "wiggle"! The wavy edge is worked in the round around the entire heart. If you're using straight needles, you can work this flat and seam it later, but a circular needle makes it much easier.
With the RS facing and using your contrasting color yarn (the cream in the sample), pick up and knit stitches evenly around the entire heart shape. Aim for approximately 60-70 stitches total. Don't stress about the exact number—just make sure they're evenly spaced. Join to work in the round, placing a stitch marker at the beginning.
Round 1: *K1, P1* repeat around.
Round 2: *Kfb, K1* repeat around (this increases the stitch count to create the ruffled effect).
Round 3: *K2, Kfb* repeat around.
Round 4: BO all sts loosely knitwise.
When you bind off, do it very loosely to maintain the wavy, scalloped look. If your bind-off feels too tight, use a larger needle or bind off with a yarn-over between stitches to add extra stretch.
Finishing
Now it's time to assemble your trivet. Follow these steps for a polished, professional finish.
- Weave in all ends: Use your tapestry needle to weave in any loose yarn tails on both heart pieces. Make sure to do this on the wrong side so it's hidden.
- Optional Stuffing: Place the two heart pieces together with wrong sides facing. Using a tapestry needle and matching yarn (or the main color), whip stitch around the edge, leaving a small opening of about 2 inches. Stuff lightly with polyester fiberfill to make it plush and puffy, then close the opening with more whip stitches.
- Flat Alternative: If you prefer a thinner trivet, simply place the two pieces together with wrong sides facing and whip stitch around the entire edge. No stuffing needed.
- Final Check: Ensure all seams are secure and the wavy edge is evenly distributed around the heart.
Care Instructions
To keep your Love Wiggles Trivet looking its best, hand wash it in cold water with a gentle detergent. Lay it flat to dry—never put it in the dryer, as the chunky yarn may felt or shrink. With proper care, this trivet will last for years and become a beloved staple in your home.
This pattern is perfect for using up scrap yarn, experimenting with color combinations, or creating heartfelt gifts for friends and family. The squishy texture and playful wavy edge make it a joy to use and admire. Happy knitting!