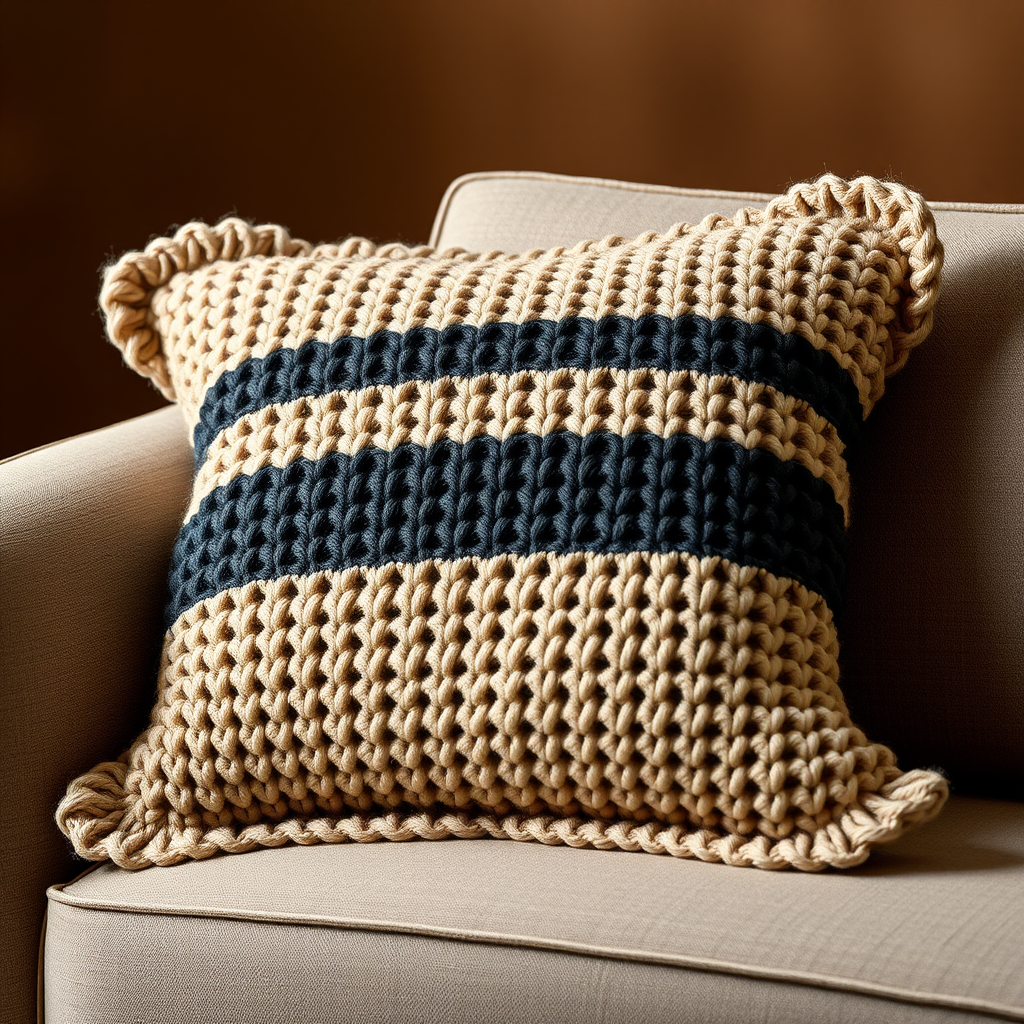
The Terra Cotta Twine Basket: A Free Knitting Pattern for a Textured, Recycled Denim and Sisal Planter

Weave an Eco-Chic Masterpiece: The Terra Cotta Twine Basket
Ready to transform old jeans and simple twine into a stunning, textured planter? The Terra Cotta Twine Basket is the perfect project for knitters who love sustainable, modern home decor. This free pattern combines upcycled denim strips with natural sisal to create a rustic, boho-chic basket that’s as kind to the planet as it is beautiful. Whether you’re a seasoned crafter or a beginner looking for a rewarding challenge, this pattern will guide you through every step to create a unique, handmade planter for your favorite houseplant.
Materials Needed
Before you begin, gather the following materials. Using the exact specifications ensures your basket turns out perfectly textured and durable.
- Yarn A: Recycled denim strips (cut into 1-inch wide strips from old jeans, approximately 100 yards).
- Yarn B: Natural sisal twine (3-ply, approximately 150 yards).
- Needles: US Size 10 (6.0 mm) knitting needles (or size needed to achieve gauge).
- Notions: A tapestry needle for weaving ends and seaming.
Gauge: 14 stitches and 20 rows = 4 inches in Stockinette stitch with yarn held double (one strand of denim + one strand of sisal). Always check your gauge to ensure the correct size.
Step-by-Step Instructions
This basket is worked flat in one piece, then seamed. The base is a separate knitted rectangle that is sewn on. Follow these detailed instructions carefully for a flawless finish.
Abbreviations
- CO: Cast on
- K: Knit
- P: Purl
- St(s): Stitch(es)
- RS: Right side
- WS: Wrong side
- K2tog: Knit two stitches together
- BO: Bind off
Base (Make 1)
With one strand of denim and one strand of sisal held together, CO 20 sts.
- Row 1 (RS): K all sts.
- Row 2 (WS): P all sts.
Repeat Rows 1-2 until piece measures 6 inches from cast-on edge. BO all sts. Set aside.
Side Panel (Make 1)
With one strand of denim and one strand of sisal held together, CO 40 sts.
- Row 1 (RS): K all sts.
- Row 2 (WS): P all sts.
- Row 3: K all sts.
- Row 4: P all sts.
- Row 5: K all sts.
- Row 6: P all sts.
- Row 7 (RS): K2, *K2tog, K2; repeat from * to last 2 sts, K2. (30 sts)
- Row 8 (WS): P all sts.
- Row 9: K all sts.
- Row 10: P all sts.
- Row 11: K all sts.
- Row 12: P all sts.
- Row 13: K all sts.
- Row 14: P all sts.
- Row 15: K all sts.
- Row 16: P all sts.
- Row 17: K all sts.
- Row 18: P all sts.
- Row 19: K all sts.
- Row 20: P all sts.
- Row 21: K all sts.
- Row 22: P all sts.
- Row 23: K all sts.
- Row 24: P all sts.
- Row 25: K all sts.
- Row 26: P all sts.
- Row 27: K all sts.
- Row 28: P all sts.
- Row 29: K all sts.
- Row 30: P all sts.
- Row 31: K all sts.
- Row 32: P all sts.
- Row 33: K all sts.
- Row 34: P all sts.
- Row 35: K all sts.
- Row 36: P all sts.
- Row 37: K all sts.
- Row 38: P all sts.
- Row 39: K all sts.
- Row 40: P all sts.
BO all sts loosely.
Finishing
- Seam the side: Fold the side panel in half, right sides together, matching the cast-on and bind-off edges. Using a tapestry needle and the same yarn (one strand of denim and one strand of sisal held together), sew the side seam with a mattress stitch or whip stitch, creating a tube. Ensure the seam is secure and even.
- Attach the base: With the tube right side out, pin the base rectangle to the bottom edge of the tube. Match the cast-on edge of the base to the bottom edge of the tube. Using a whip stitch, sew the base to the tube, making sure the corners are neatly aligned and the stitches are tight. Work all around the perimeter.
- Weave in ends: Using the tapestry needle, weave in all yarn ends securely on the inside of the basket. Trim any excess.
- Shape the basket: Gently shape the basket by hand. For a more defined shape, lightly dampen the basket with a spray bottle and let it dry over a bowl or container of the same size. This will help set the shape and soften the fibers.
Your Terra Cotta Twine Basket is now complete! Place a small potted plant inside, or use it as a stylish catch-all for remote controls, keys, or craft supplies. Enjoy the satisfaction of creating something beautiful and sustainable with your own hands.