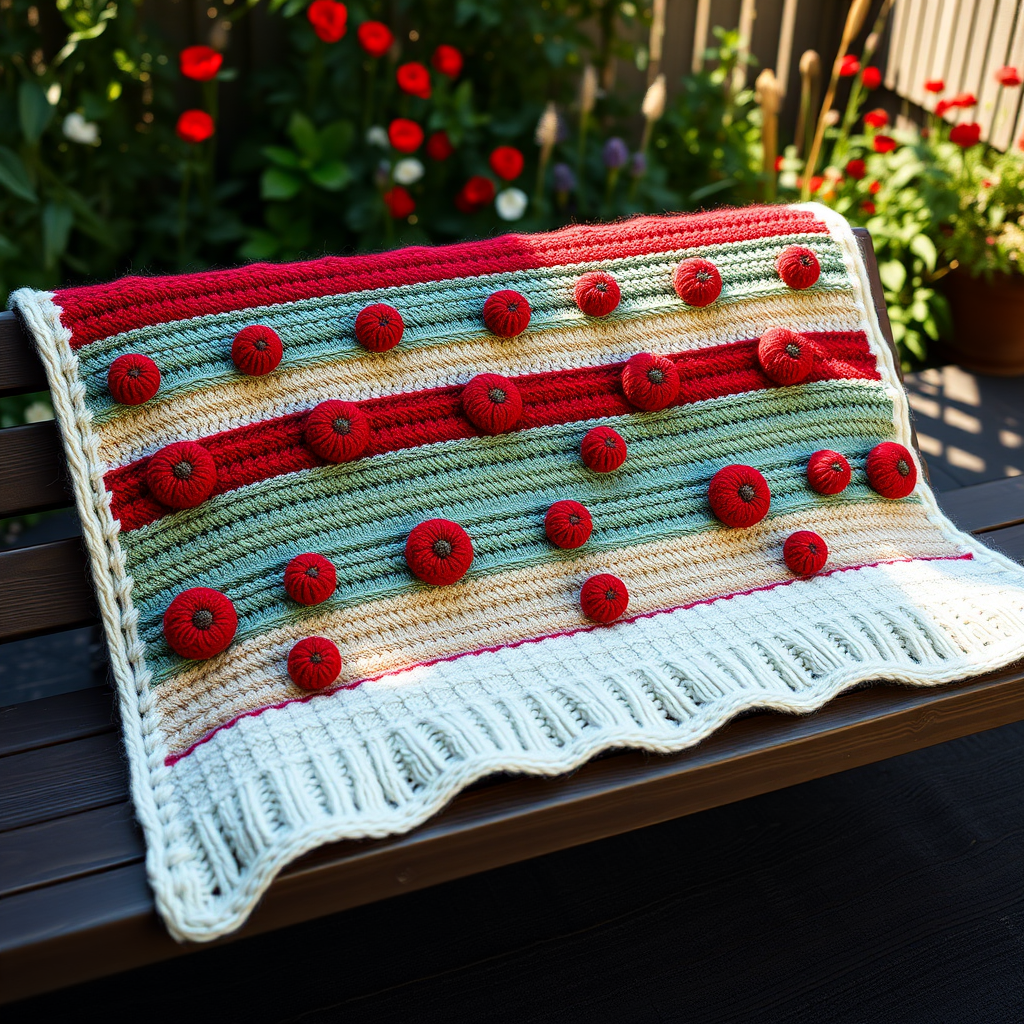
The Velvet Dusk Mosaic Throw Free Pattern – A Two-Tone Knit with Woven Texture

The Velvet Dusk Mosaic Throw: A Beginner-Friendly Guide to a Stunning Two-Tone Knit
There are some knitting projects that feel like a warm hug from the very first stitch, and the Velvet Dusk Mosaic Throw is exactly that. This modern, geometric blanket uses a clever slipped-stitch technique to create a woven, tapestry-like texture that plays beautifully with light and shadow. The deep plum and soft blush color combination adds a touch of sophisticated warmth to any living space, making it the perfect statement piece for your couch or bed.
Don't let the intricate look fool you—this pattern is surprisingly accessible. The mosaic technique only uses one color at a time, meaning you'll never have to juggle multiple strands or worry about tangled yarn. The result is a plush, dimensional fabric that looks far more complex than the actual knitting requires. Whether you're a confident beginner looking for your next challenge or an experienced knitter seeking a relaxing, rhythmic project, this throw delivers on every level.
Materials Needed
Before you begin, gather the following supplies to ensure a smooth and enjoyable knitting experience:
- Yarn: Worsted weight yarn in two contrasting colors:
- Color A (Deep Plum): 1200g (approximately 6 skeins of a standard 200g worsted weight yarn)
- Color B (Soft Blush): 1000g (approximately 5 skeins of a standard 200g worsted weight yarn)
- Needle: US 8 (5mm) circular knitting needle, 32-inch or longer (the long cord is essential to accommodate the 202 stitches comfortably)
- Notions: Tapestry needle for weaving in ends, stitch markers (optional but helpful for keeping track of pattern repeats), blocking pins and mat
Gauge: 18 stitches and 24 rows = 4 inches in stockinette stitch (blocked). While gauge isn't critical for a blanket, matching it will help you achieve the finished dimensions of approximately 50 inches wide x 60 inches long.
Step-by-Step Instructions
This pattern is worked flat on a circular needle, which gives you plenty of room for all those stitches. The mosaic pattern is built on a multiple of 8 stitches plus 2 edge stitches, creating a beautiful, repeating geometric design.
Abbreviations
- K = knit
- P = purl
- Sl = slip stitch purlwise (unless otherwise noted)
- RS = right side
- WS = wrong side
Pattern Notes
The magic of this mosaic pattern lies in how you work with your colors. Each color is used for two rows (one right side, one wrong side). When you slip stitches, you're carrying the yarn from the previous color across the back of the work, which creates that beautiful woven effect. Always slip stitches purlwise with the yarn held to the wrong side (back) of the work, unless the pattern specifically tells you otherwise. This keeps the slipped stitches loose and prevents the fabric from puckering.
Getting Started: Cast On and Set-Up
Cast on: With Color A (deep plum), cast on 202 stitches loosely. A long-tail cast on works beautifully here—just make sure you're not casting on too tightly, as this will make the first few rows difficult to work.
Set-up Row 1 (RS): With Color A, knit all stitches.
Set-up Row 2 (WS): With Color A, purl all stitches.
These two rows create a clean, solid base for your mosaic pattern to build upon.
The Mosaic Pattern
Now we begin the heart of the pattern. You'll be repeating Rows 3-10 until your blanket reaches the desired length. Here's how each row works:
Row 3 (RS, Color B): K1 (edge), *K3, Sl 1, K3, Sl 1; repeat from * to last stitch, K1 (edge).
Tip: The edge stitches (first and last) are always knit on RS rows, creating a neat, clean border.
Row 4 (WS, Color B): K1, *P3, Sl 1 (yarn in front), P3, Sl 1 (yarn in front); repeat from * to last stitch, K1.
Note: On wrong side rows, you'll purl the knit stitches from the previous row and slip the same stitches you slipped on the RS. Keep the yarn in front when slipping on WS rows.
Row 5 (RS, Color A): K1, *Sl 1, K3, Sl 1, K3; repeat from * to last stitch, K1.
Notice how the pattern shifts—now you're slipping the stitches that were knit in the previous color band.
Row 6 (WS, Color A): K1, *Sl 1 (yarn in front), P3, Sl 1 (yarn in front), P3; repeat from * to last stitch, K1.
Row 7 (RS, Color B): K1, *K1, Sl 1, K3, Sl 1, K2; repeat from * to last stitch, K1.
This row shifts the pattern by one stitch, creating the diagonal movement that gives the mosaic its dynamic feel.
Row 8 (WS, Color B): K1, *P1, Sl 1 (yarn in front), P3, Sl 1 (yarn in front), P2; repeat from * to last stitch, K1.
Row 9 (RS, Color A): K1, *K1, Sl 1, K3, Sl 1, K2; repeat from * to last stitch, K1.
You're now repeating the same stitch pattern as Row 7, but with Color A.
Row 10 (WS, Color A): K1, *P1, Sl 1 (yarn in front), P3, Sl 1 (yarn in front), P2; repeat from * to last stitch, K1.
Repeat Rows 3-10 until your blanket measures approximately 58 inches from the cast-on edge. For best results, end with a Row 10 repeat so that you're ready to work the final rows with Color A.
Finishing Rows
Once you've reached your desired length, it's time to finish the blanket with a clean, solid border that mirrors the set-up rows:
Next row (RS, Color A): Knit all stitches.
Next row (WS, Color A): Purl all stitches.
Bind off loosely with Color A on the next RS row. A loose bind-off is crucial here—if you bind off too tightly, the edge will pucker and pull in, ruining the beautiful drape of your finished blanket. Consider using a larger needle or a stretchy bind-off method if you tend to bind off tightly.
Finishing Touches
Weave in all loose ends with your tapestry needle, being careful to weave them through the back of the work so they're invisible from the front. Take your time with this step—it makes a huge difference in the professional look of your finished piece.
Blocking: This is the secret to achieving that perfect, polished look. Pin your blanket to a blocking mat at the specified dimensions (50 inches x 60 inches), then steam or mist it with water. Allow it to dry completely before removing the pins. Blocking will even out your stitches, open up the mosaic pattern, and give the blanket that beautiful, structured drape you see in the photos.
Once dry, your Velvet Dusk Mosaic Throw is ready to be draped, cuddled under, and admired. The combination of the deep plum and soft blush creates a rich, dimensional look that will elevate any room. This pattern is a joy to knit—rhythmic, meditative, and deeply satisfying as you watch the geometric pattern emerge row by row. Happy knitting!