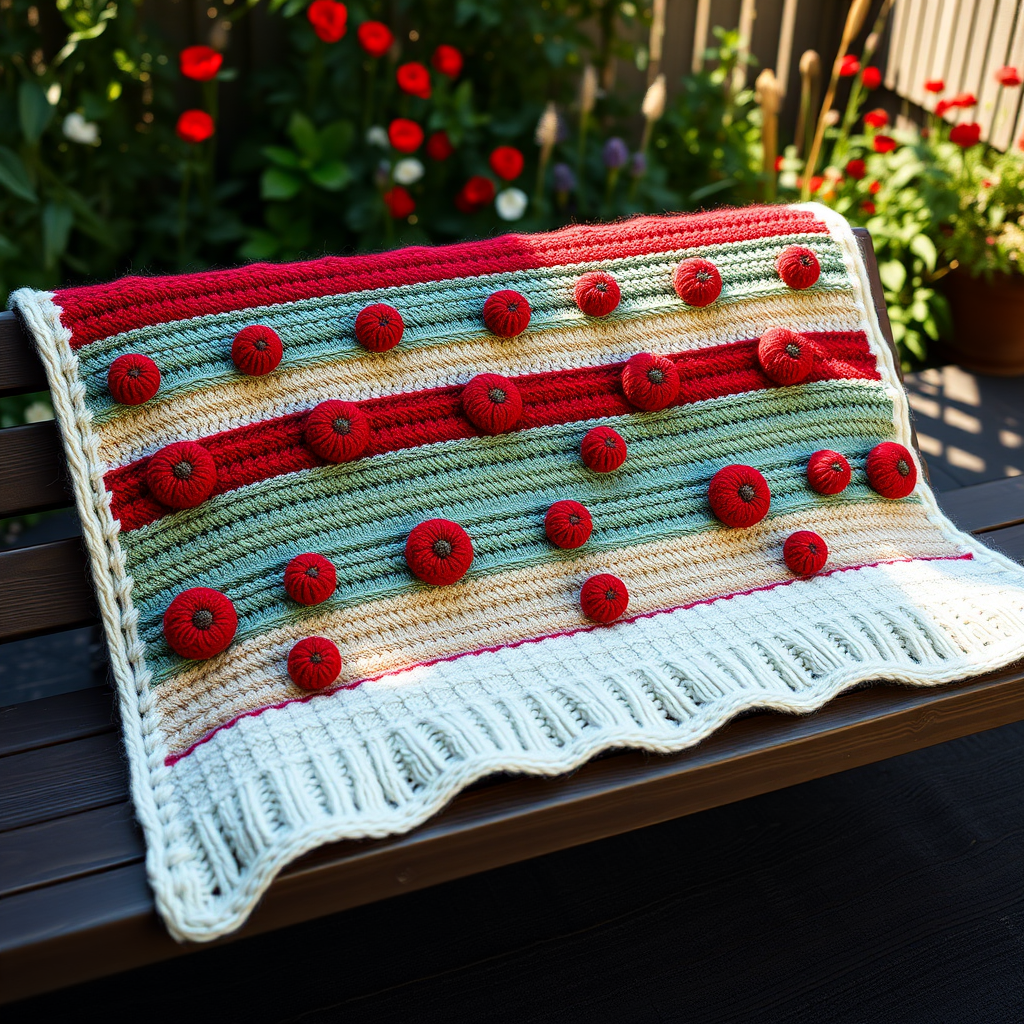
Celestial Drift Throw Blanket Free Pattern – A Knitted Night Sky Mosaic

Celestial Drift Throw Blanket Free Pattern – A Knitted Night Sky Mosaic
Wrap yourself in a hand-knitted tapestry of deep indigo, twilight violet, and silver starlight with this mesmerizing mosaic blanket. The textured slip-stitch pattern mimics a celestial map, creating a cozy, dreamy centerpiece for any room. This free knitting pattern is perfect for intermediate knitters looking to expand their skills while creating a stunning heirloom-quality piece. The geometric star-like motifs evoke the magic of a clear night sky, and the dense, drapey fabric will become your favorite companion for chilly evenings.
Whether you're an experienced knitter or a confident beginner ready for a challenge, the Celestial Drift Throw offers a rewarding project with clear, repetitive instructions. The slip-stitch mosaic technique is surprisingly simple once you get into the rhythm—you'll only ever work with one color per row, making this project much easier than it looks. Let's dive into creating this celestial masterpiece!
Materials Needed
Before you begin, gather the following materials. Having everything ready will make your knitting experience smooth and enjoyable.
Yarn
- Color A (Deep Indigo): 800g worsted weight yarn – this will be your main color for borders and alternating pattern rows
- Color B (Twilight Violet): 600g worsted weight yarn – used for the first set of contrast pattern rows
- Color C (Silver Mist): 400g worsted weight yarn – used for the second set of contrast pattern rows
Pro tip: Choose yarns with similar fiber content and weight to ensure consistent gauge. A soft wool or wool-blend yarn will give you the best stitch definition and drape.
Needles
- US 8 (5mm) circular knitting needle, 32-inch length – the long cord is essential for holding all 180 stitches comfortably
Additional Supplies
- Stitch markers (optional, but helpful for tracking pattern repeats)
- Tapestry needle for weaving in ends
- Blocking mats and pins (for finishing)
- Measuring tape
Gauge
- 18 stitches and 24 rows = 4 inches in stockinette stitch (blocked)
Always knit a gauge swatch before starting! This ensures your finished blanket will match the intended dimensions. If your gauge is off, adjust your needle size accordingly.
Step-by-Step Instructions
Follow these detailed instructions carefully, and you'll create a beautiful celestial throw that will be treasured for years. Take your time, especially with the slip-stitch pattern, and enjoy the meditative rhythm of the rows.
Finished Size
Approximately 50 inches wide x 60 inches long (blocked)
Abbreviations
- CO: cast on
- K: knit
- P: purl
- Sl: slip stitch purlwise
- WYIF: with yarn in front
- WYIB: with yarn in back
- Rep: repeat
- St(s): stitch(es)
- RS: right side
- WS: wrong side
Pattern Notes
- The blanket is worked flat in one piece, using a slip-stitch mosaic technique that creates a geometric star pattern.
- Always slip stitches purlwise unless otherwise stated. This keeps the slipped stitches neat and untwisted.
- Carry the unused yarn loosely along the side edge, twisting it every few rows to prevent long floats. This keeps your edges tidy and prevents snagging.
- Blocking is essential to even out the stitches and enhance the pattern. Don't skip this final step!
Cast On
With Color A, CO 180 sts loosely. Do not join; work back and forth in rows. A loose cast-on is crucial here—if your cast-on is too tight, the bottom edge will pucker. Consider using a larger needle for the cast-on row if needed.
Border (worked in Color A)
This creates a neat, flat border that frames your celestial pattern beautifully.
- Row 1 (RS): K all sts.
- Row 2 (WS): K all sts.
- Rep Rows 1-2 once more (4 border rows total).
Main Pattern (Mosaic Star Chart)
The pattern is a 12-row repeat, worked with two colors per repeat (Color A and Color B, then Color A and Color C alternately). This alternating color scheme creates the beautiful celestial mosaic effect.
Repeat 1 (Rows 1-12) – Color A + Color B
Row 1 (RS, Color A): K1, *Sl 1 WYIB, K3; rep from * to last 3 sts, Sl 1 WYIB, K2.
Explanation: Knit 1 stitch, then repeat the sequence of slipping 1 stitch with yarn in back, then knitting 3 stitches. Continue this pattern until you have 3 stitches left, then slip 1 with yarn in back and knit the final 2 stitches.
Row 2 (WS, Color A): K1, *Sl 1 WYIF, P3; rep from * to last 3 sts, Sl 1 WYIF, P2.
Explanation: Knit 1 stitch, then repeat: slip 1 stitch with yarn in front, purl 3 stitches. Continue until 3 stitches remain, then slip 1 with yarn in front and purl the last 2 stitches. The knit edge stitches create a neat selvedge.
Row 3 (RS, Color B): K2, *Sl 1 WYIB, K3; rep from * to last 2 sts, Sl 1 WYIB, K1.
Explanation: This row shifts the pattern by one stitch. Knit 2 stitches, then repeat: slip 1 with yarn in back, knit 3. Continue until 2 stitches remain, then slip 1 with yarn in back and knit 1.
Row 4 (WS, Color B): K2, *Sl 1 WYIF, P3; rep from * to last 2 sts, Sl 1 WYIF, P1.
Explanation: Knit 2, then repeat: slip 1 with yarn in front, purl 3. Continue until 2 stitches remain, then slip 1 with yarn in front and purl 1.
Row 5 (RS, Color A): K1, *K1, Sl 1 WYIB, K2; rep from * to last 3 sts, K1, Sl 1 WYIB, K1.
Explanation: Knit 1, then repeat: knit 1, slip 1 with yarn in back, knit 2. Continue until 3 stitches remain, then knit 1, slip 1 with yarn in back, knit 1. This row creates a diagonal shift in the pattern.
Row 6 (WS, Color A): K1, *P1, Sl 1 WYIF, P2; rep from * to last 3 sts, P1, Sl 1 WYIF, P1.
Explanation: Knit 1, then repeat: purl 1, slip 1 with yarn in front, purl 2. Continue until 3 stitches remain, then purl 1, slip 1 with yarn in front, purl 1.
Row 7 (RS, Color B): K3, *Sl 1 WYIB, K3; rep from * to last 1 st, K1.
Explanation: Knit 3, then repeat: slip 1 with yarn in back, knit 3. Continue until 1 stitch remains, then knit 1. This row creates the widest point of the star motif.
Row 8 (WS, Color B): K3, *Sl 1 WYIF, P3; rep from * to last 1 st, P1.
Explanation: Knit 3, then repeat: slip 1 with yarn in front, purl 3. Continue until 1 stitch remains, then purl 1.
Row 9 (RS, Color A): K1, *K2, Sl 1 WYIB, K1; rep from * to last 3 sts, K2, Sl 1 WYIB.
Explanation: Knit 1, then repeat: knit 2, slip 1 with yarn in back, knit 1. Continue until 3 stitches remain, then knit 2 and slip 1 with yarn in back.
Row 10 (WS, Color A): K1, *P2, Sl 1 WYIF, P1; rep from * to last 3 sts, P2, Sl 1 WYIF.
Explanation: Knit 1, then repeat: purl 2, slip 1 with yarn in front, purl 1. Continue until 3 stitches remain, then purl 2 and slip 1 with yarn in front.
Row 11 (RS, Color B): K1, *Sl 1 WYIB, K3; rep from * to last 3 sts, Sl 1 WYIB, K2.
Explanation: This row mirrors Row 1. Knit 1, then repeat: slip 1 with yarn in back, knit 3. Continue until 3 stitches remain, then slip 1 with yarn in back and knit 2.
Row 12 (WS, Color B): K1, *Sl 1 WYIF, P3; rep from * to last 3 sts, Sl 1 WYIF, P2.
Explanation: Knit 1, then repeat: slip 1 with yarn in front, purl 3. Continue until 3 stitches remain, then slip 1 with yarn in front and purl 2.
Repeat 2 (Rows 13-24) – Color A + Color C
Work Rows 1-12 again, but replace Color B with Color C for the contrast rows. This introduces the silver mist color, creating the shimmering starlight effect in your blanket.
Continue the Pattern
Alternate Repeat 1 and Repeat 2 until the blanket measures approximately 58 inches from the cast-on edge, ending after a full repeat (Row 12 of either repeat). This ensures your pattern is complete before adding the final border.
Border (worked in Color A)
Finish with the same border you started with to create a symmetrical frame.
- Row 1 (RS): K all sts.
- Row 2 (WS): K all sts.
- Rep Rows 1-2 once more (4 border rows total).
Bind Off
Bind off all sts loosely in knit on the RS with Color A. A loose bind-off is just as important as a loose cast-on—it prevents the top edge from being tighter than the rest of the blanket. If you tend to bind off tightly, use a needle one size larger for this step.
Finishing
This final step transforms your knitting from a wavy piece of fabric into a beautiful, polished blanket.
- Weave in all ends neatly using a tapestry needle. Take care to weave ends in on the wrong side, following the path of the yarn to keep them invisible.
- Block the blanket to the specified dimensions (50 x 60 inches). Soak the blanket in lukewarm water with a gentle wool wash for 20-30 minutes, then gently squeeze out excess water (never wring!).
- Lay the blanket flat on blocking mats and pin out the edges to create sharp corners and even stitches. Use a measuring tape to ensure it's exactly 50 inches wide and 60 inches long.
- Allow to dry completely—this can take 24-48 hours depending on humidity. Once dry, unpin and enjoy your celestial masterpiece!
Tips for Success
- Count your stitches regularly—especially when you're new to slip-stitch patterns. It's much easier to fix a mistake early than to rip back rows.
- Use stitch markers every 30 stitches to help you keep track of your repeats. This makes it easier to spot mistakes quickly.
- Keep your tension consistent when slipping stitches. Don't pull the yarn too tight when carrying it across slipped stitches, or your fabric will pucker.
- Take breaks—this is a large project, and giving your hands rest will help you maintain even tension throughout.
Your Celestial Drift Throw will be a stunning addition to your home or a heartfelt handmade gift for someone special. The combination of deep indigo, twilight violet, and silver mist creates a sophisticated color palette that works beautifully in modern or traditional interiors. As you knit, imagine the night sky unfolding beneath your fingers—each slipped stitch a star, each row a constellation. Happy knitting!