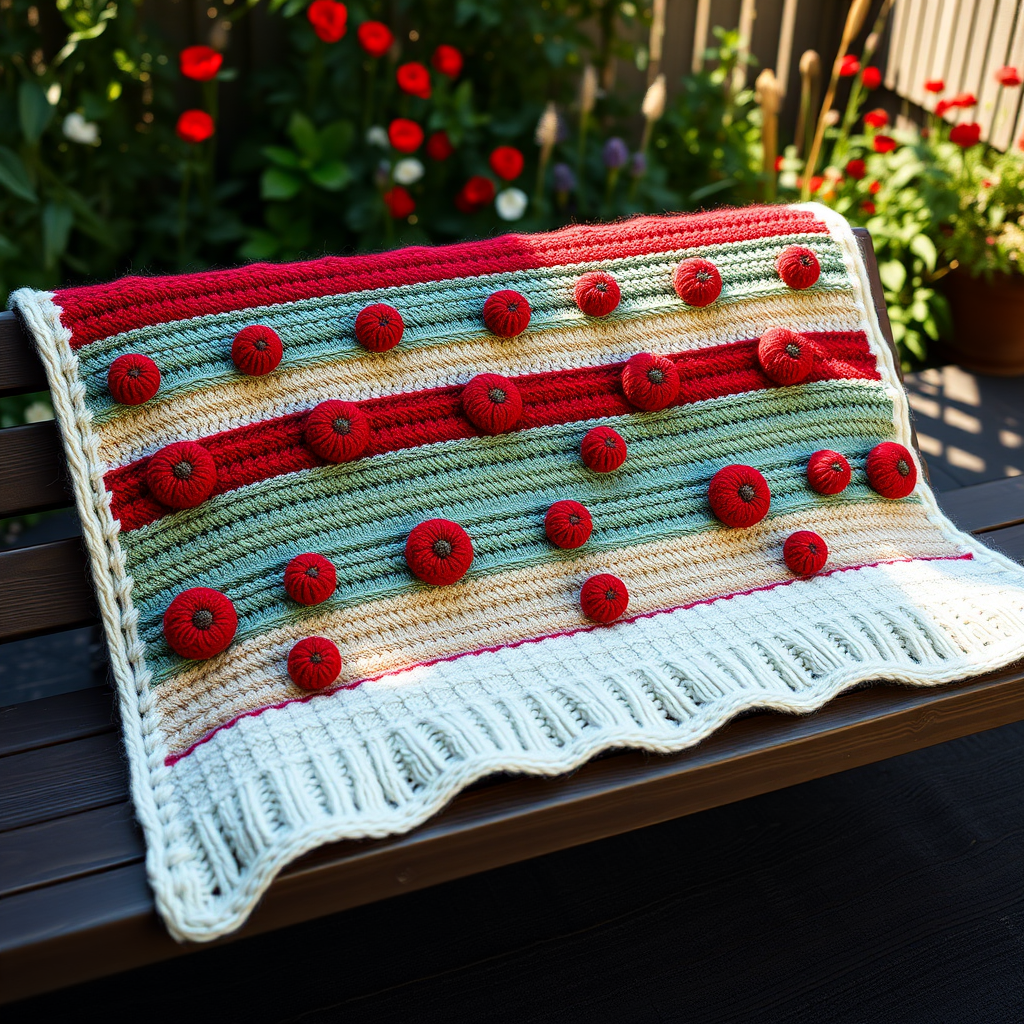
Sunset Mirage Ombre Ripple Blanket Free Pattern – A Knitted Desert Dune Wave

Introducing the Sunset Mirage Ombre Ripple Blanket
Imagine wrapping yourself in the warm, shifting hues of a desert sunset—deep terracotta melting into burnt orange, then golden yellow, soft peach, and finally a serene cream at the center, before reversing back to the rich earth tones. That's the magic of the Sunset Mirage Ombre Ripple Blanket. This stunning knitted piece features gentle, rhythmic waves of color and texture that create a cozy, artistic centerpiece for any room. Whether draped over a sofa or folded at the foot of a bed, this blanket brings a touch of handcrafted warmth and visual drama to your home.
The ripple stitch pattern is surprisingly simple once you get into the rhythm, making it an achievable project for confident beginners and a satisfying meditative knit for experienced crafters. The ombre effect is created by working in color blocks, each one flowing seamlessly into the next. Let's dive into everything you need to create this beautiful desert dune wave.
Materials Needed
Before you begin, gather these supplies to ensure a smooth knitting experience. The quality of your yarn will directly impact the drape and feel of your finished blanket, so choose soft, cozy worsted weight yarns you love.
Yarn
You'll need worsted weight yarn in five colors. For a throw-size blanket, plan on approximately 400g of each color. Here's the color palette to create the sunset gradient:
- Color A: Deep Terracotta
- Color B: Burnt Orange
- Color C: Golden Yellow
- Color D: Soft Peach
- Color E: Cream
Needles & Gauge
- Needle: US 8 (5mm) circular knitting needle, 32 inches or longer (to accommodate the large number of stitches)
- Gauge: 18 stitches and 24 rows = 4 inches in stockinette stitch (knit one row, purl one row). Always knit a gauge swatch first to ensure your blanket measures as expected.
Other Tools
- Tapestry needle for weaving in ends
- Scissors
- Stitch markers (optional, but helpful for keeping track of pattern repeats)
Step-by-Step Instructions
This blanket is knitted in one piece using a simple ripple stitch pattern with an ombre color gradient. The ripple effect is created by increases (yarn overs) and decreases (knit two together and slip, slip, knit) that form gentle peaks and valleys. Don't be intimidated—once you complete a few rows, the pattern will become intuitive.
Abbreviations
- CO: Cast on
- K: Knit
- P: Purl
- K2tog: Knit two stitches together (a right-leaning decrease)
- SSK: Slip, slip, knit (a left-leaning decrease)
- YO: Yarn over (an increase that creates a small hole)
- RS: Right side (the front of the work)
- WS: Wrong side (the back of the work)
Pattern Notes
- The blanket is worked in a multiple of 18 stitches plus 2 edge stitches.
- Each color block is worked in a repeating sequence of rows to create the ombre effect.
- The ripple pattern is a 12-row repeat.
- The first and last stitch of every row are edge stitches, knitted on both sides to create a neat, finished border.
Getting Started
CO 182 stitches with Color A (deep terracotta). This gives you 10 full pattern repeats (10 x 18 = 180) plus 2 edge stitches. Take your time with the cast-on to ensure it's not too tight, as this is the foundation of your blanket.
The Ripple Pattern
Follow these rows carefully. The pattern is written for the right side (RS) and wrong side (WS) of the work. Remember to always knit the first and last stitch of every row for the edge.
Row 1 (RS): K1 (edge), *K2tog, K2tog, K4, YO, K1, YO, K4, SSK, SSK*, repeat from * to * until 1 stitch remains, K1 (edge).
Row 2 (WS): K1, Purl all stitches to last stitch, K1.
Row 3: K1, *K2tog, K2tog, K3, YO, K3, YO, K3, SSK, SSK*, repeat from * to * until 1 stitch remains, K1.
Row 4: Repeat Row 2.
Row 5: K1, *K2tog, K2tog, K2, YO, K5, YO, K2, SSK, SSK*, repeat from * to * until 1 stitch remains, K1.
Row 6: Repeat Row 2.
Row 7: K1, *K2tog, K2tog, K1, YO, K7, YO, K1, SSK, SSK*, repeat from * to * until 1 stitch remains, K1.
Row 8: Repeat Row 2.
Row 9: K1, *K2tog, K2tog, YO, K9, YO, SSK, SSK*, repeat from * to * until 1 stitch remains, K1.
Row 10: Repeat Row 2.
Row 11: K1, *K2tog, K2tog, K1, YO, K7, YO, K1, SSK, SSK*, repeat from * to * until 1 stitch remains, K1.
Row 12: Repeat Row 2.
These 12 rows form the complete ripple pattern. Notice how the decreases (K2tog and SSK) at the beginning and end of each repeat create the valleys, while the yarn overs (YO) in the center create the peaks. The pattern is symmetrical, so it will look balanced and beautiful.
Creating the Ombre Gradient
Now for the fun part—the color changes! After completing 12 rows in Color A, switch to Color B (burnt orange). Continue the pattern, switching colors every 12 rows in this specific order:
- Color A (deep terracotta)
- Color B (burnt orange)
- Color C (golden yellow)
- Color D (soft peach)
- Color E (cream)
- Color D (soft peach)
- Color C (golden yellow)
- Color B (burnt orange)
- Color A (deep terracotta)
This symmetrical sequence creates a beautiful, gradual ombre that peaks at cream in the center and returns to terracotta at the other end. When switching colors, simply tie the new yarn to the old at the beginning of a right-side row, leaving a tail to weave in later.
Finishing Your Blanket
Continue knitting until the blanket reaches your desired length. For a standard throw, you'll likely complete the full color sequence (all 9 color blocks) and end after a complete color block. To finish:
- Bind off loosely on a right-side row. Use a stretchy bind-off method (like the knit-two-together bind-off) to ensure the edge remains flexible and doesn't pucker.
- Weave in all ends using a tapestry needle. Take your time here—neatly woven ends will make your blanket look professional and last longer.
- Block the blanket gently. Wet blocking or steam blocking will help enhance the ripple shape and even out your stitches. Lay it flat to dry, gently shaping the peaks and valleys.
Once dry, your Sunset Mirage Ombre Ripple Blanket is ready to be draped, admired, and enjoyed. The rhythmic waves and warm gradient will bring a touch of desert serenity to your home, and you'll have the pride of knowing you created it with your own hands. Happy knitting!