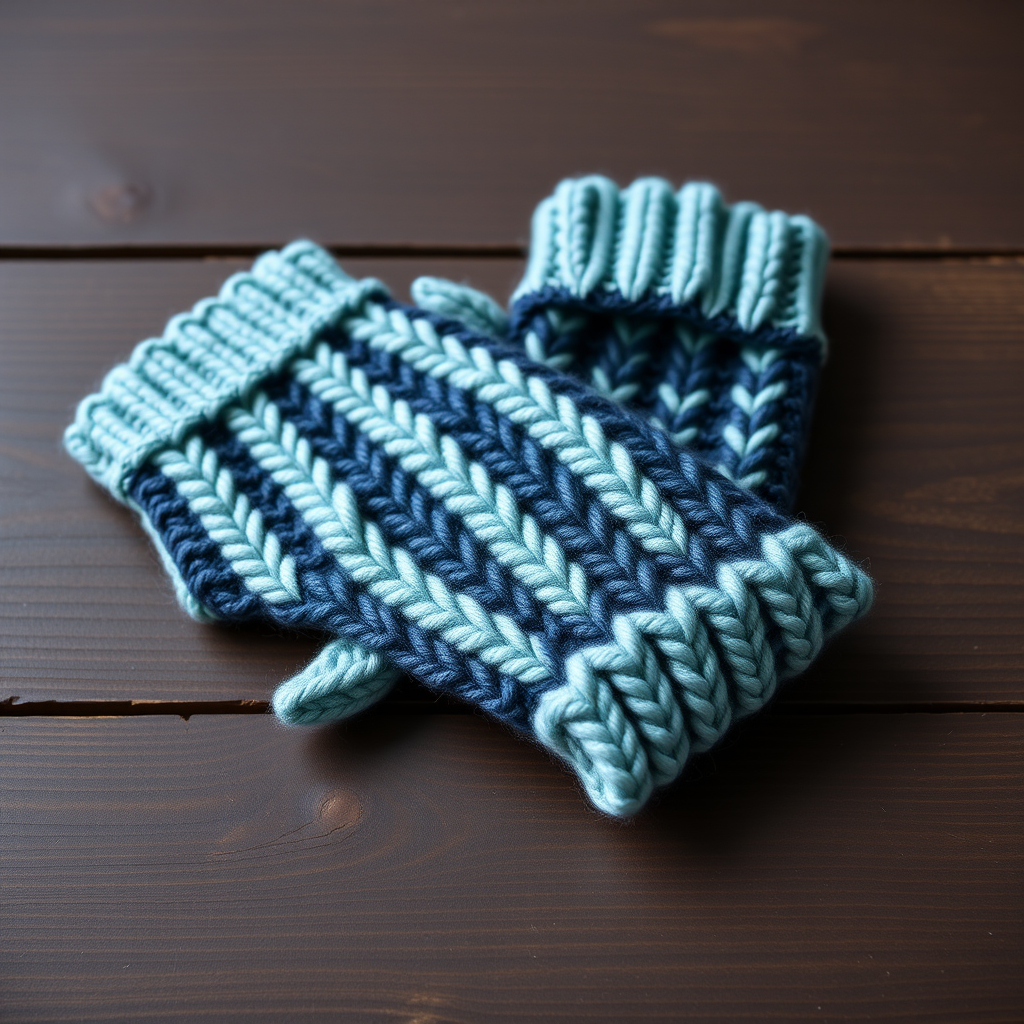
The Tidepool Trellis Fingerless Gloves Free Pattern – A Knitted Lattice of Ocean Waves

The Tidepool Trellis Fingerless Gloves: A Free Knitting Pattern for Coastal-Inspired Cables & Lace
There is something deeply meditative about knitting that mimics the natural world. The gentle repetition of stitches, the way texture builds row by row—it’s like watching the tide roll in. Today, I’m thrilled to share a pattern that captures that exact feeling: the Tidepool Trellis Fingerless Gloves. This free knitting pattern weaves together plump cables and delicate eyelets to create a lattice that evokes the intricate, organic patterns found in a tidepool at low tide. Knitted in a heathered sea-glass blue with sandy beige cuffs, these gloves are the perfect cozy, stylish accessory for a chilly seaside stroll or a quiet afternoon with a warm drink. Let’s dive into the rhythm of the waves and cast on together.
Materials Needed: Gathering Your Coastal Toolkit
Before we begin, let's assemble everything you need. This project is wonderfully portable and uses standard worsted-weight yarn, making it accessible for most knitters.
- Yarn: Worsted weight yarn (e.g., Cascade 220 Superwash) in two colors:
- Main Color (MC): Heathered Sea Glass (soft blue-green) – approximately 150g.
- Contrast Color (CC): Driftwood Sand (warm beige) – approximately 50g.
- Needles: US 6 (4.0 mm) knitting needles for small circumference. You can use double-pointed needles (DPNs) or a 16-inch circular needle for the magic loop method.
- Cable Needle: A small cable needle to hold stitches while crossing.
- Notions: Stitch markers (at least 3), a tapestry needle for weaving in ends, and a stitch holder or waste yarn for the thumb stitches.
Gauge: 22 stitches and 28 rows = 4 inches in stockinette stitch (blocked). Getting gauge is important to ensure a proper fit, so take a moment to knit a swatch!
Step-by-Step Instructions: Knitting the Tidepool Trellis
This pattern is worked in the round from the cuff up. It is sized for a medium woman's hand (7-inch circumference), but you can easily adjust it by adding or removing stitches in multiples of 8. Use a stitch marker to mark the beginning of your round.
Part 1: The Ribbed Cuff
We'll start with a stretchy, classic ribbed cuff in our contrast color.
- With CC, cast on 48 stitches. Distribute them evenly across your needles. Join in the round, being very careful not to twist your stitches.
- Rounds 1-8: Work *K2, P2* repeat around. This creates a neat, 2x2 ribbing that will hug the wrist comfortably.
- Switch to your Main Color (MC).
- Round 9: Knit all stitches.
- Round 10 (Increase Round): *K6, M1* repeat around. (You will increase 8 stitches, bringing your total to 56 stitches). Tip: Use a lifted or bar increase for an invisible look.
Part 2: The Tidepool Trellis Main Body
Now for the magic! This 8-round repeat creates the beautiful lattice of cables and eyelets. Pay close attention to the cable instructions.
Pattern Notes:
- C4F: Slip 2 stitches to cable needle, hold in front, knit next 2 stitches, then knit 2 from cable needle.
- C4B: Slip 2 stitches to cable needle, hold in back, knit next 2 stitches, then knit 2 from cable needle.
- Round 1: *P1, K6, P1, K6* repeat around.
- Round 2 (Cable Cross): *P1, C4F, K2, P1, K2, C4B* repeat around.
- Round 3: *P1, K6, P1, K6* repeat around.
- Round 4 (Cable Cross): *P1, K2, C4B, P1, C4F, K2* repeat around.
- Rounds 5-6: Repeat Round 1.
- Round 7 (Eyelet Row): *P1, K2, YO, K2tog, K2, P1, K2, YO, K2tog, K2* repeat around.
- Round 8: *P1, K6, P1, K6* repeat around.
- Repeat Rounds 1-8 until the piece measures 4 inches from the cast-on edge, ending with Round 8.
Part 3: Shaping the Thumb Gusset
We'll now add stitches to create space for your thumb. This is a classic gusset construction.
- Round 1 (Increase): Work in pattern across the first 28 stitches (this will be the back of your hand), place a marker, M1, K1, M1, place a second marker, work in pattern across the remaining 28 stitches (the palm). (You have increased 2 stitches).
- Round 2: Work in pattern, knitting the M1 stitches on either side of the center stitch. (The center stitch is the original K1 between your markers).
- Round 3 (Increase): Work in pattern to the first marker, M1, knit to the second marker, M1, work in pattern to end. (2 stitches increased).
- Repeat Round 3 every 4th round until you have 13 stitches between the markers. (Total stitches will be 56 + 12 = 68).
- Next Round: Work in pattern to the first marker, place the 13 thumb stitches onto a stitch holder or waste yarn, cast on 1 stitch (this is the bridge stitch), work in pattern to the end. (You will now have 56 stitches total on your needles).
Part 4: The Hand and Top Ribbing
With the thumb set aside, we'll finish the main body of the glove.
- Continue working in the Tidepool Trellis pattern (Rounds 1-8) over all 56 stitches until the hand measures 2 inches from the thumb bridge, ending with Round 8.
- Switch to your Contrast Color (CC).
- Round 1: *K2, P2* repeat around.
- Rounds 2-6: Continue in K2, P2 ribbing.
- Bind off loosely in pattern. Tip: Use a larger needle or a stretchy bind-off to ensure the top of the glove isn't too tight.
Part 5: Knitting the Thumb
Almost there! Let's finish the thumb.
- Transfer the 13 thumb stitches from the holder back onto your needles.
- Pick up and knit 1 stitch from the bridge you cast on earlier. (You should now have 14 stitches).
- Work in stockinette stitch (knit every round) for 1 inch.
- Switch to CC and work K2, P2 ribbing for 4 rounds.
- Bind off loosely.
Finishing Touches
Your Tidepool Trellis gloves are nearly complete!
- Weave in all ends carefully with your tapestry needle, making sure to secure them on the wrong side of the work.
- Block gently. Wet blocking is ideal for this pattern. Soak the gloves in lukewarm water with a little wool wash, gently squeeze out excess water (never wring!), and lay them flat to dry. This will open up the lace eyelets and define the cable twists beautifully.
And there you have it—a pair of stunning, sea-inspired fingerless gloves that are as functional as they are beautiful. The combination of the textured cables and the delicate eyelets makes this a truly special knit. I hope you enjoy watching the pattern emerge from your needles as much as I did. Happy knitting, and may your hands stay warm and stylish on all your coastal adventures!